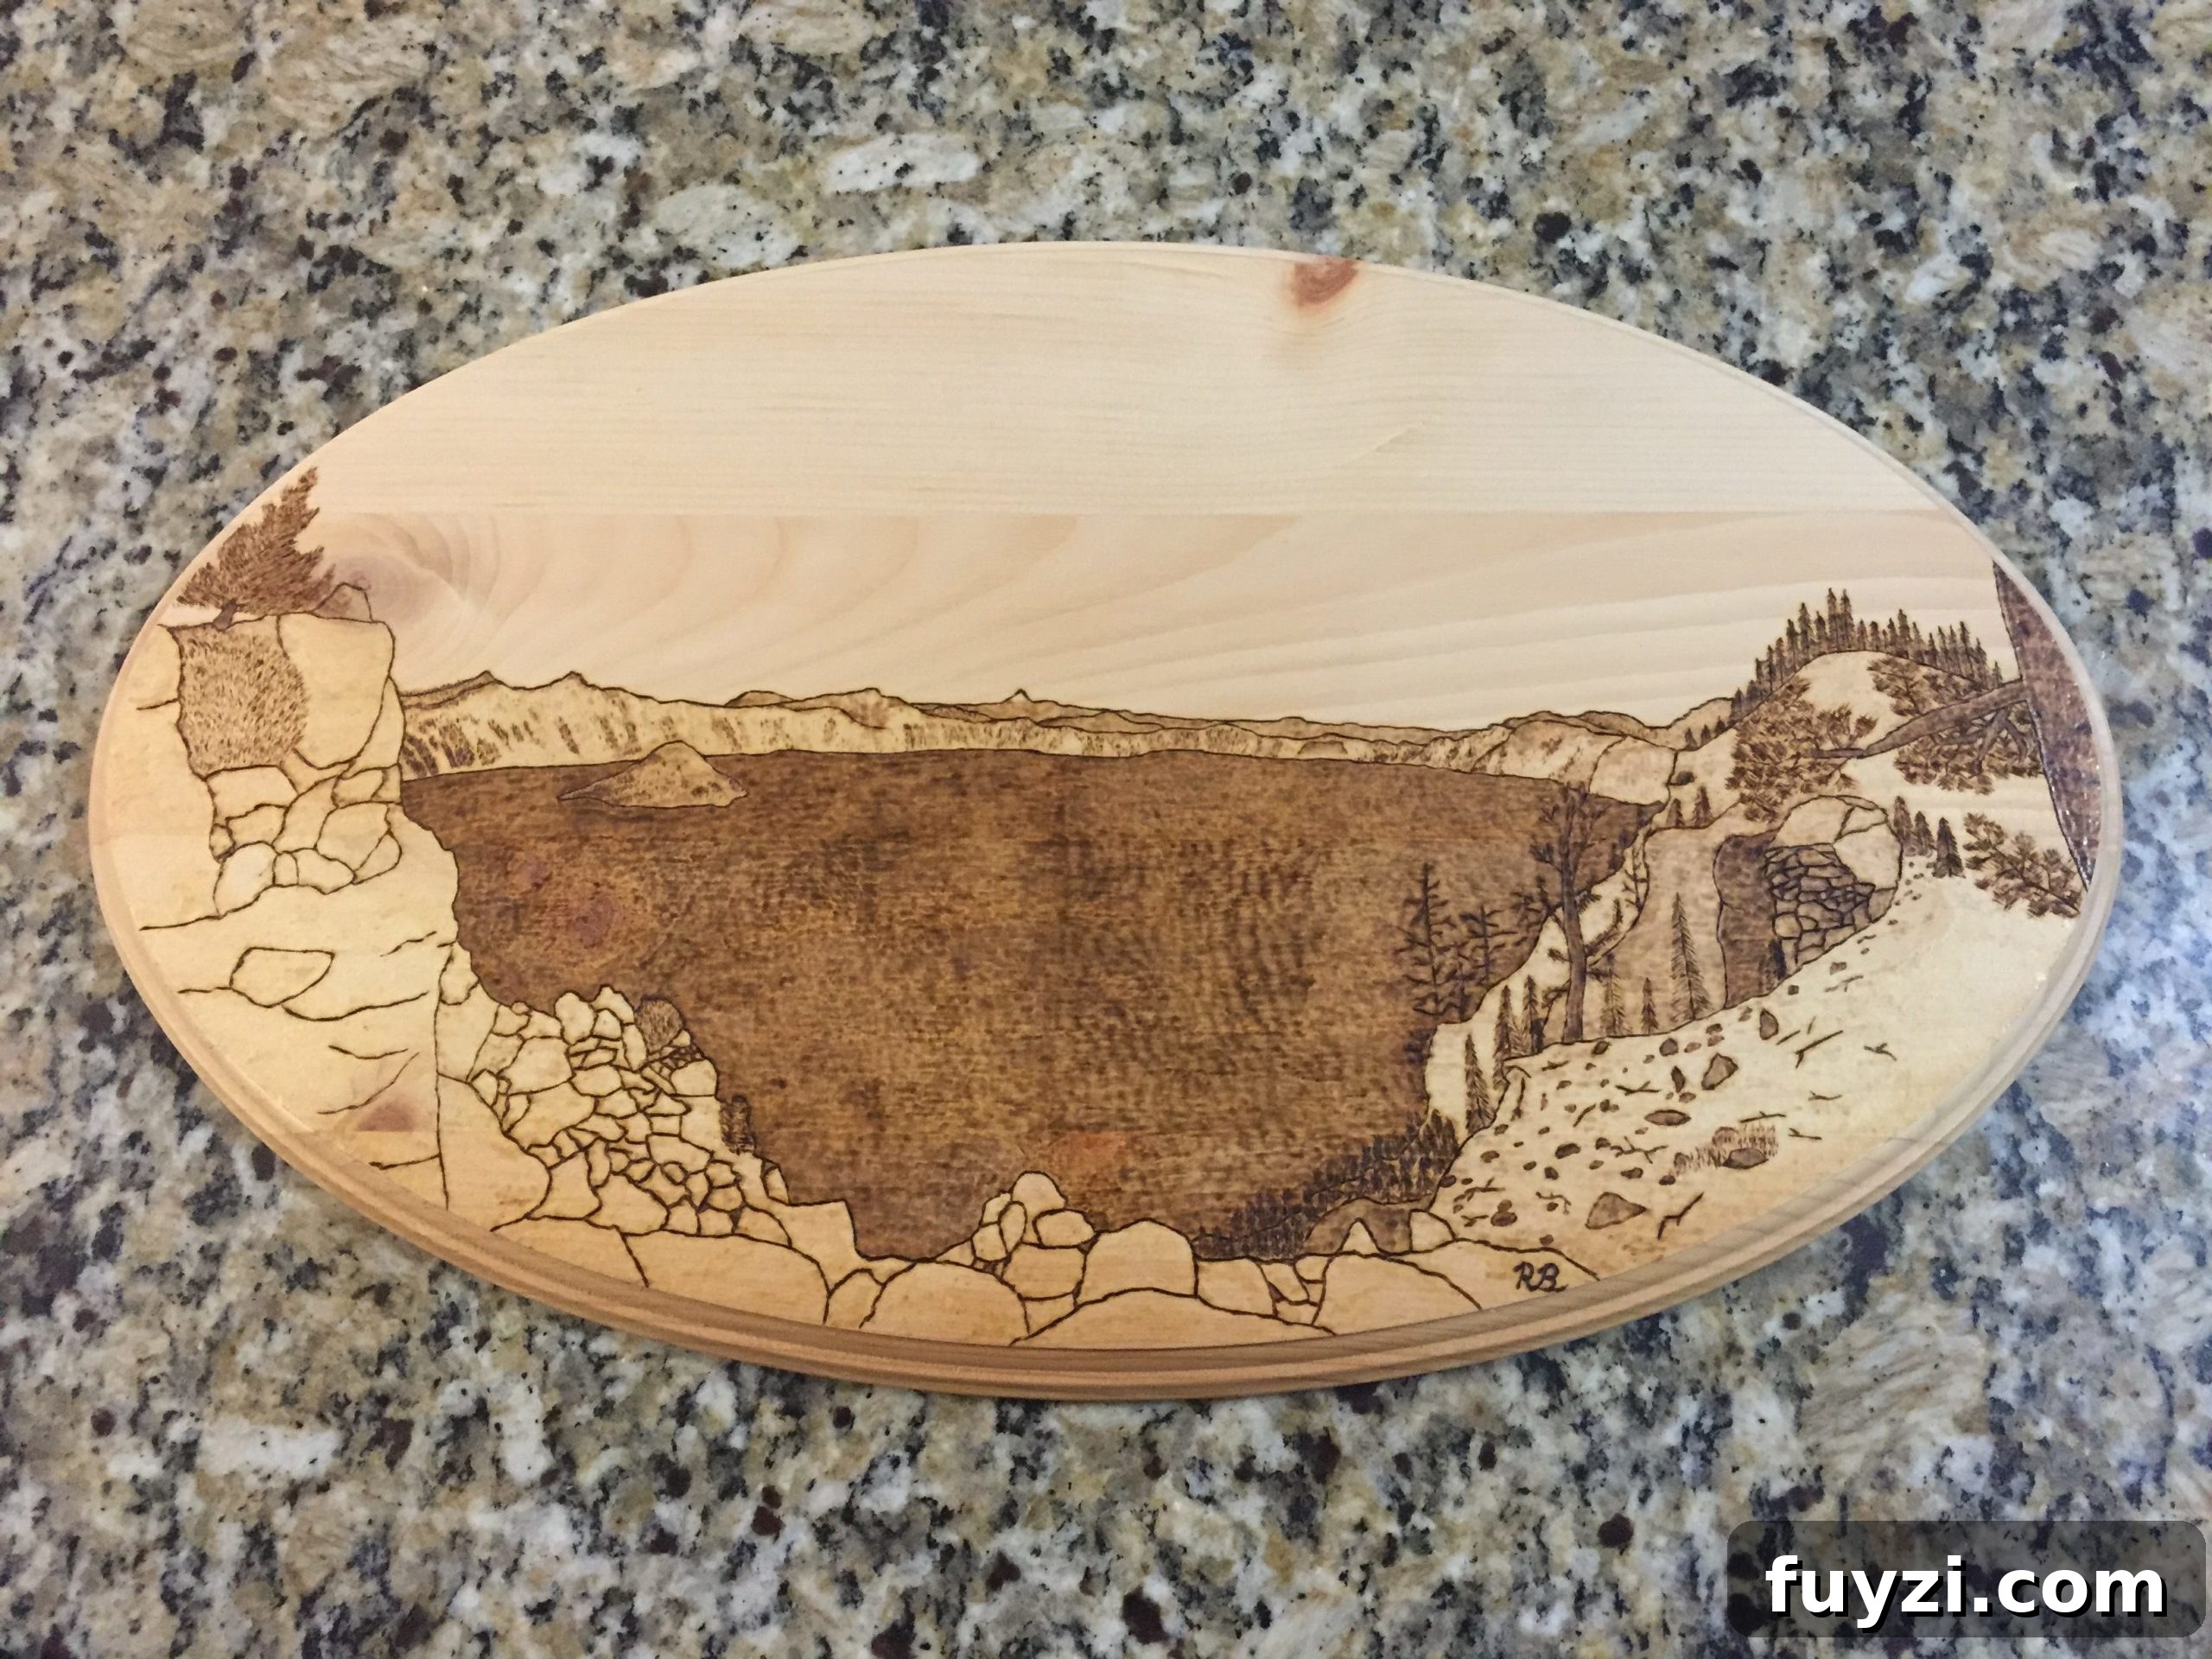
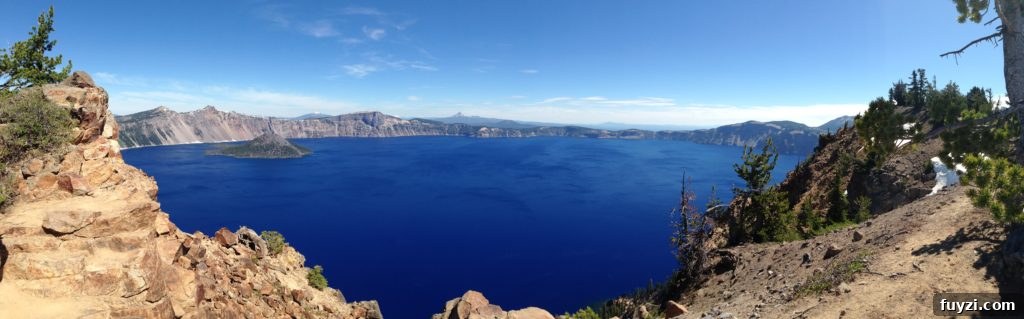
Crater Lake is a must-see for anyone who loves the outdoors. For Lauren and me, it was a destination we finally visited three years ago and have talked about ever since. I had never heard of Crater Lake before moving to Oregon, and I suspect many others haven’t either. Situated in the Cascade Range, Crater Lake occupies a volcanic caldera that filled with rain and snowmelt after the eruption and collapse of the mountain long ago. Its clear water, dramatic cliffs, and sweeping vistas made a lasting impression on us — so much so that I turned that memory into a piece of pyrography artwork to keep the view close at hand.
At the time I worked for GolfNow, which involved driving across Oregon — a state larger and more varied than many expect. I enjoyed the drives because the scenery is consistently beautiful. When I first heard about Crater Lake, I planned a trip around it. I scheduled a few golf course meetings near the area during the week of July 4th so we could make a holiday of the visit.
Lauren and I drove down together — roughly a six-hour drive from where we were — and spent a couple of days working remotely and preparing for the trip. She studied for her boards while I handled some work tasks, then on the morning of July 3rd we set out early to ensure we could secure a campsite. Campsites are popular in that area, and we were briefly worried we might not find a spot, but we were lucky and got one. The day that followed was full of hiking: we took several trails and viewpoints, each offering a different perspective on the lake. Both of us still agree it’s among the most beautiful places we’ve visited.
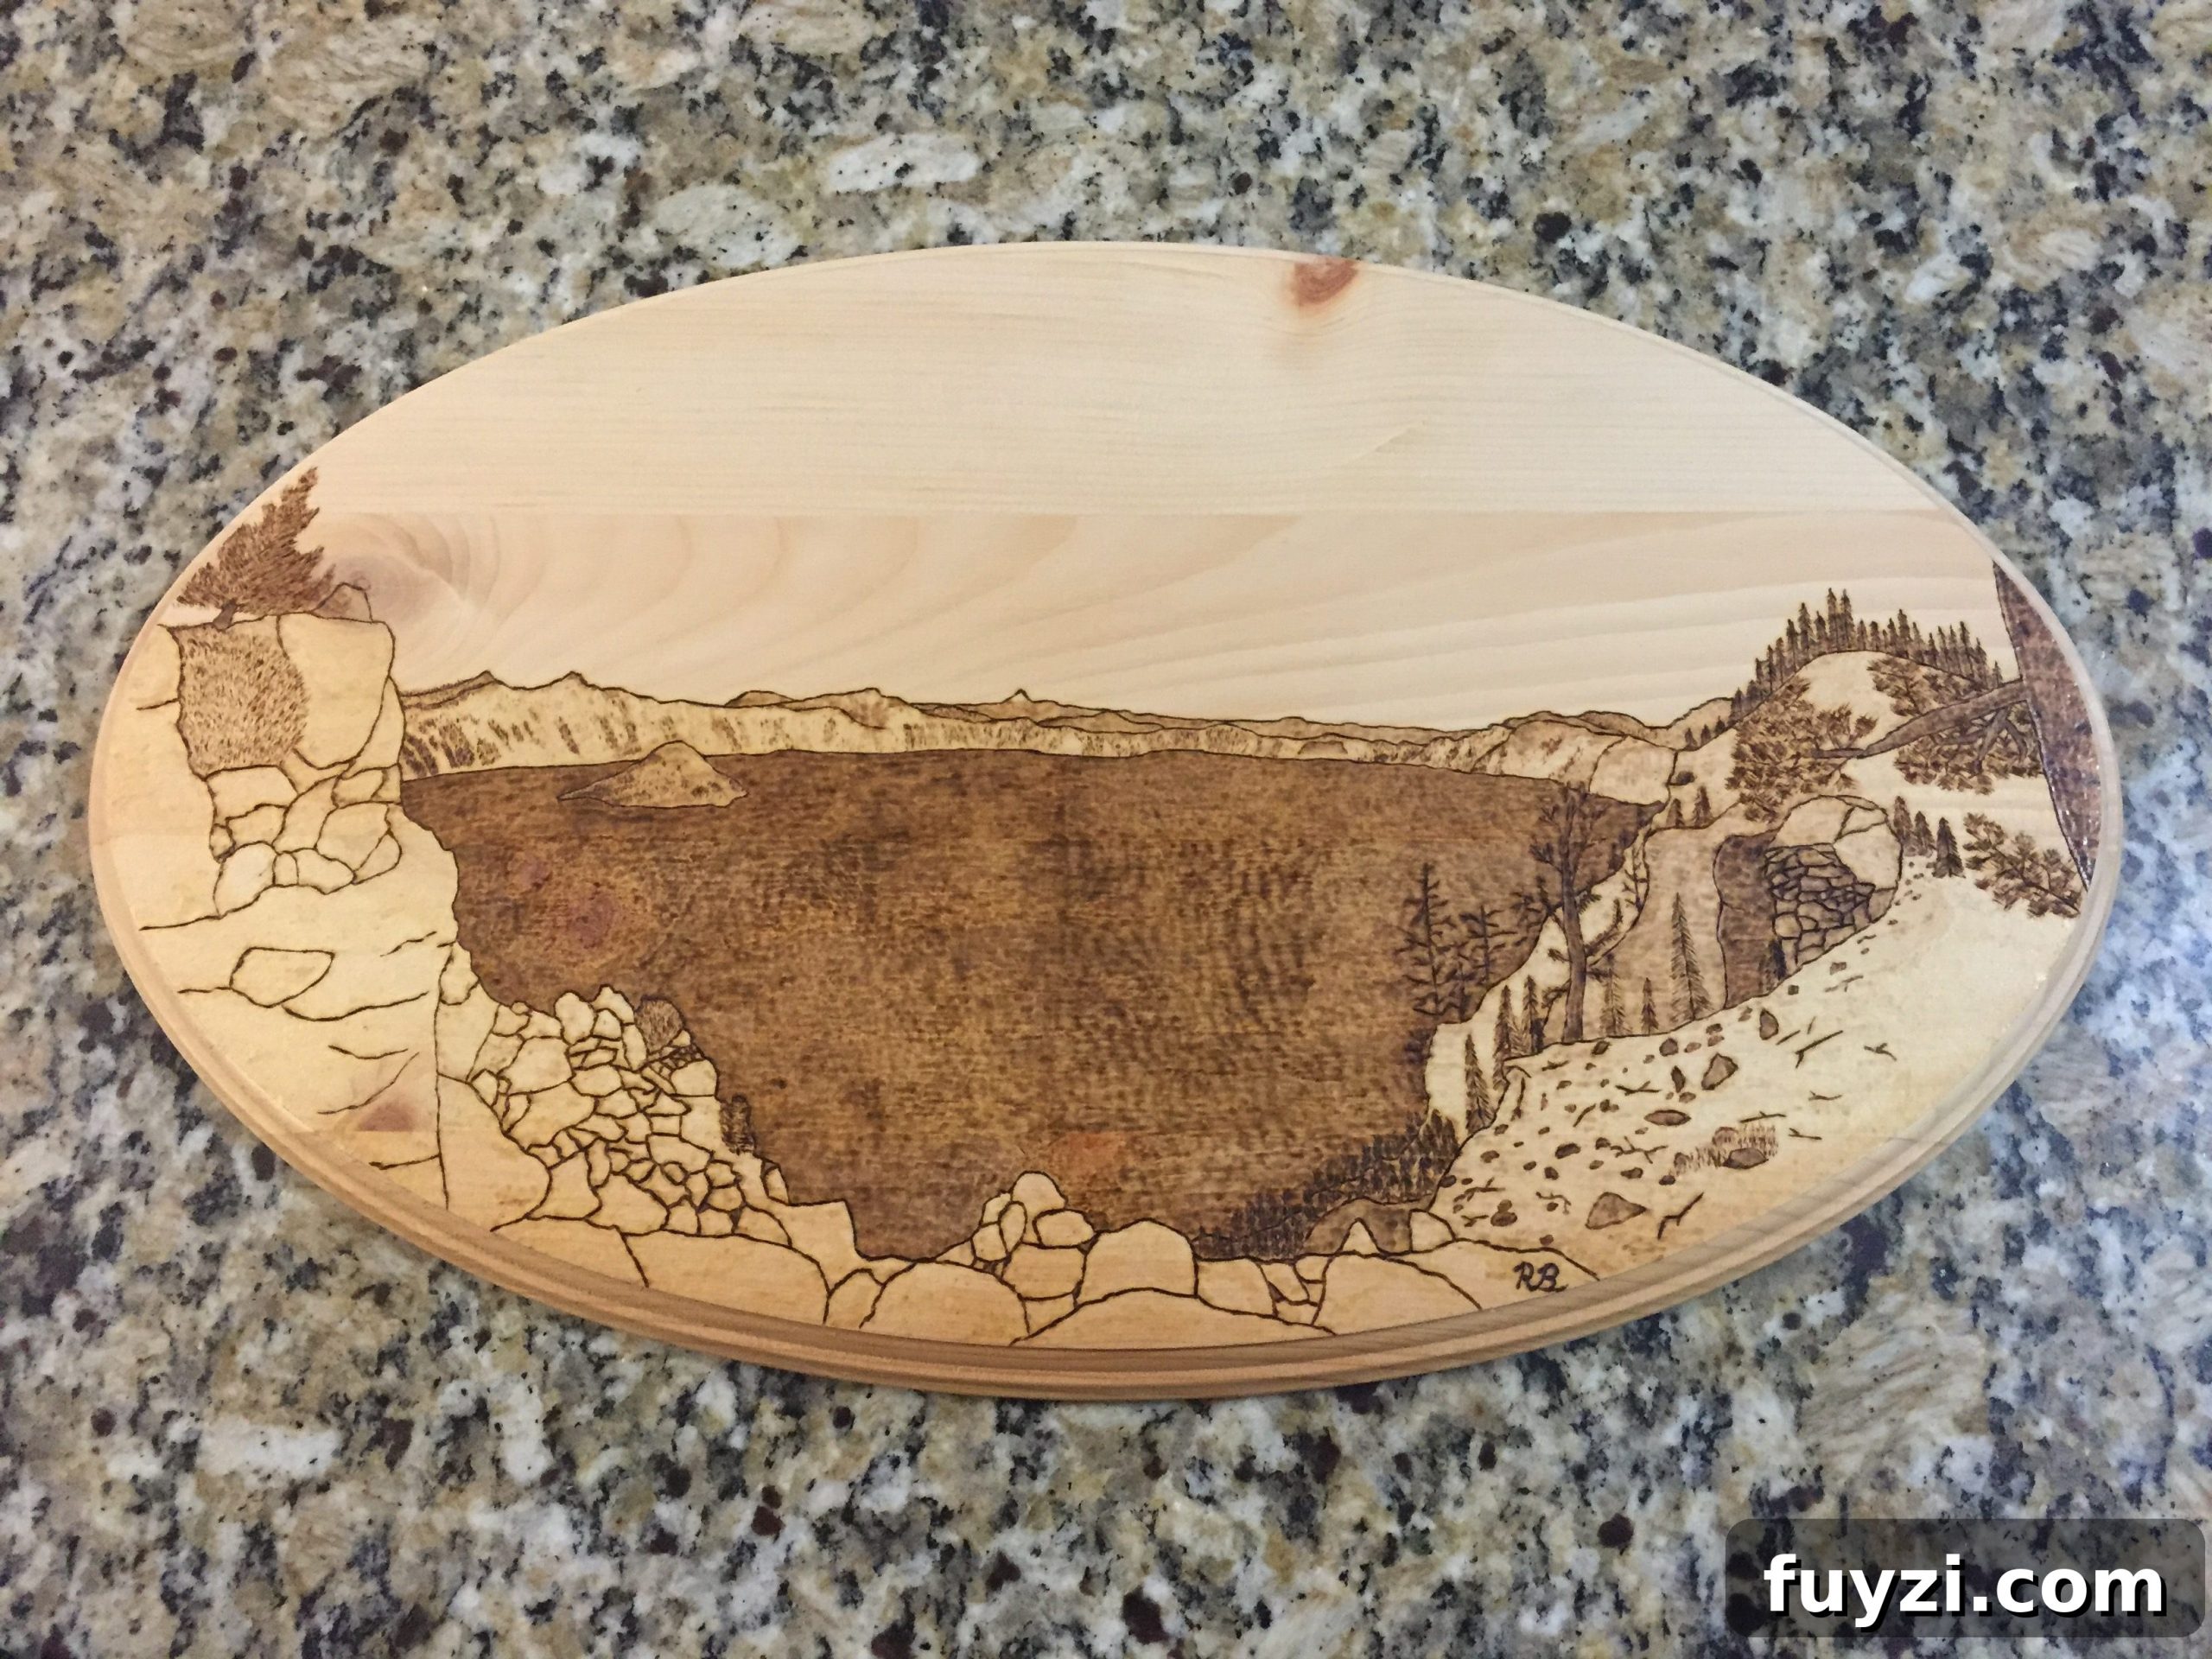
When I learned wood burning — pyrography — it felt natural to capture our Crater Lake experience that way. I’m comfortable sketching from photos and translating them into a woodburning project, so for Lauren’s birthday I made her the piece you see above. It still hangs in our house and reminds us of the trip every time we pass it. If you enjoy DIY projects, wood burning is an approachable craft that pairs well with simple materials and a little practice.
Shopping List
- Small, smooth piece of wood suitable for pyrography (available at many craft stores)
Tools
- Pyrography pen with adjustable temperature settings
- Carbon transfer paper or graphite transfer sheet
- Pencil and eraser for sketching
- Sanding paper (fine grit) for smoothing the wood
- Masking tape to hold patterns in place
- Optional: clear finish or sealant to protect the finished piece
Step 1: Choose or draw the image you want to burn. Use a photo as a reference and simplify details so the design will translate well into burned lines and shading. Light pencil sketches work best.
Step 2: Prepare the wood surface by sanding it smooth and removing dust. Place a piece of carbon transfer paper on the wood and tape it down so nothing shifts while you trace.
Step 3: Lay your drawing on top of the carbon paper and carefully trace over the lines you want transferred. Check that the transfer is clear before removing the paper and sketch.
Step 4: Remove the drawing and transfer paper. If necessary, refine the transferred lines lightly with a pencil. Keep lines simple and avoid heavy pencil marks that can smudge when burned.
Step 5: Practice with your pyrography pen on a scrap piece of the same wood. Test heat settings and pressure to learn how the tool shades and how long to hold it in one spot without overburning. Start with lighter strokes and gradually deepen tones for shading. When you’re comfortable, begin tracing the transferred design on your final piece, working from the main outlines to finer details.
Step 6: Build depth by layering burns: use lighter, finer strokes for distant features and darker, heavier burns for foreground elements. For smooth gradients, move the pen steadily and avoid lingering in one spot. Take breaks if the pen or hand becomes tired to maintain consistent control.
Step 7: After burning, lightly sand any rough edges and wipe the surface clean. If desired, apply a clear sealant or finish to protect the wood and deepen the contrast of the burned lines. Make sure the finish is compatible with woodburned surfaces and apply in a well-ventilated area.
Safety tips: always work in a well-ventilated space, use heat-resistant tools carefully, and keep flammable materials away from your workspace. Gloves and eye protection can add a layer of safety while you learn the craft.
I hope this inspires you to try a pyrography project of your own — whether it’s a landscape that means something to you or a simple practice piece. With a little patience and practice, wood burning can turn a memorable image into a lasting piece of art that you’ll enjoy for years.