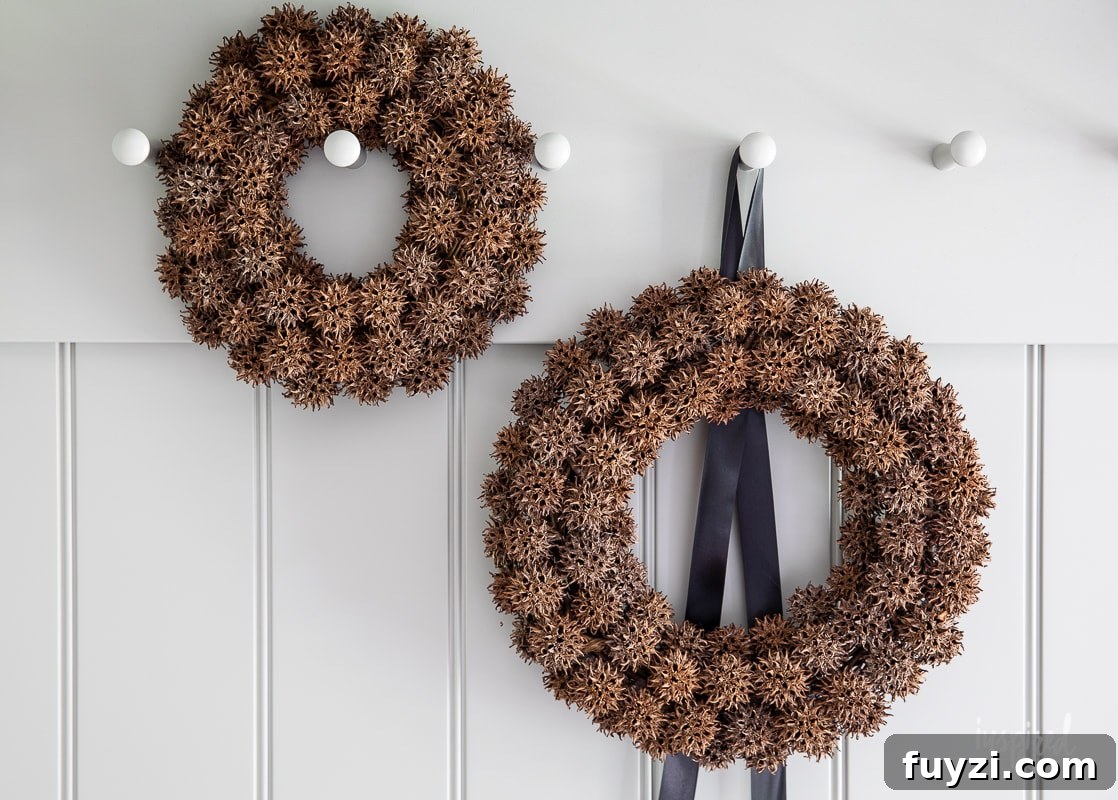
Today I’ll show you how to make a foraged fall wreath using the spiky seed balls from a Sweetgum tree. This thrift-friendly, natural wreath is simple to assemble and can be completed in under 30 minutes with minimal supplies.
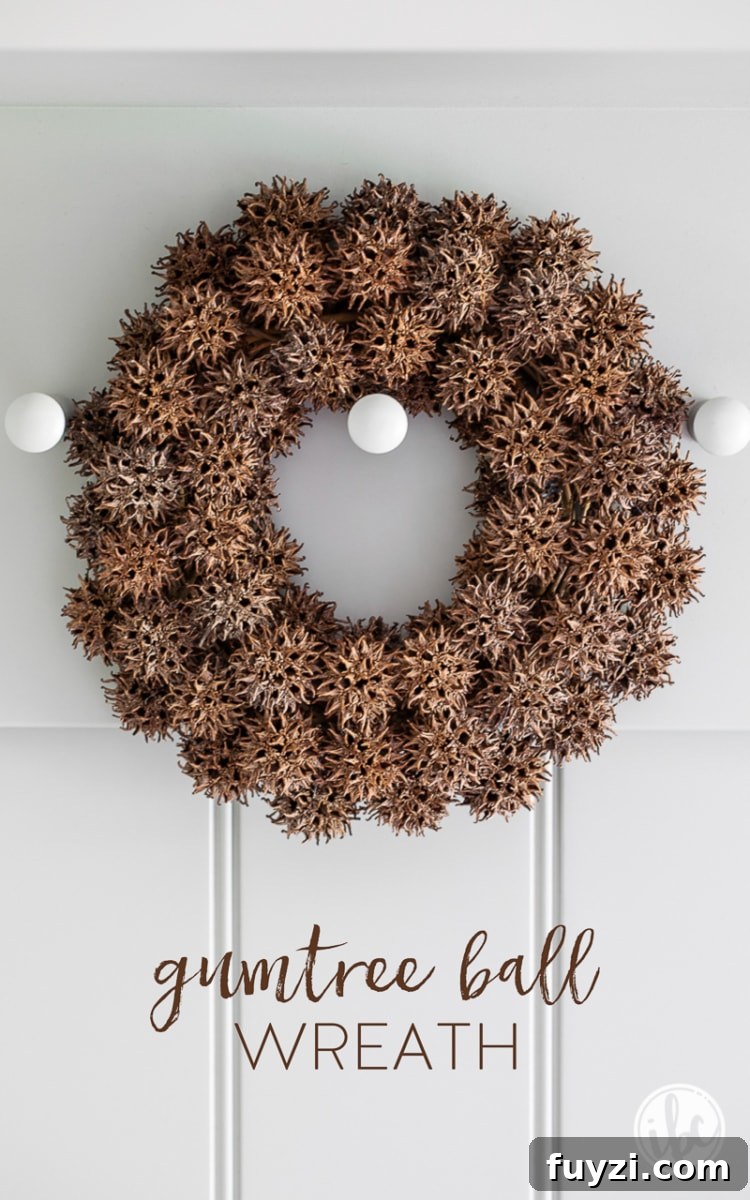
Foraged Fall Wreath with Sweetgum Balls:
It’s been a while since I posted a craft idea here, and I’m excited to share this simple, natural fall project with you. Working with foraged items brings texture and seasonal charm to any home without breaking the bank. With a bag of Sweetgum balls from the yard, a grapevine wreath, and a hot glue gun, you can make a striking fall wreath in a short afternoon.
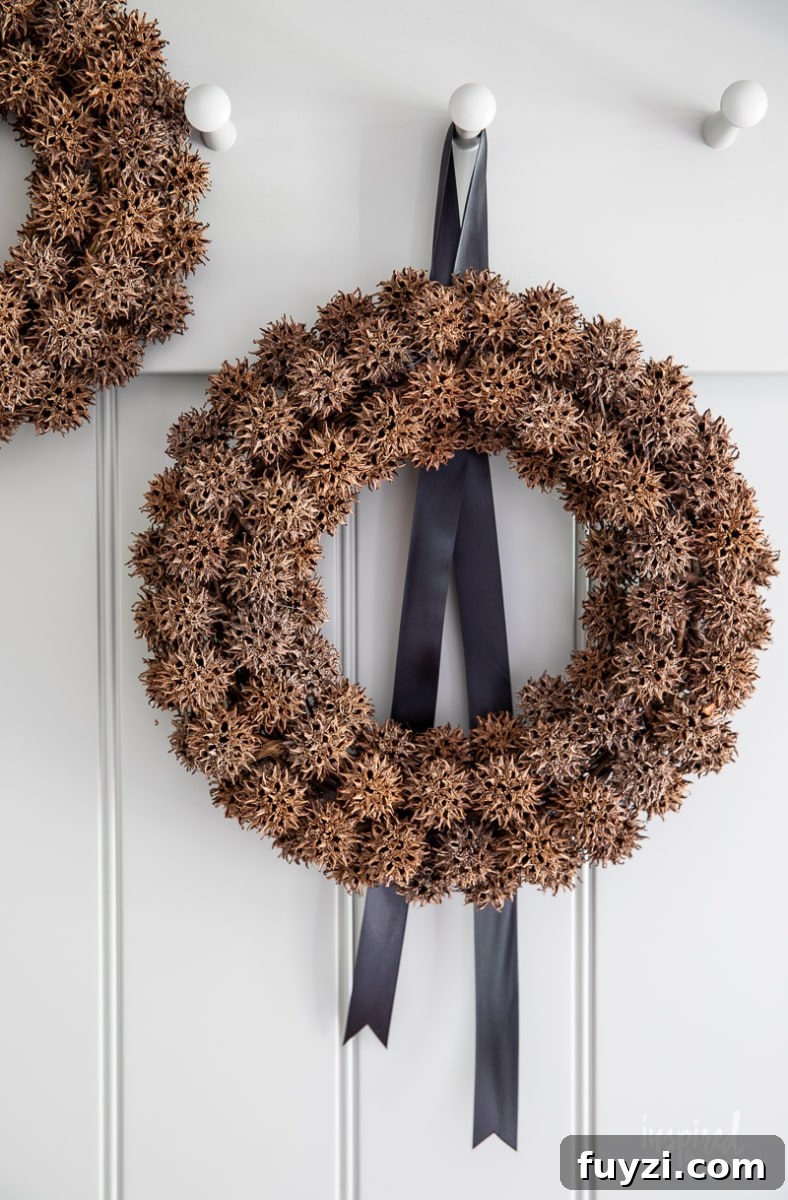
I first tried this after collecting Sweetgum balls that drop from the tree in my yard. If you don’t have a Sweetgum tree nearby, these seed balls are usually available to purchase in craft supply shops and online at reasonable prices. They’re an excellent, long-lasting natural embellishment for wreaths, garlands, and table decor.
This post is part of a seasonal series that offers budget-friendly and foraged decorating ideas. It’s a great reminder that ordinary yard debris can become elevated, natural decor when used thoughtfully.
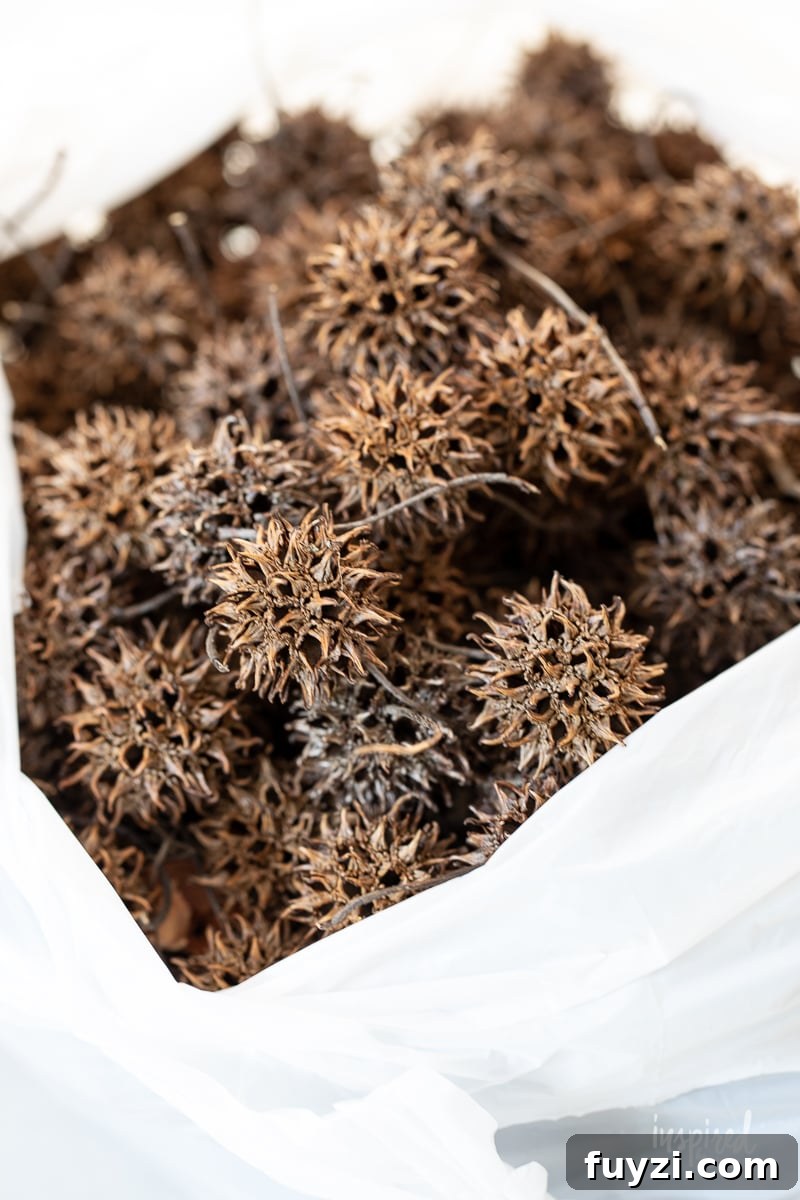
Where to find Sweetgum balls
If you don’t have Sweetgum seed balls in your yard, search craft suppliers online or local craft stores. They’re inexpensive in bulk and make a distinctive, rustic accent. Buying them is a convenient option if foraging isn’t possible in your area.
How to Make a Foraged Fall Wreath with Sweetgum Balls:
You will need:
- Grapevine wreath (8″ or 10″ works well)
- Sweetgum balls (approximately 65 for an 8″ wreath; about 90 for a 10″ wreath)
- Hot glue gun and glue sticks
- Wire cutters or scissors and optional tweezers for glue strings
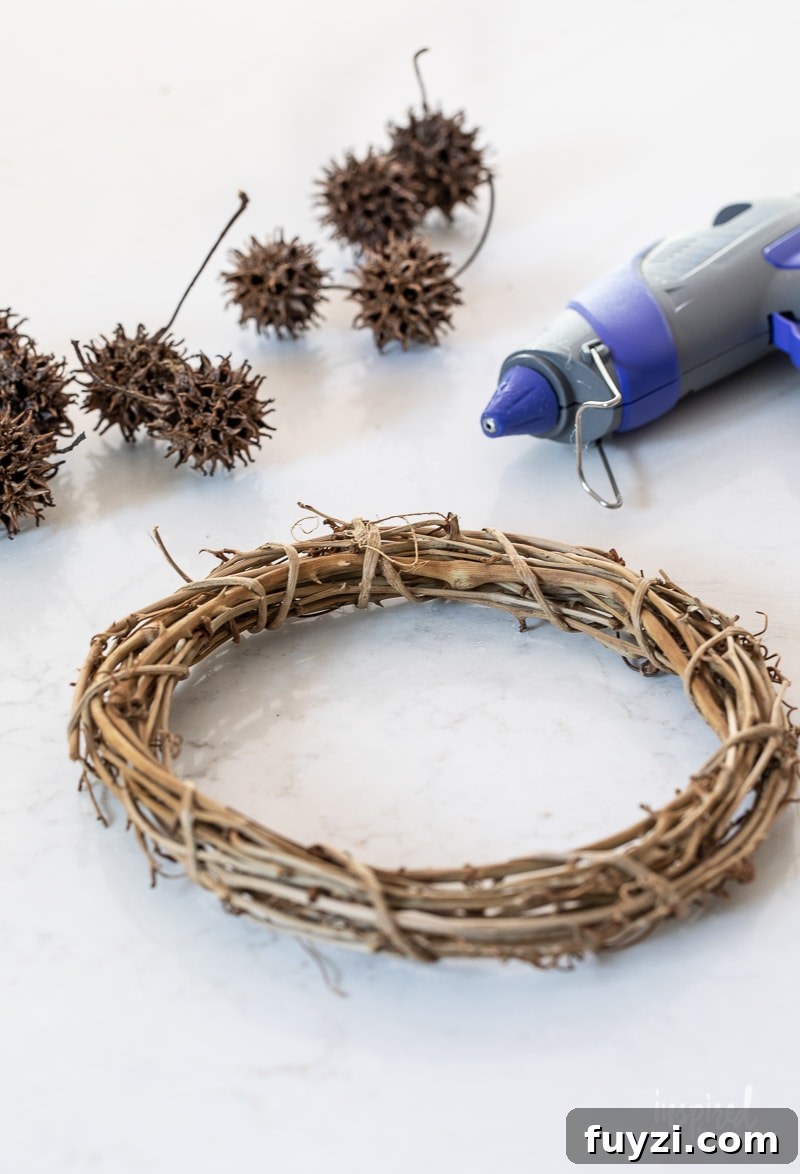
Step 1: Trim any long stems on the Sweetgum balls so each one sits flat against the wreath base.
Step 2: Working from the inside of the grapevine wreath, add a small dab of hot glue to a Sweetgum ball and press it firmly into place. Hold briefly until the glue sets.
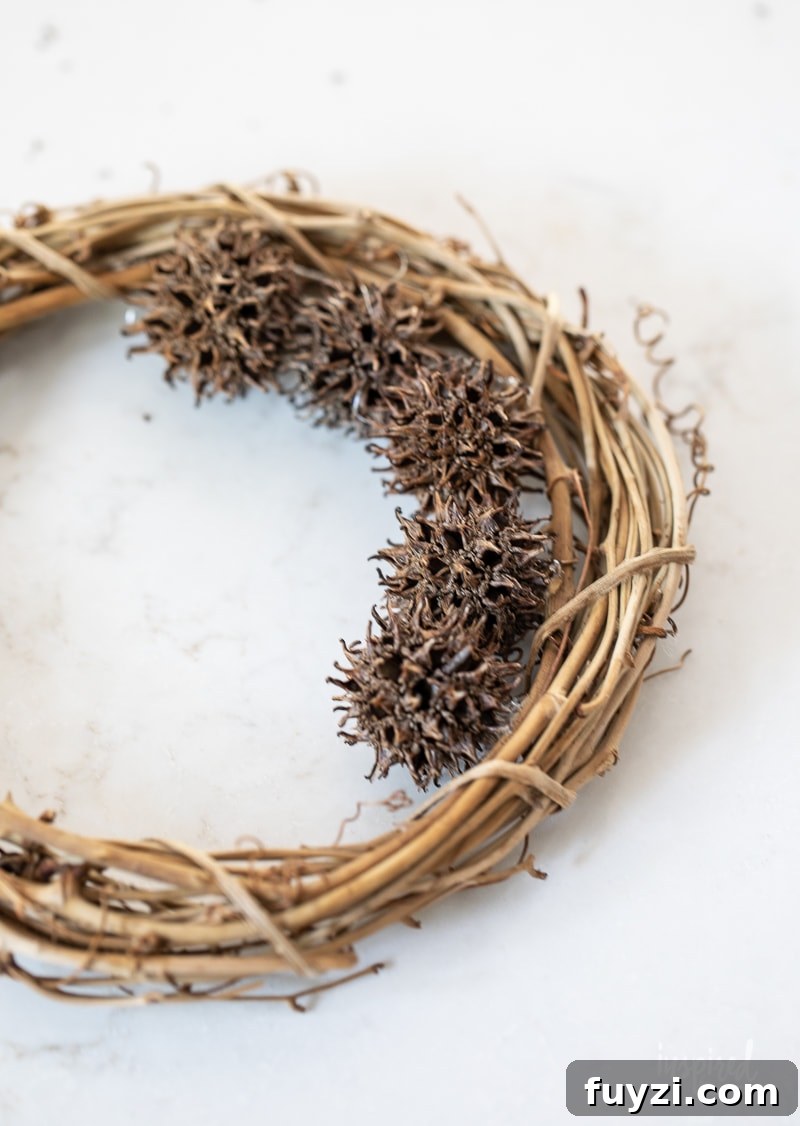
Step 3: Continue adding Sweetgum balls to fill the inner ring of the wreath. Then move to the outer ring and repeat. For both 8″ and 10″ wreaths, I found it best to add two additional rows on the top of the wreath and to alternate placement as you go around for an even, balanced appearance.
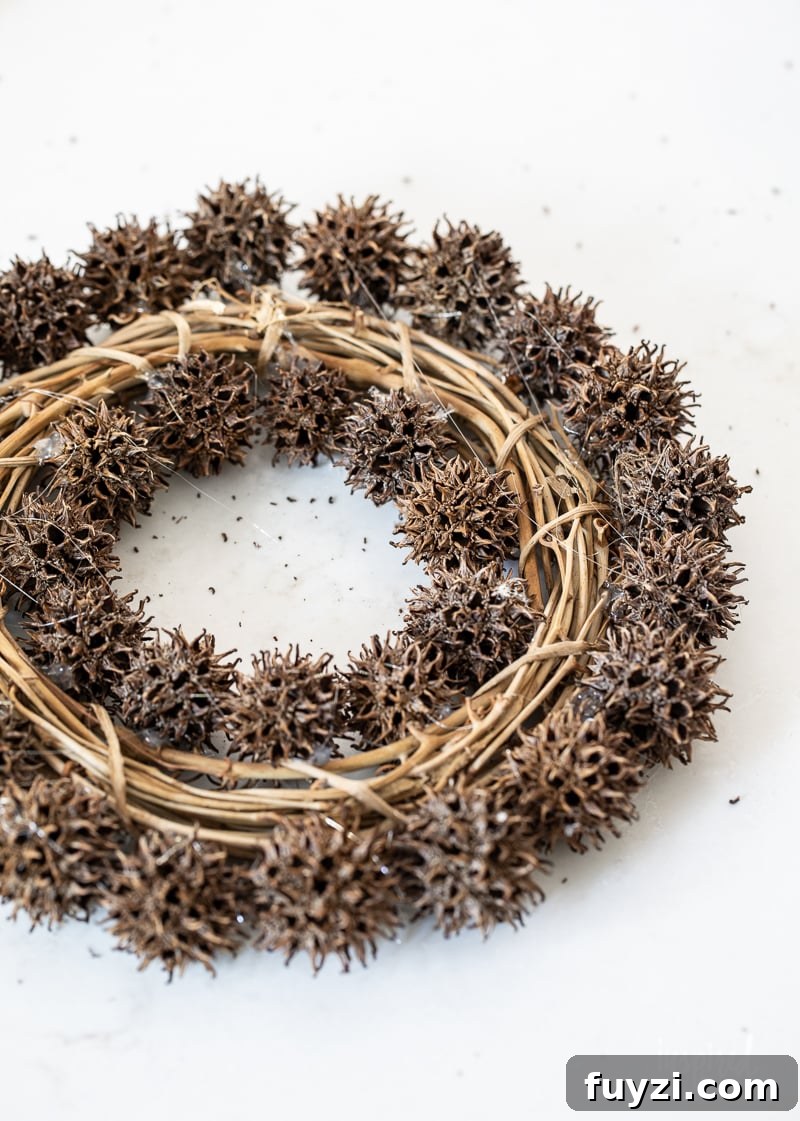
Step 4: Once all balls are in place, check each one for a secure bond. Add a bit more glue where needed and remove any stray glue strings—tweezers are very helpful for this when glue becomes trapped between spikes.
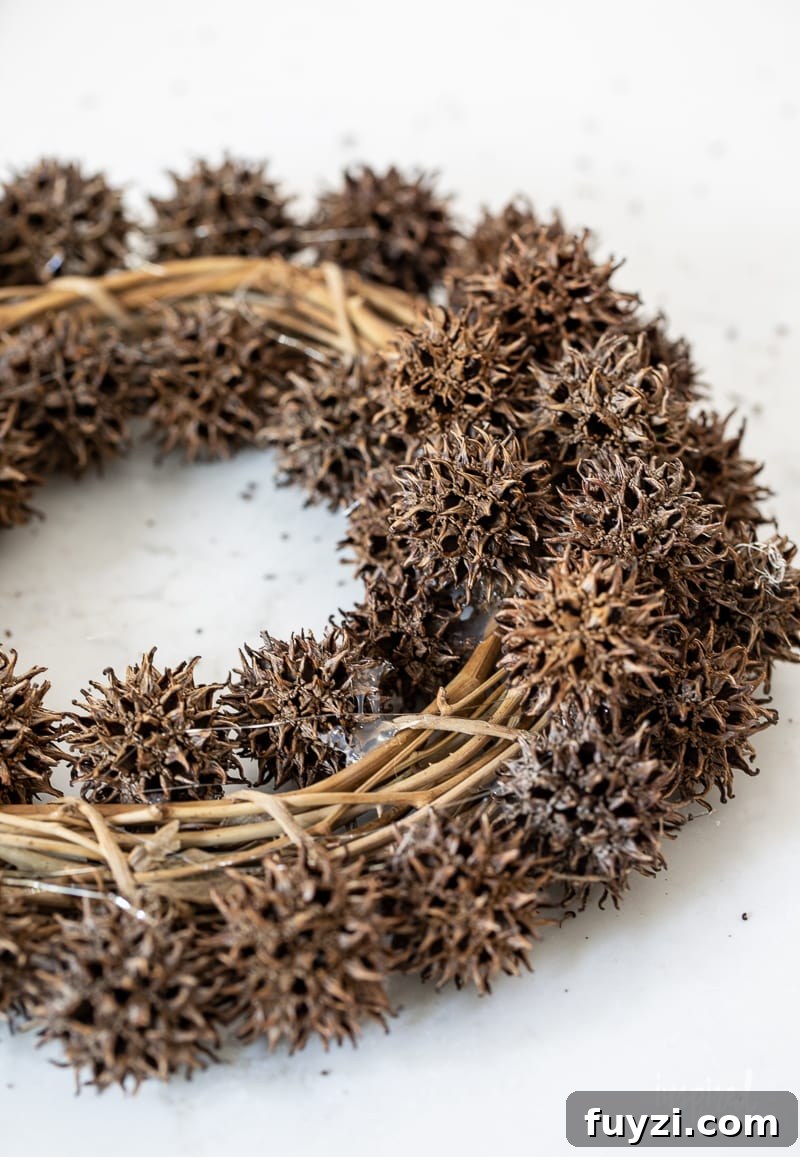
Step 5: To hang your wreath, attach a loop of wire to the back or secure a length of ribbon with hot glue. Satin ribbon adds a refined finishing touch if you prefer a softer look.
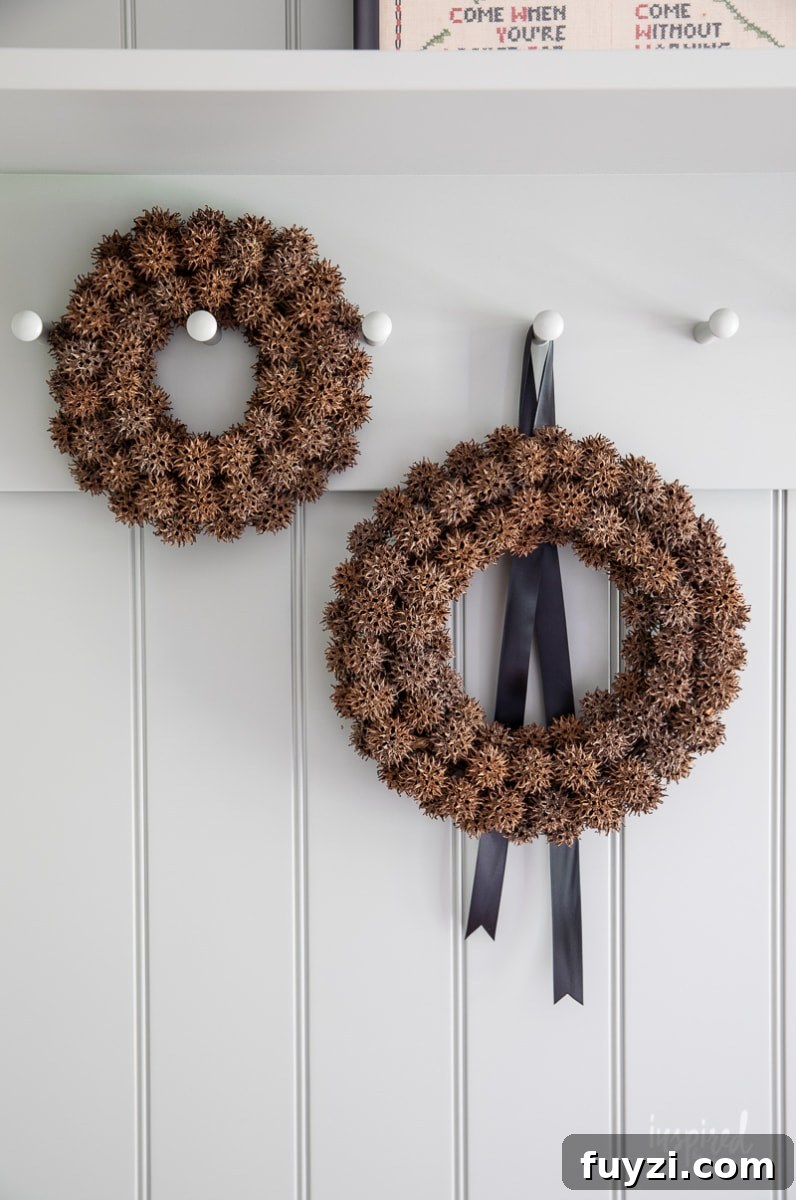
The result is a tactile, natural wreath with beautiful autumnal color and texture. The smaller wreath took under 20 minutes to make and the larger one under 30—perfect for quick seasonal updates or host gifts.
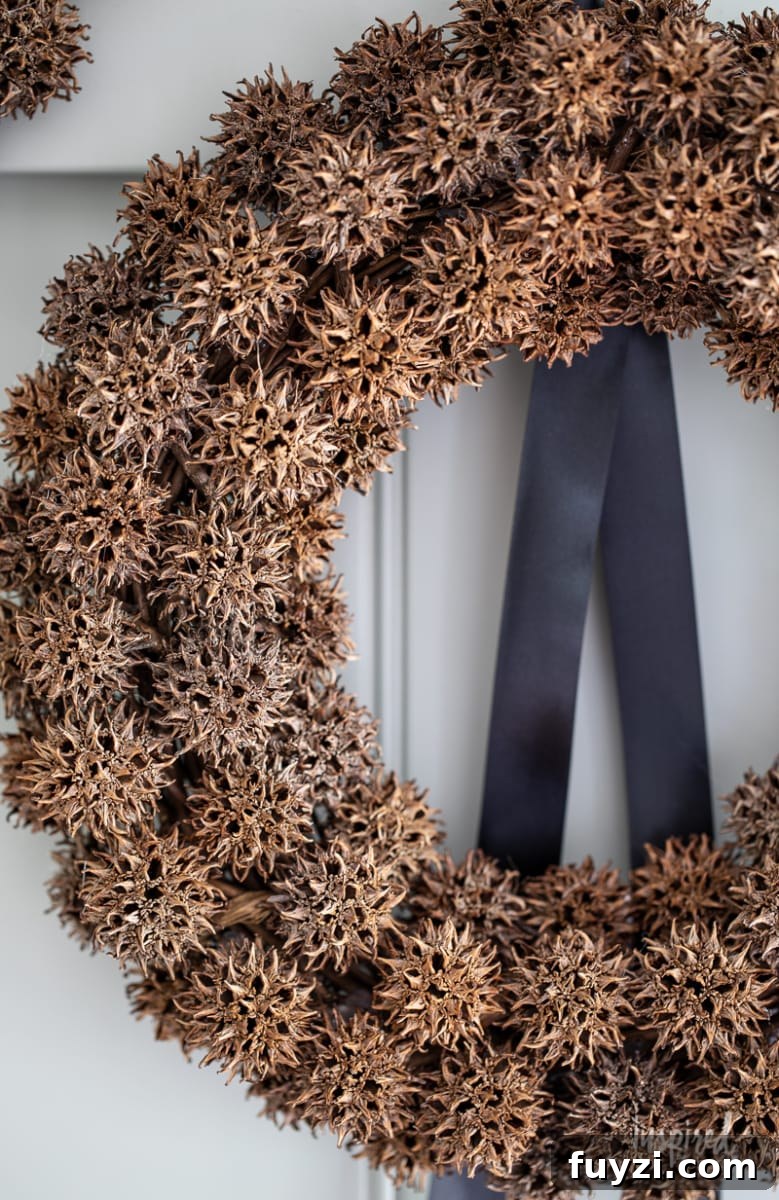
Tips and Variations
- Pair the wreath with other natural elements like dried grasses, mini pumpkins, or preserved leaves for a layered display.
- Leave the Sweetgum balls natural for rustic charm or lightly spray with metallic paint for a subtle modern twist.
- Use a smaller or larger grapevine base to change the wreath’s scale to fit different spaces.
Looking for more fall craft ideas? Try these:
- Color-Wrapped Wheat
- “Acorn” Acorn Squash
- Cork Leaves Table Decor
- Succulent Pumpkin Planter
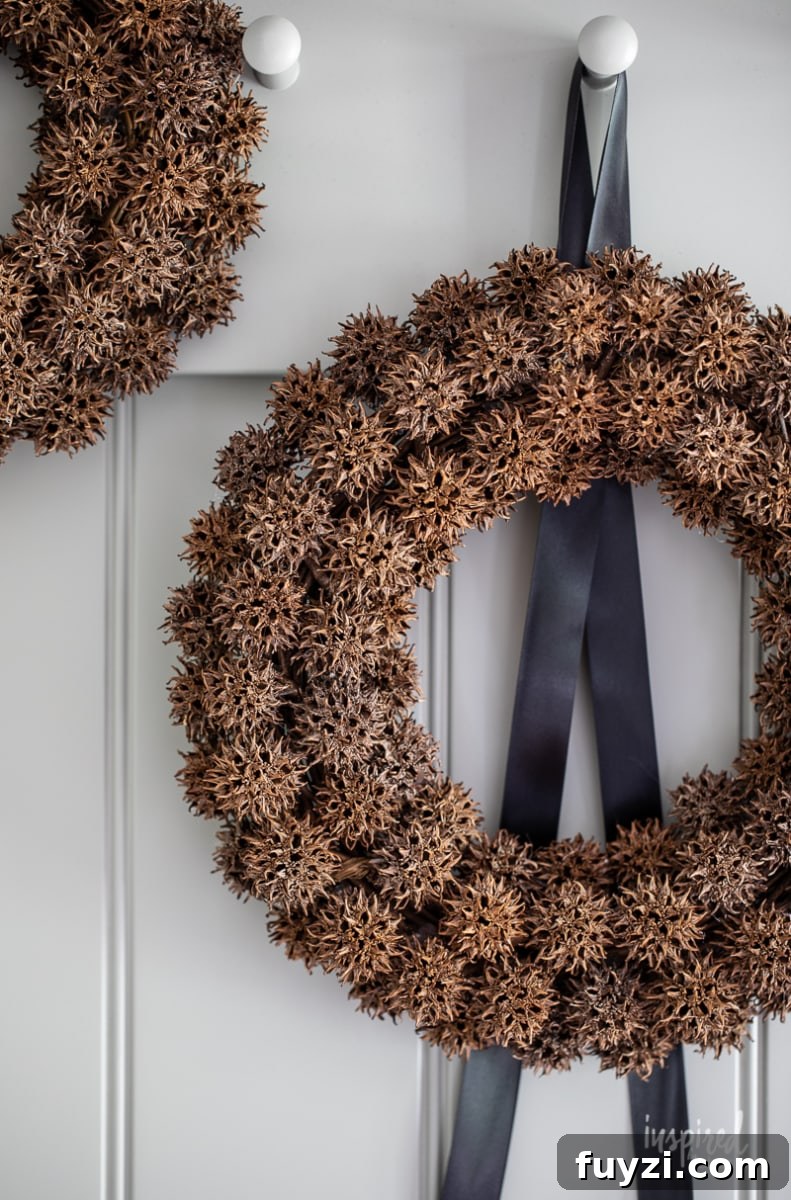
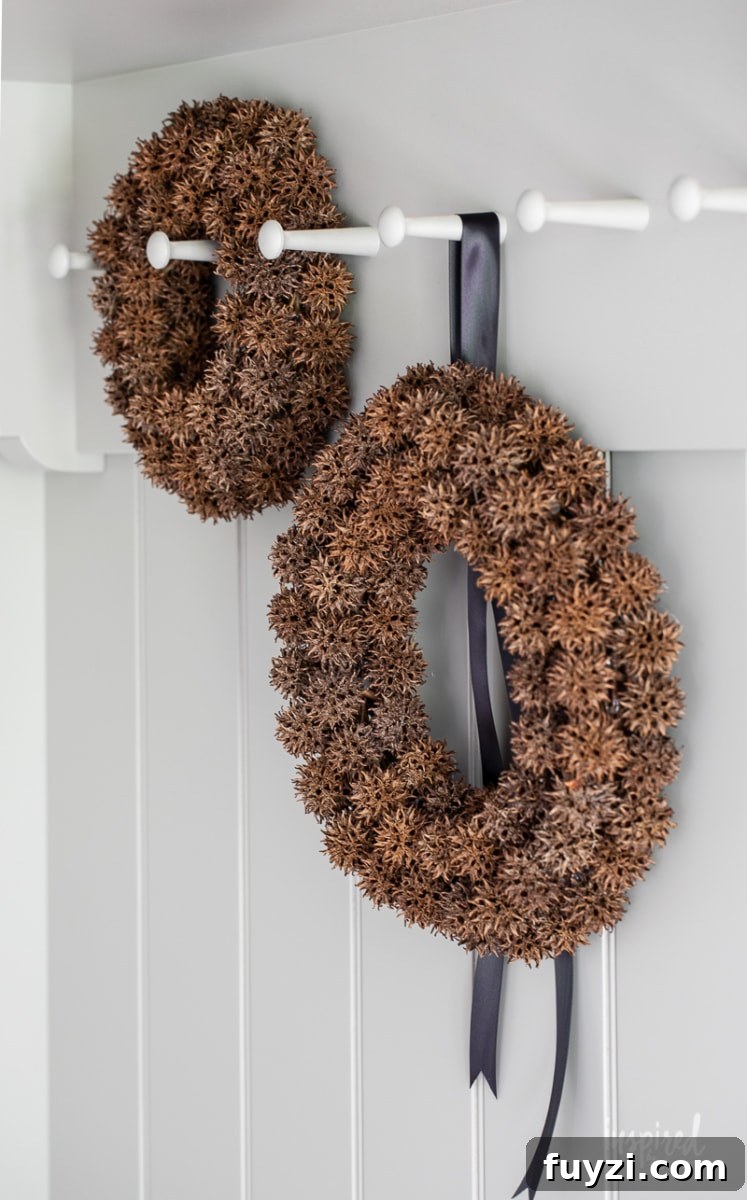
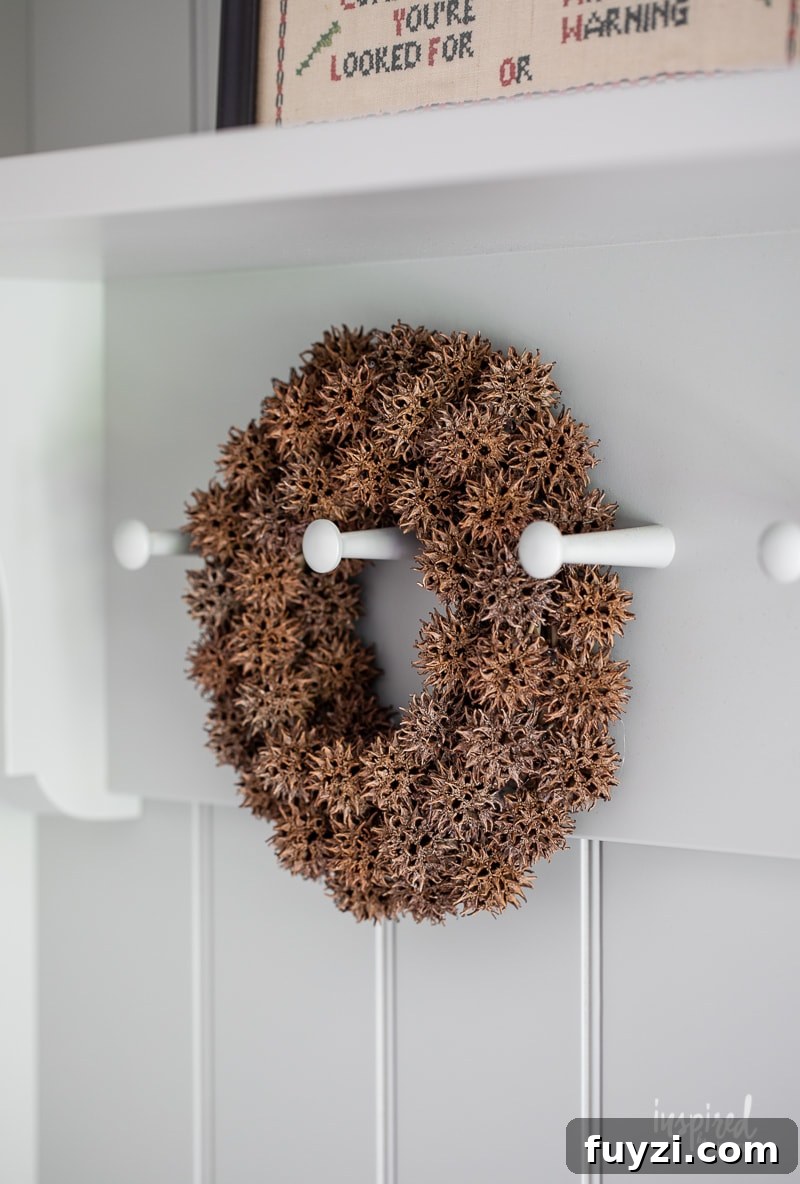
I love how these wreaths look when hung from a peg rail or layered in an entryway vignette—their natural hue and texture are uniquely organic and beautifully seasonal. What felt like a yard nuisance became a lovely piece of decor with very little effort.
Seasons of Home Budget-Friendly Fall Decor
This project is part of a collection of budget-friendly fall decorating ideas from a group of creative bloggers. Their work offers plenty of inspiration for creating warm, welcoming seasonal spaces on a budget.
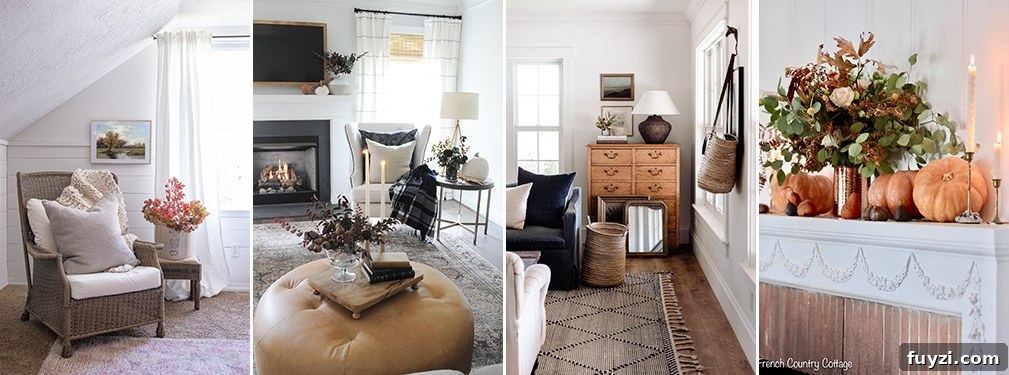
Ella Claire & Co. | Dear Lillie | Boxwood Avenue | French Country Cottage
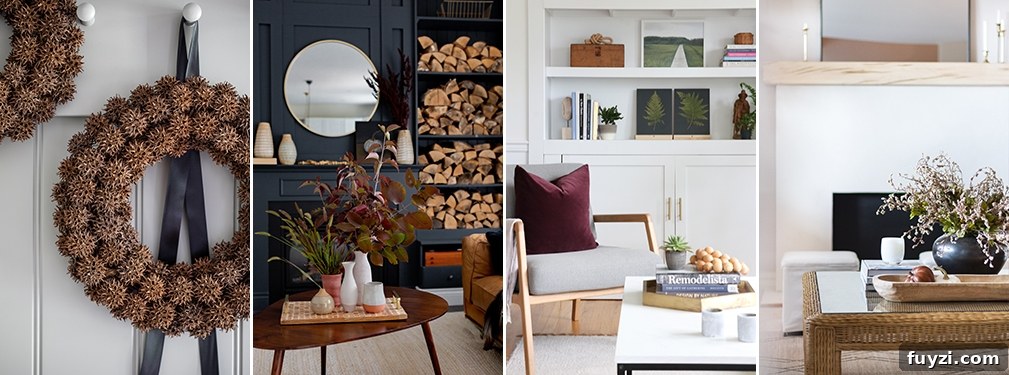
Inspired by Charm | Craftberry Bush | City Farmhouse | Zevy Joy
Want more from Inspired by Charm?
If you enjoy easy seasonal projects, consider subscribing to the blog’s mailing list to get creative ideas delivered to your inbox and follow along for updates and a future fall home tour.
Happy Fall!