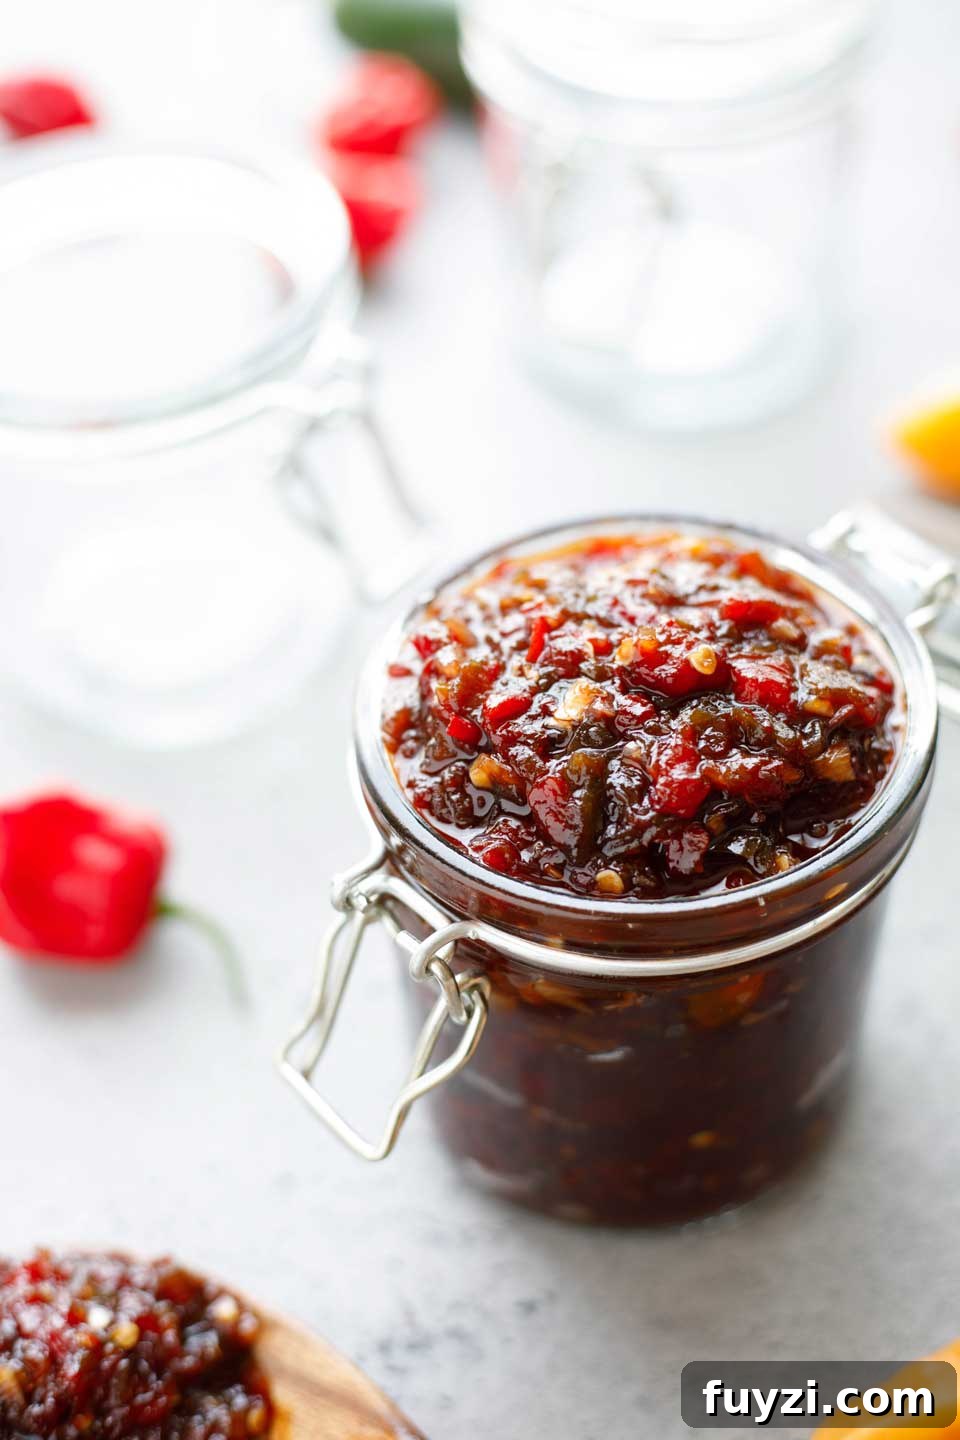
~ This Sweet and Spicy Pepper Relish has become legendary in our kitchen — a true obsession. Don’t be intimidated by the spicy peppers in the ingredients; this relish balances heat with bright, fruity-sweet and tangy flavors. Even people who think they don’t like spicy food tend to love it. You’ll want it on practically everything! ~
Recipe features: Freezable • Make Ahead • Vegan • Gluten Free
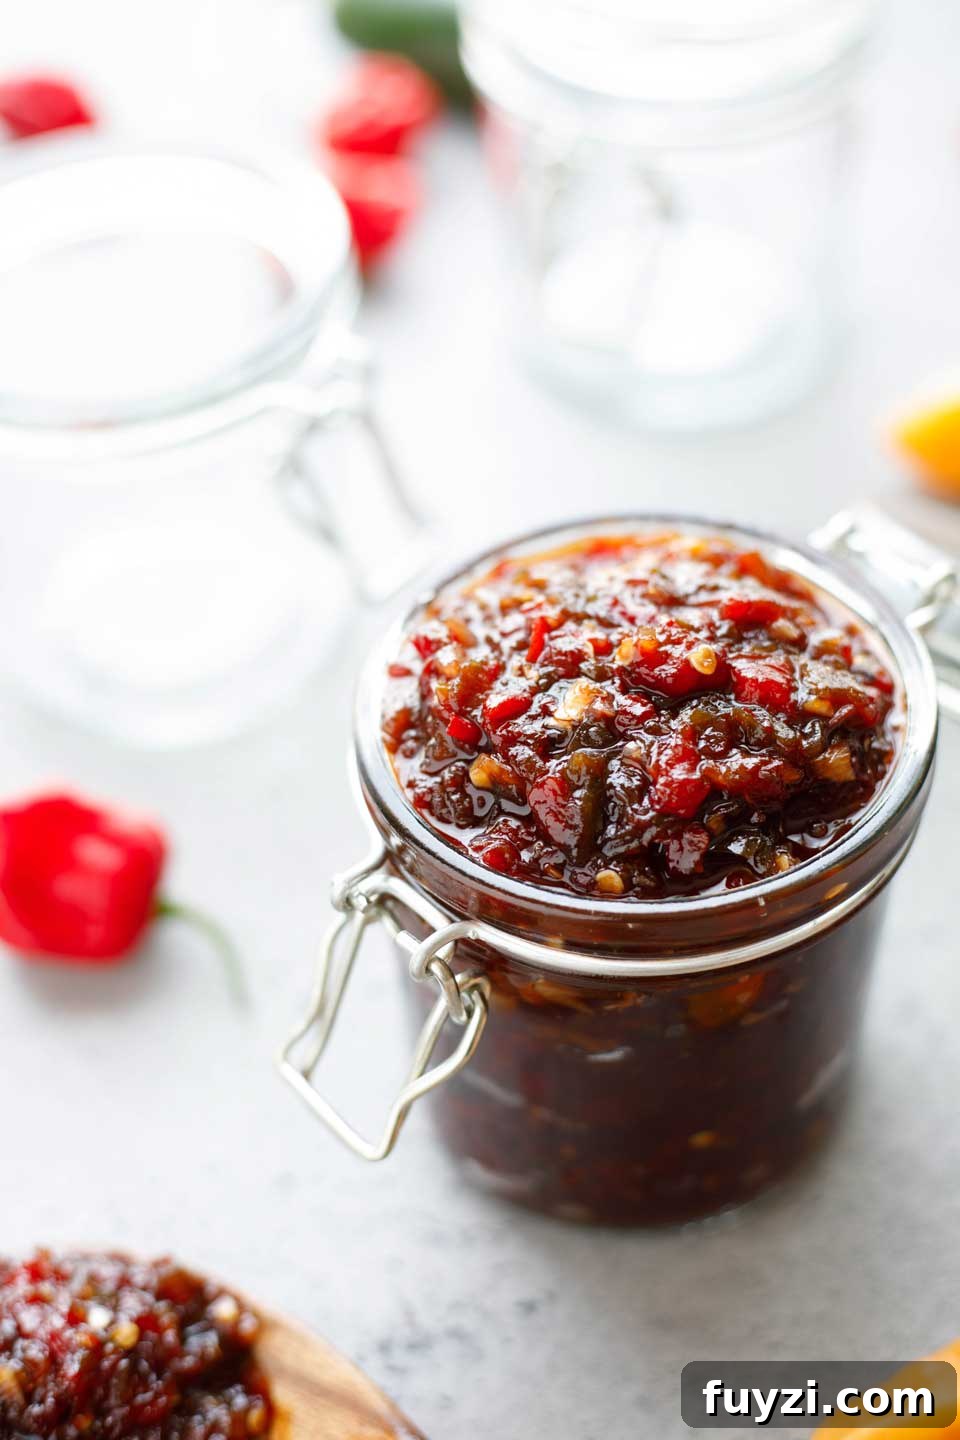
I’m only half joking when I say we’ve been putting this pepper relish on everything — it’s that good. It’s not heat for heat’s sake: this relish layers tangy, savory, and fruity-sweet notes with a robust but flexible heat level you can easily adjust.
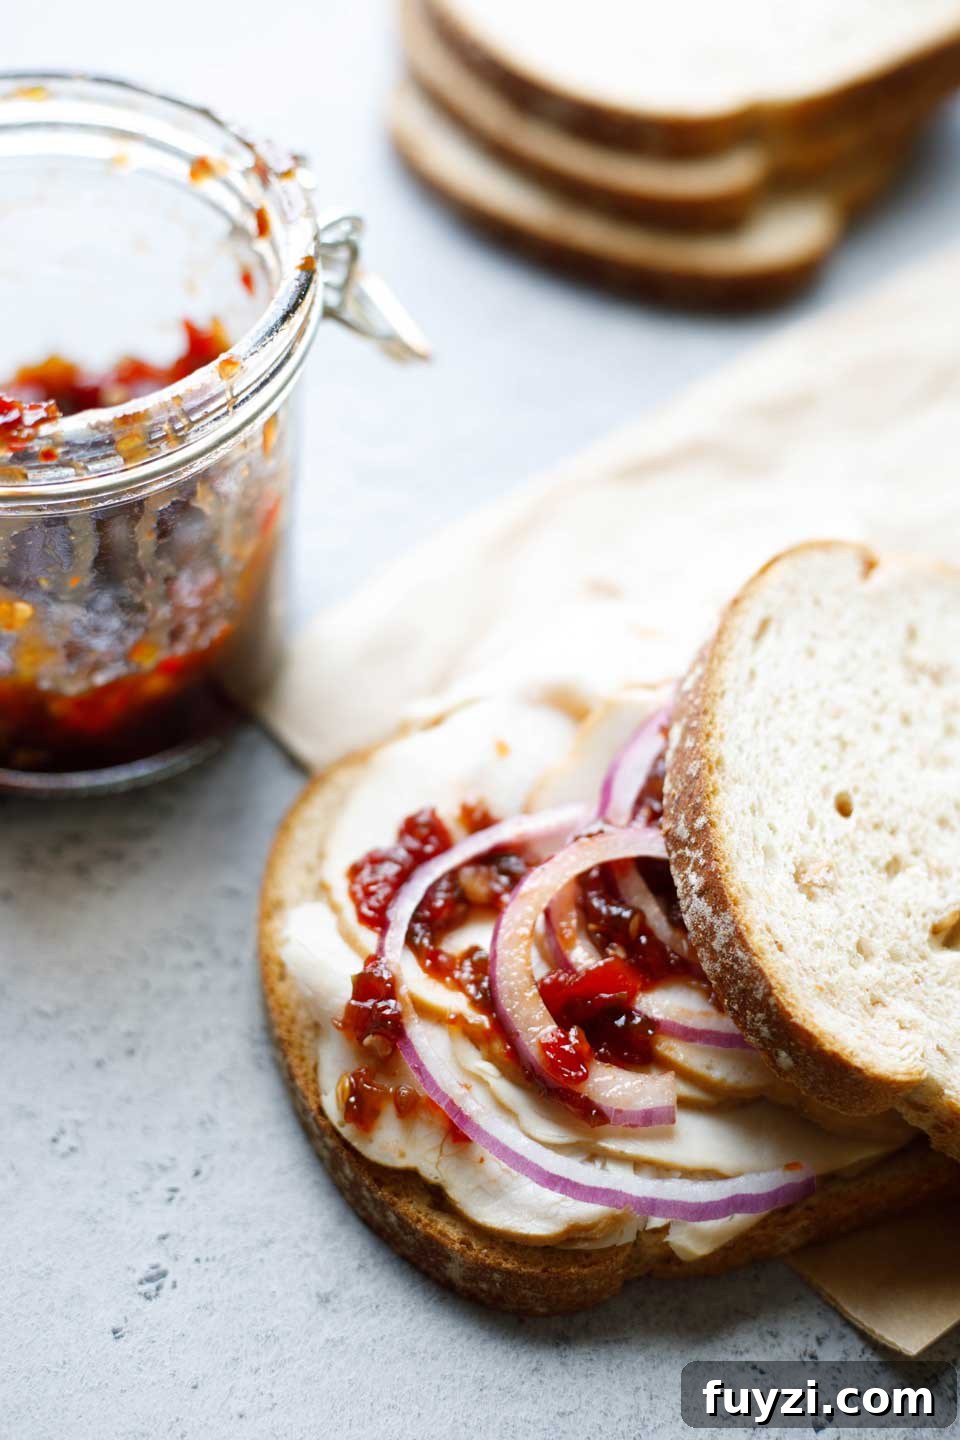
We’ve tried it on:
- Hamburgers, chicken sausages, and salmon
- Turkey sandwiches, BBQ, and subs
- Hummus and cream cheese spreads
- Roasted or steamed vegetables and mashed potatoes
- Macaroni and cheese
- Scrambled eggs
…basically everything except breakfast cereal.
A Perfect Coincidence
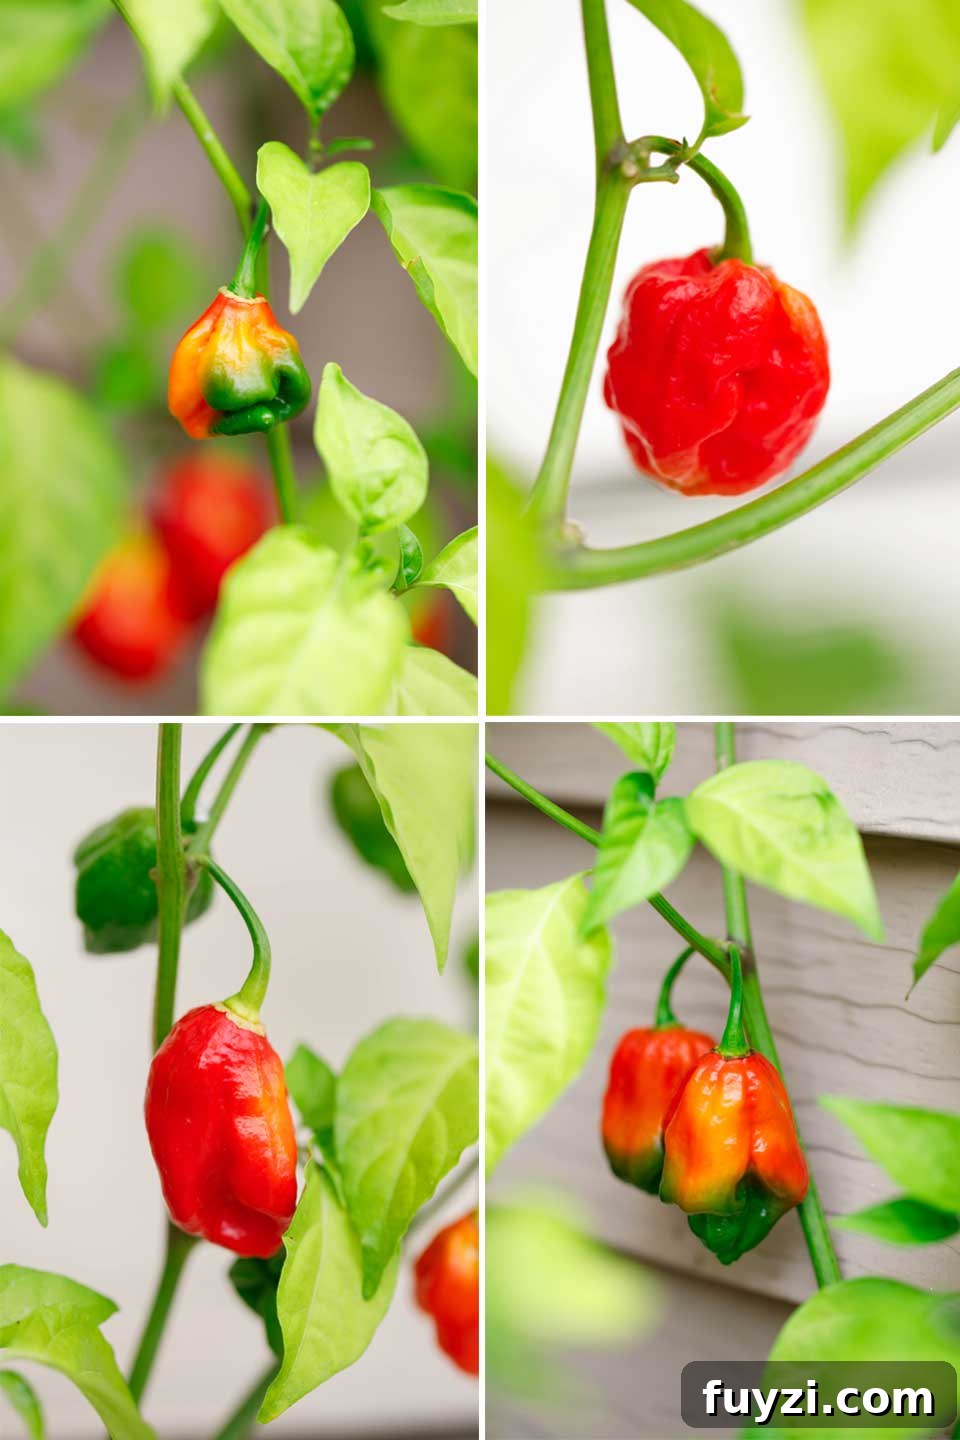
This condiment came about thanks to an unexpected pepper harvest. I planted tiny ghost pepper seedlings given to me as a fun gift, and while most plants struggled, one survived and thrived into an overachieving pepper bush loaded with fruit.
Ghost peppers are some of the hottest varieties, so I wondered how on earth to use them without making something inedible. That’s when a friend and reader saved the day by sharing his own pepper relish recipe — and I’m so glad he did. It’s the exact thing to do with a surplus of hot peppers, and it quickly became our newest obsession.
Your Daily Dose of Healthy Inspiration
I must thank Don, a longtime reader and friend, who shared this relish recipe after seeing a version at a restaurant. His dedication to healthier eating and his cooking creativity are inspiring. He adapted the recipe to his tastes and generously passed it along — and it’s become a staple for us.

Don lost a remarkable amount of weight after surgery and changed his diet for good. He started experimenting in the kitchen, making homemade versions of favorite foods — and this pepper relish is one of his proud creations. Thanks, Don!
How to Make Pepper Relish: A Simple Step-By-Step
About 10 minutes of prep and then a slow simmer is all it takes. The method is straightforward:
Step 1 — Prep the peppers
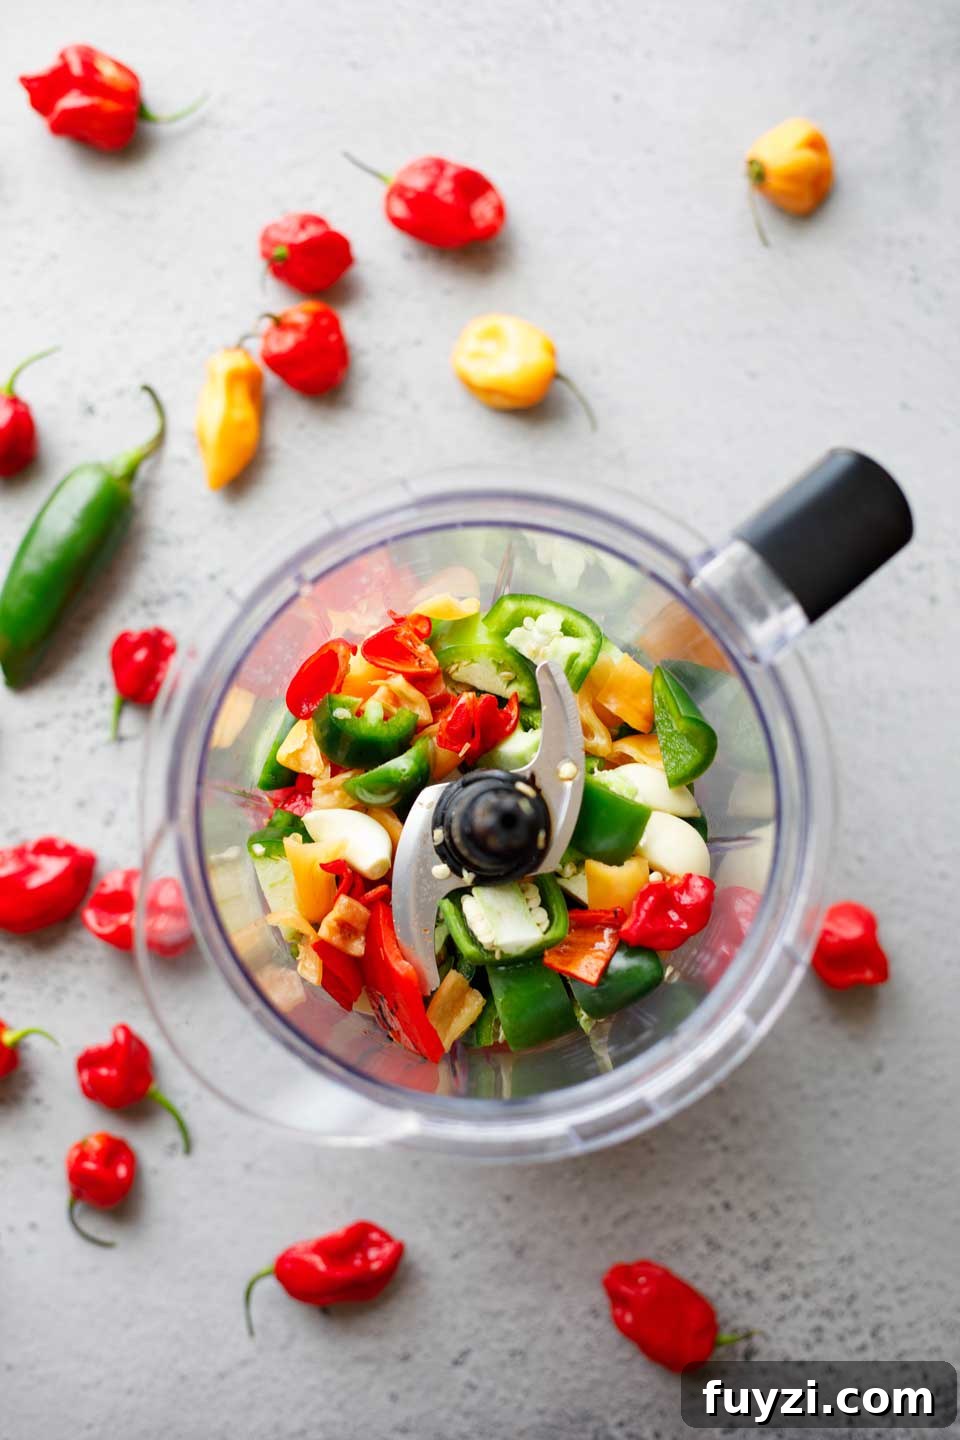
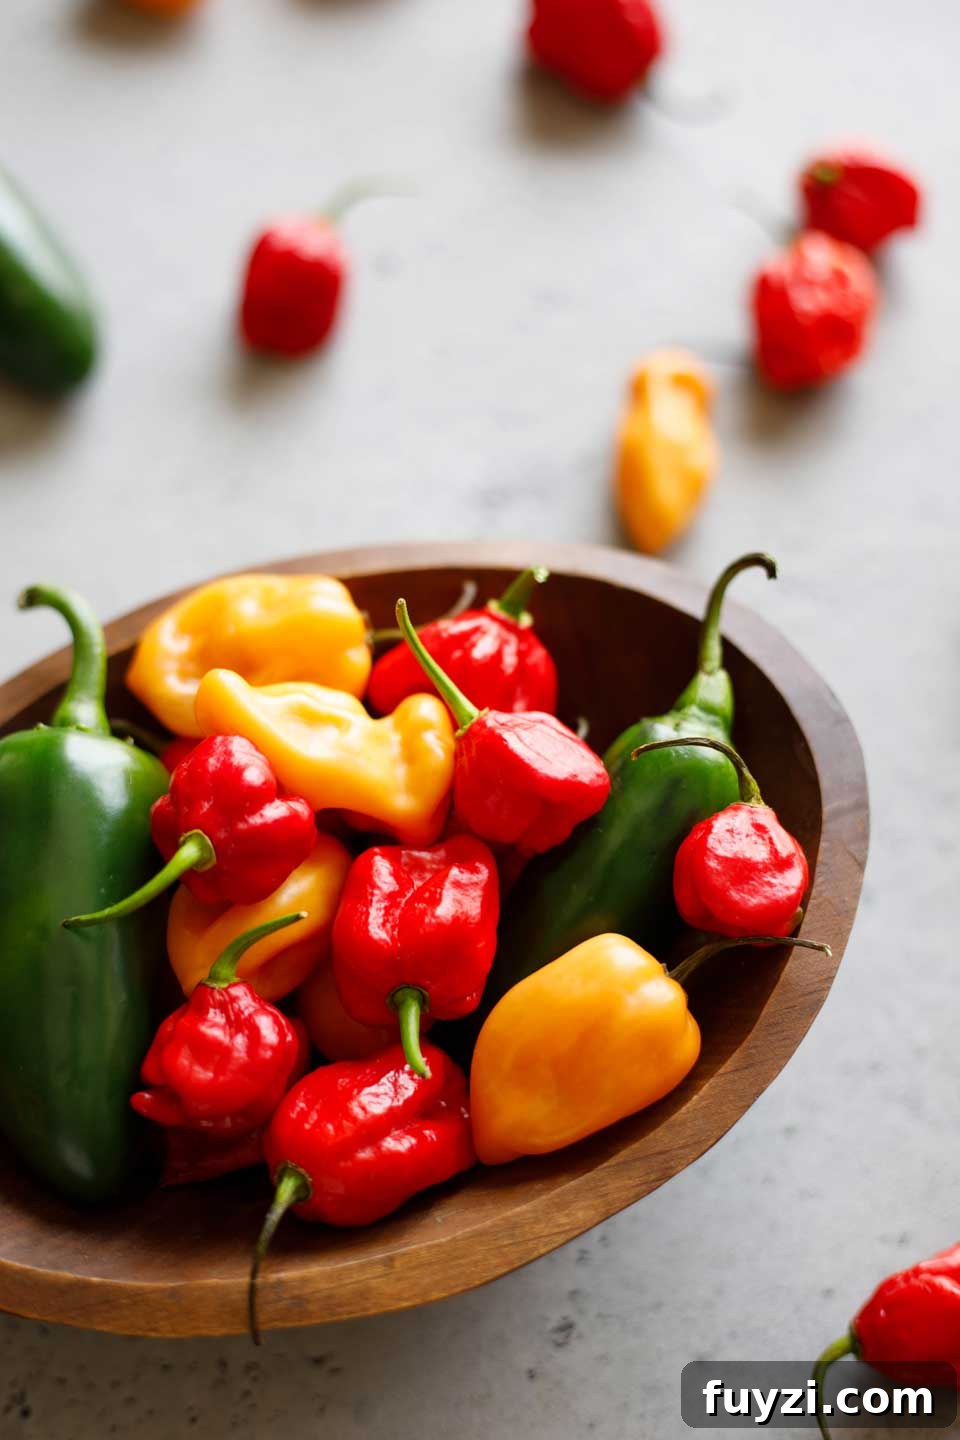
Remove stems from habanero, jalapeño, and ghost peppers. For a milder relish, remove seeds and the white inner ribs before chopping. Coarsely chop the peppers and add garlic and roasted red peppers.
Step 2 — Pulse
Pulse in a food processor until the mixture is in small, recognizable bits — not a puree. A few quick pulses are all you need.
Safety note
The oils in hot peppers can cause burning if they contact skin or eyes. Wear disposable gloves when handling hot peppers, avoid touching your face, and wash hands and surfaces thoroughly after prepping.
Step 3 — Combine and simmer
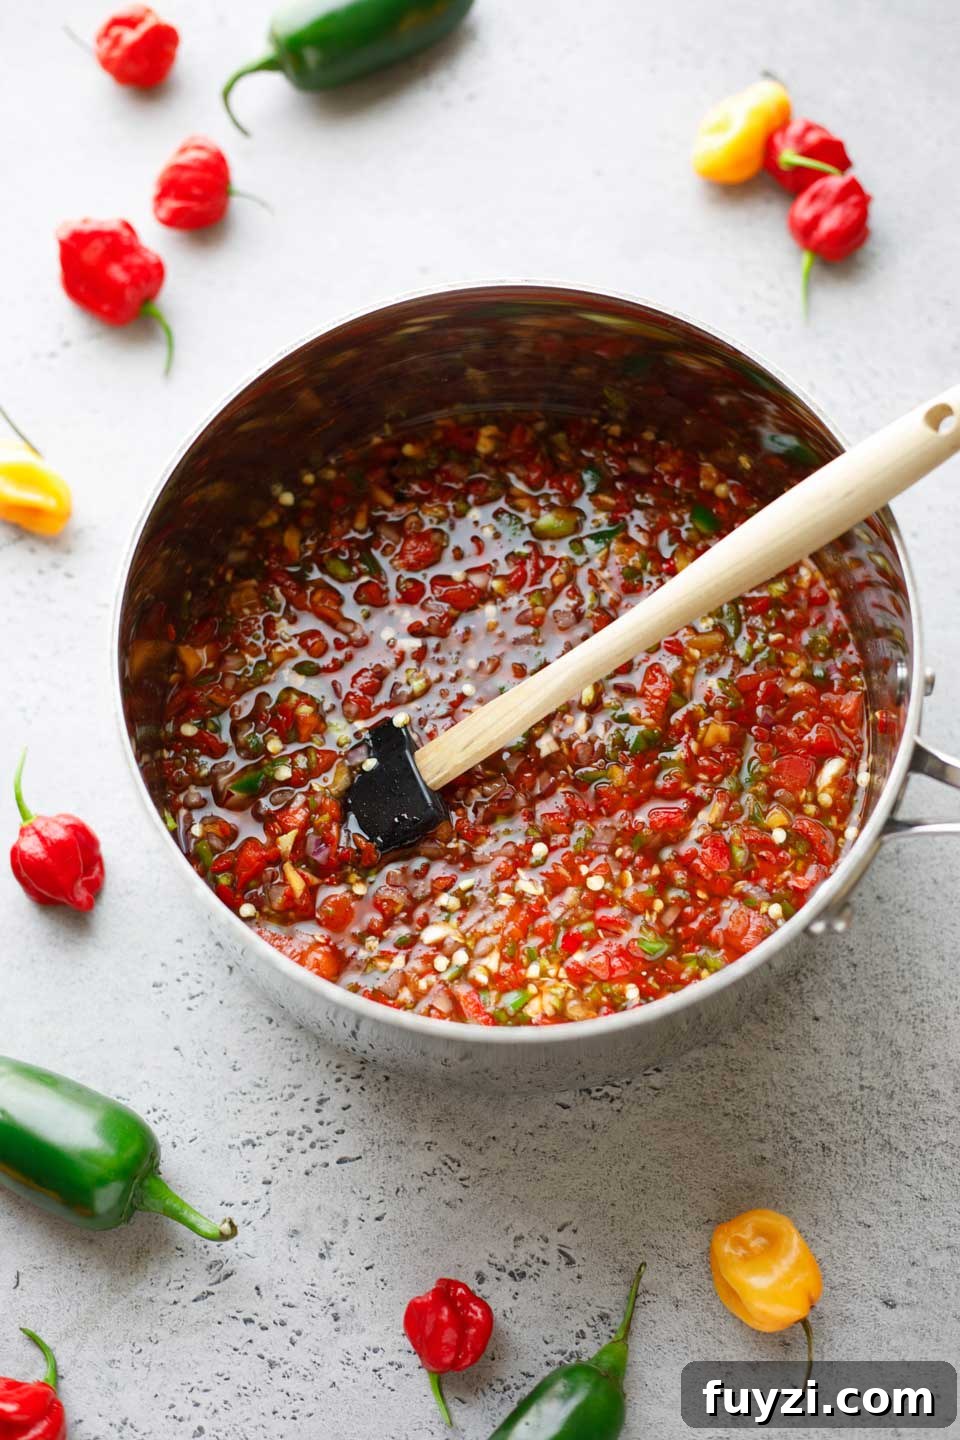
Transfer the chopped pepper mixture to a saucepan. Add pineapple juice, apple cider vinegar, sugar, grape and raspberry jellies (or your chosen preserves), finely diced red onion, and sriracha. Bring to a gentle boil, then reduce to a simmer.
Step 4 — Reduce to taste
Simmer, uncovered, until the relish has reduced and thickened to the texture you prefer. This usually takes about 45–65 minutes depending on pan size and how vigorously it simmers. Remove from heat, cool completely, then refrigerate or freeze.
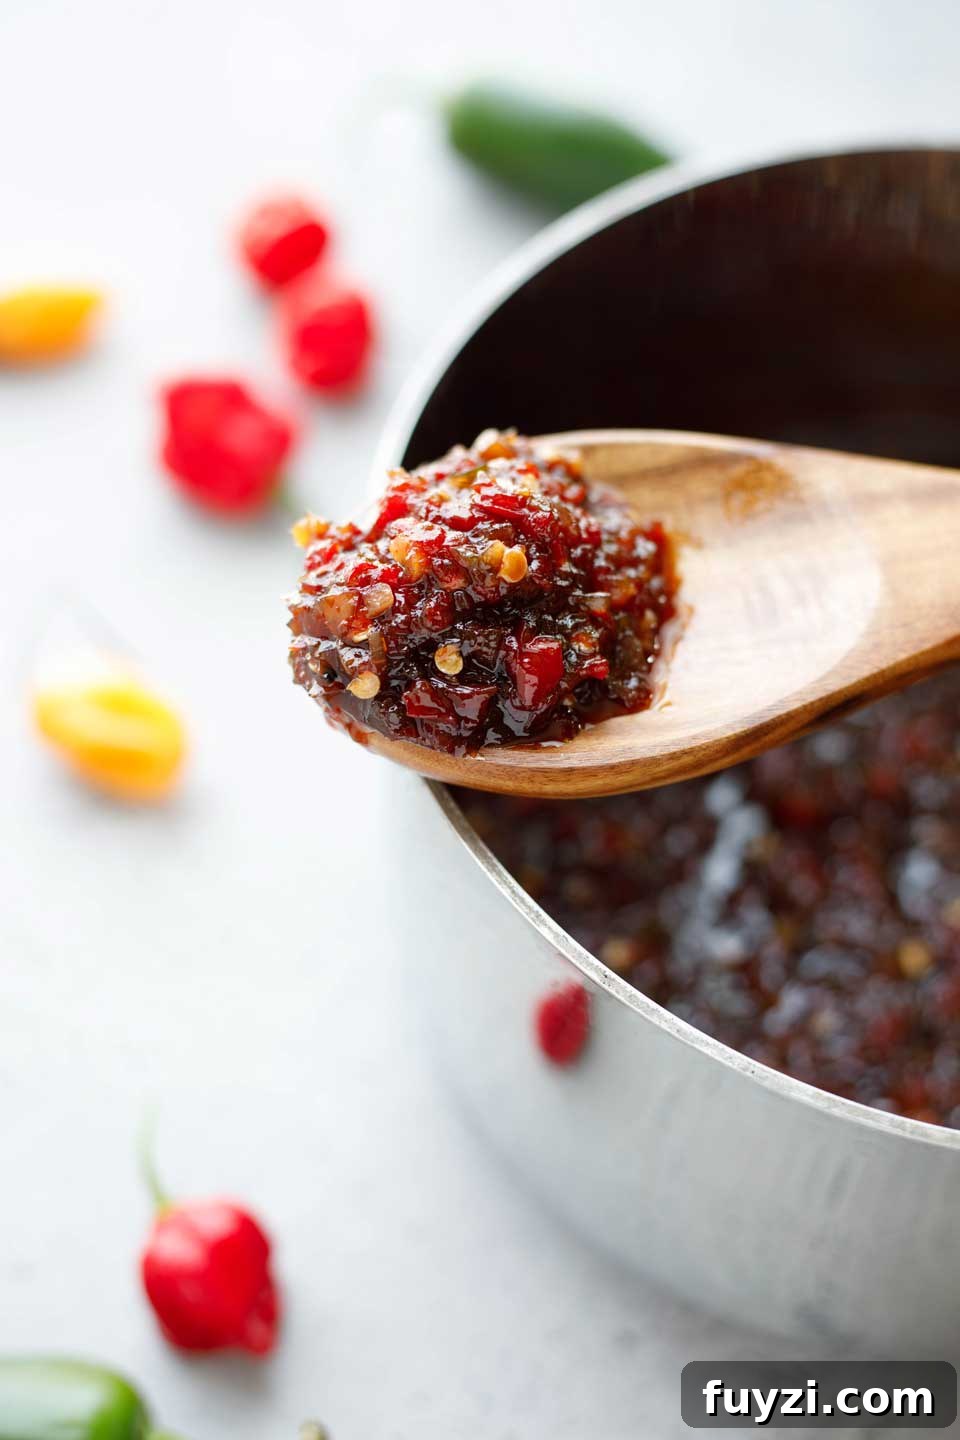
This relish freezes beautifully and makes a wonderful make-ahead condiment or DIY gift.
Taming the Heat
Seeing ghost pepper or habanero on the ingredient list can be intimidating, but there are simple ways to control the heat without losing flavor.
Key #1 — A little goes a long way
You’ll use this relish as a flavor accent, not a main course. A small spoonful adds big flavor, so even a milder batch will read as bold when used sparingly.
Key #2 — Make it milder by removing seeds and ribs
Much of a pepper’s heat is concentrated in the seeds and inner membranes. Removing those parts reduces the burn while preserving pepper flavor. Many taste-testers preferred the milder version.
Key #3 — Heat varies naturally
Remember that individual peppers and different crops vary in heat intensity. Expect slight differences between batches even if you follow the same recipe.
Red Peppers: Jarred vs. Roasting Yourself
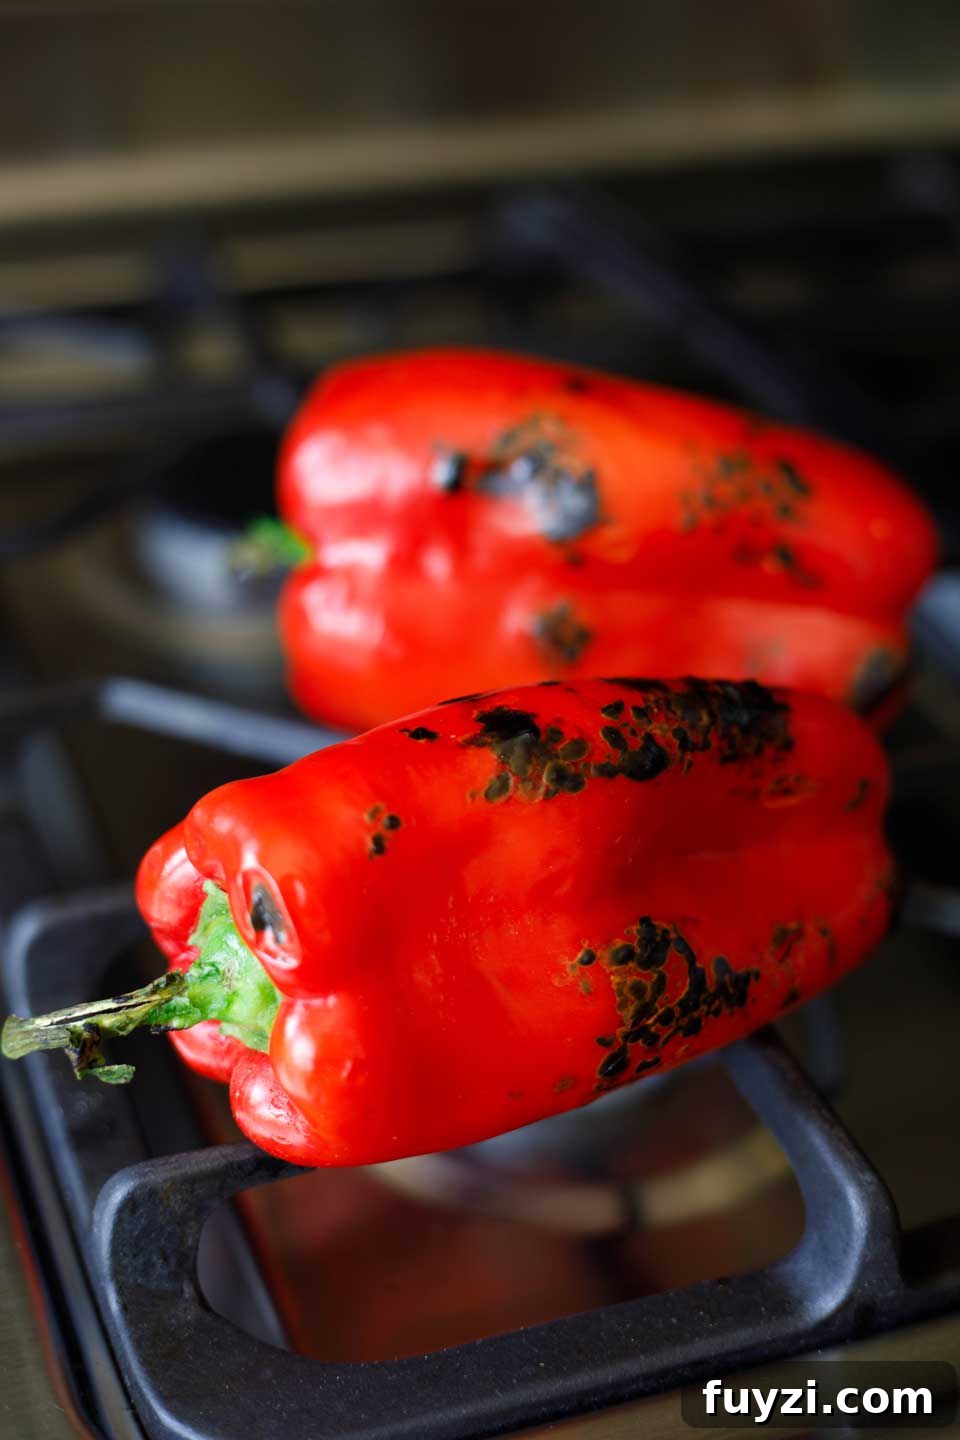
To save time, jarred roasted red peppers work very well and don’t noticeably alter the final flavor. If you prefer to roast your own, here’s the basic method:
- Roast red bell peppers over a grill or directly on gas stove grates on medium-high heat.
- Turn them frequently so they blister on all sides, about 5–10 minutes total.
- Place blistered peppers in a covered bowl for about 10 minutes to steam.
- Peel away the skins, then remove stem, core, and seeds.
Switching Up Flavors
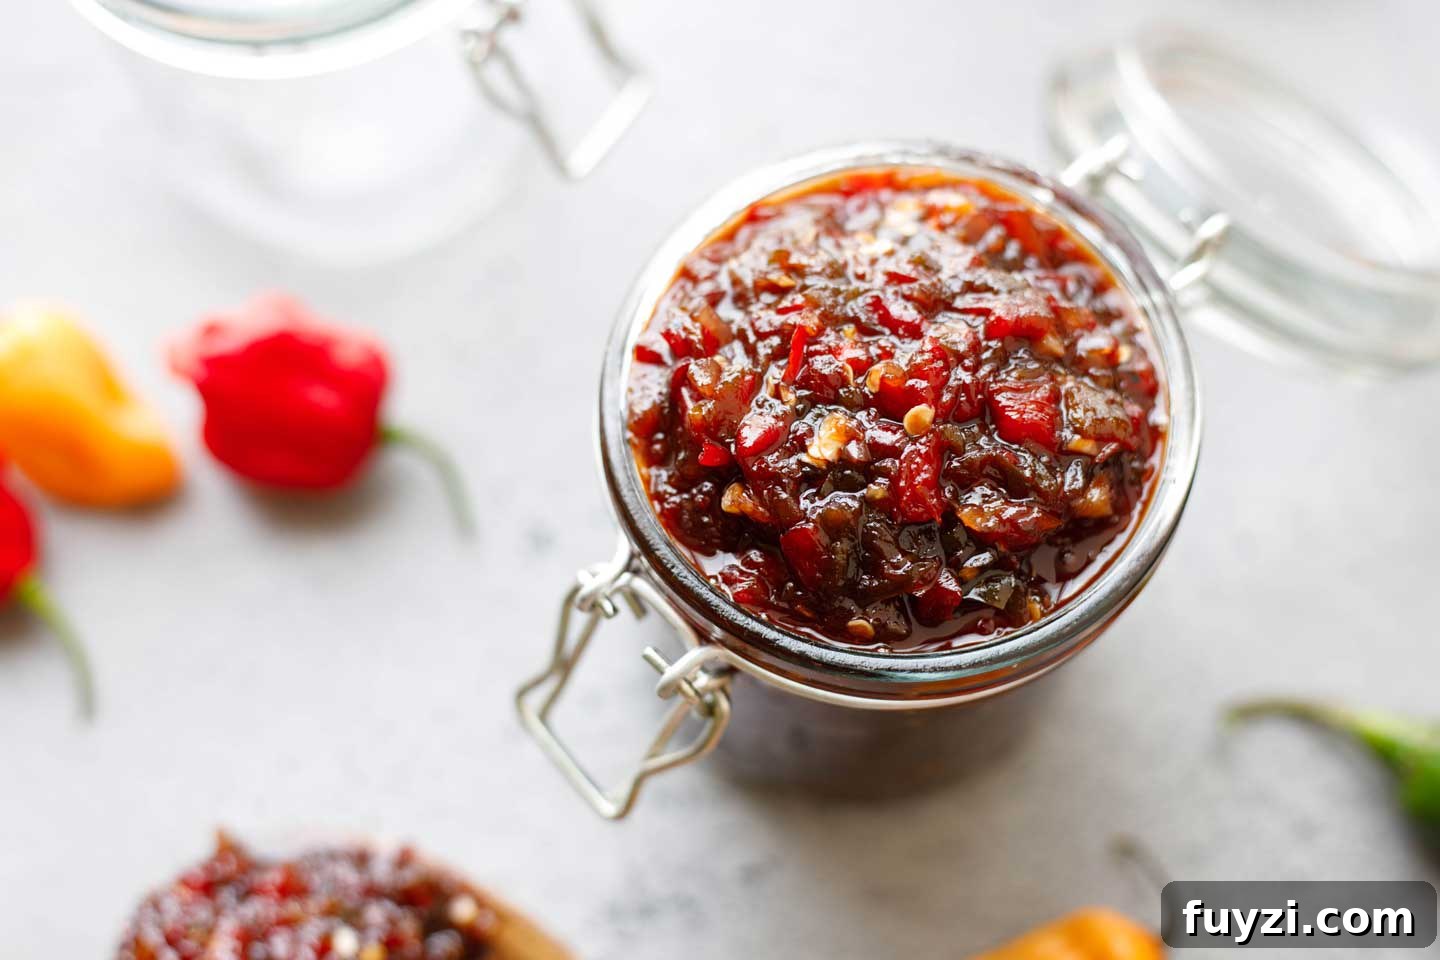
This relish is highly adaptable. Small changes produce distinct variations — try swapping the jellies or experimenting with different pepper mixes.
- Try peach preserves instead of grape and raspberry jellies for a lighter, subtly peachy backdrop.
- Mix different hot peppers to vary heat and flavor — habanero, jalapeño, ghost pepper, or milder chiles all work.
Freezer-Friendly Make-Ahead and Gifts
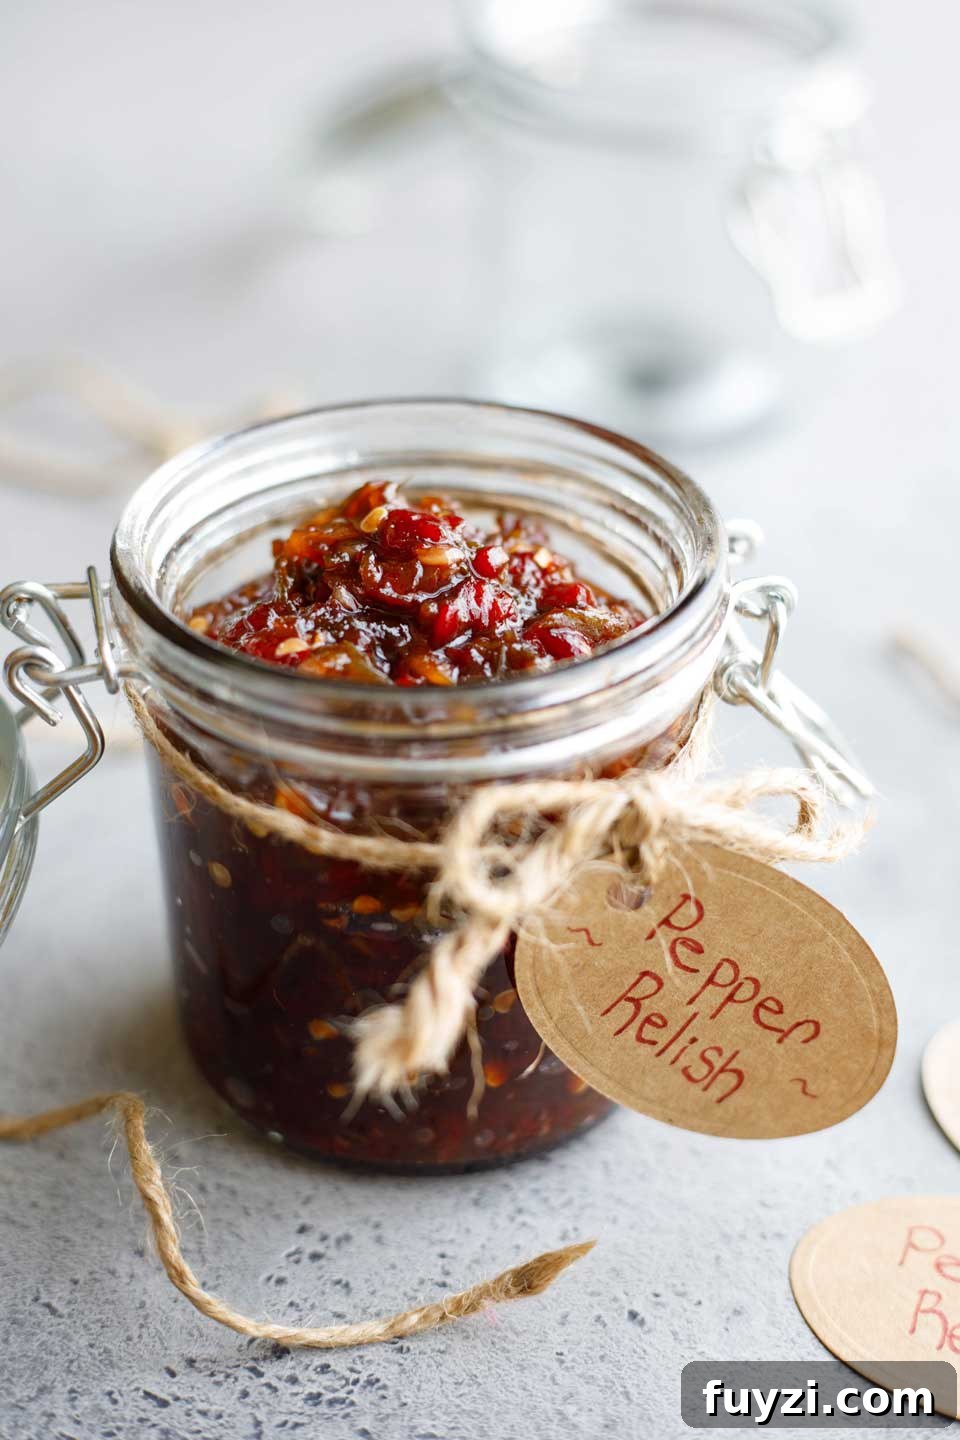
This relish freezes beautifully. I like to portion about 1/2 cup into small zipper bags and freeze them flat; they thaw quickly and are handy for everyday use. It’s also a lovely homemade gift — fill jars, tie a tag around the lid, and you have an attractive, tasty present.
Pro tip: Freezing smaller portions
Spoon 1/2-cup portions into labeled snack-size bags, freeze flat, then store all the bags in a larger freezer bag. Thaw quickly as needed.
A Note on Yield
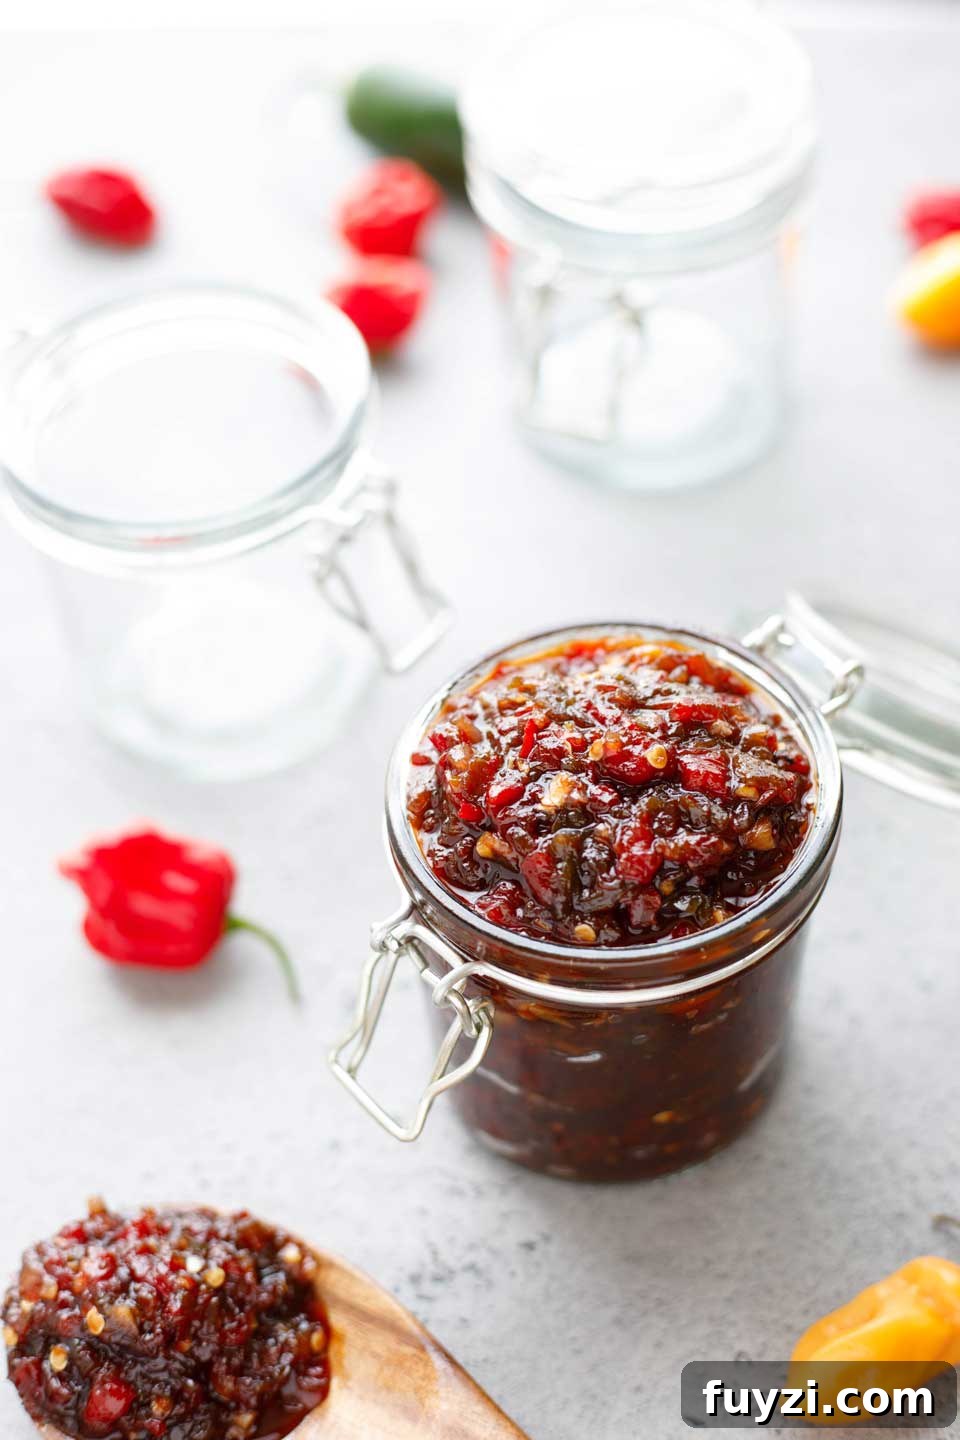
Yield varies with pepper size and how much you reduce the relish. Expect roughly 1½ to 2 cups per batch; thicker reductions result in smaller yields. If making gifts, overestimate so you have enough jars.
FAQs At-a-Glance
Does pepper relish need to be refrigerated? Yes — refrigerate after it cools. For longer storage, freeze it.
How can I make it less hot? Remove seeds and inner membranes from the hot peppers before chopping. That removes much of the intense heat while preserving flavor. Also remember peppers vary in heat from batch to batch.
Love this recipe? Please leave a rating if you try it — and enjoy exploring variations!