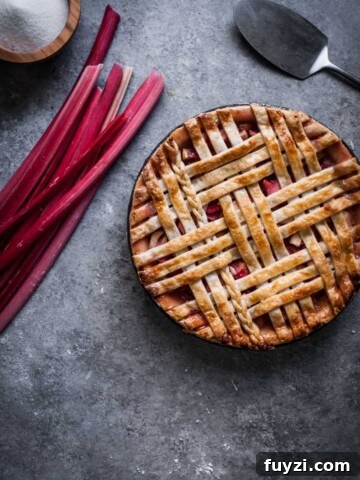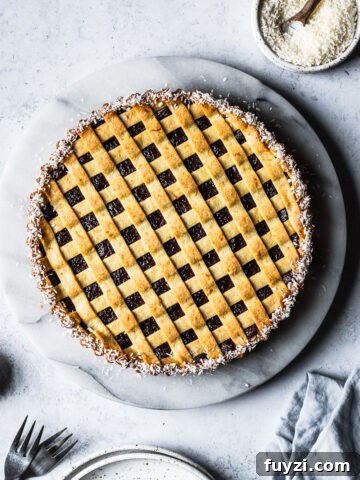
I wanted to share a clear, step-by-step guide for creating a decorative lattice pie crust. This tutorial — with stop-motion video and photos for reference — breaks the process down so you can confidently try a lattice crust on your next pie.
If you need a reliable all-butter pie dough, consider recipes from trusted bakers like Sister Pie or King Arthur Flour; both provide doughs that roll easily and hold up well when you build a lattice top. Alternatively, use your preferred pie dough recipe — just be sure it yields enough dough for both the bottom crust and a decorative top.
Chilling the Pie Dough
Start with dough that has chilled in the refrigerator for at least 30 minutes. Chilling relaxes the gluten and firms the fat in the dough, making it easier to roll and shape without excessive shrinkage or tearing. Cold dough is key to neat strips and a tidy lattice.
Instructions
After making your dough, divide it into two portions. Flatten each into discs about the size of a salad plate, wrap them tightly in plastic, and chill until firm.
Remove one disc and let it rest at room temperature for 10–20 minutes so it becomes workable. On a lightly floured surface, roll from the center outward using firm, even strokes. Rotate the dough as needed to keep a round shape. Only add flour if the dough sticks.
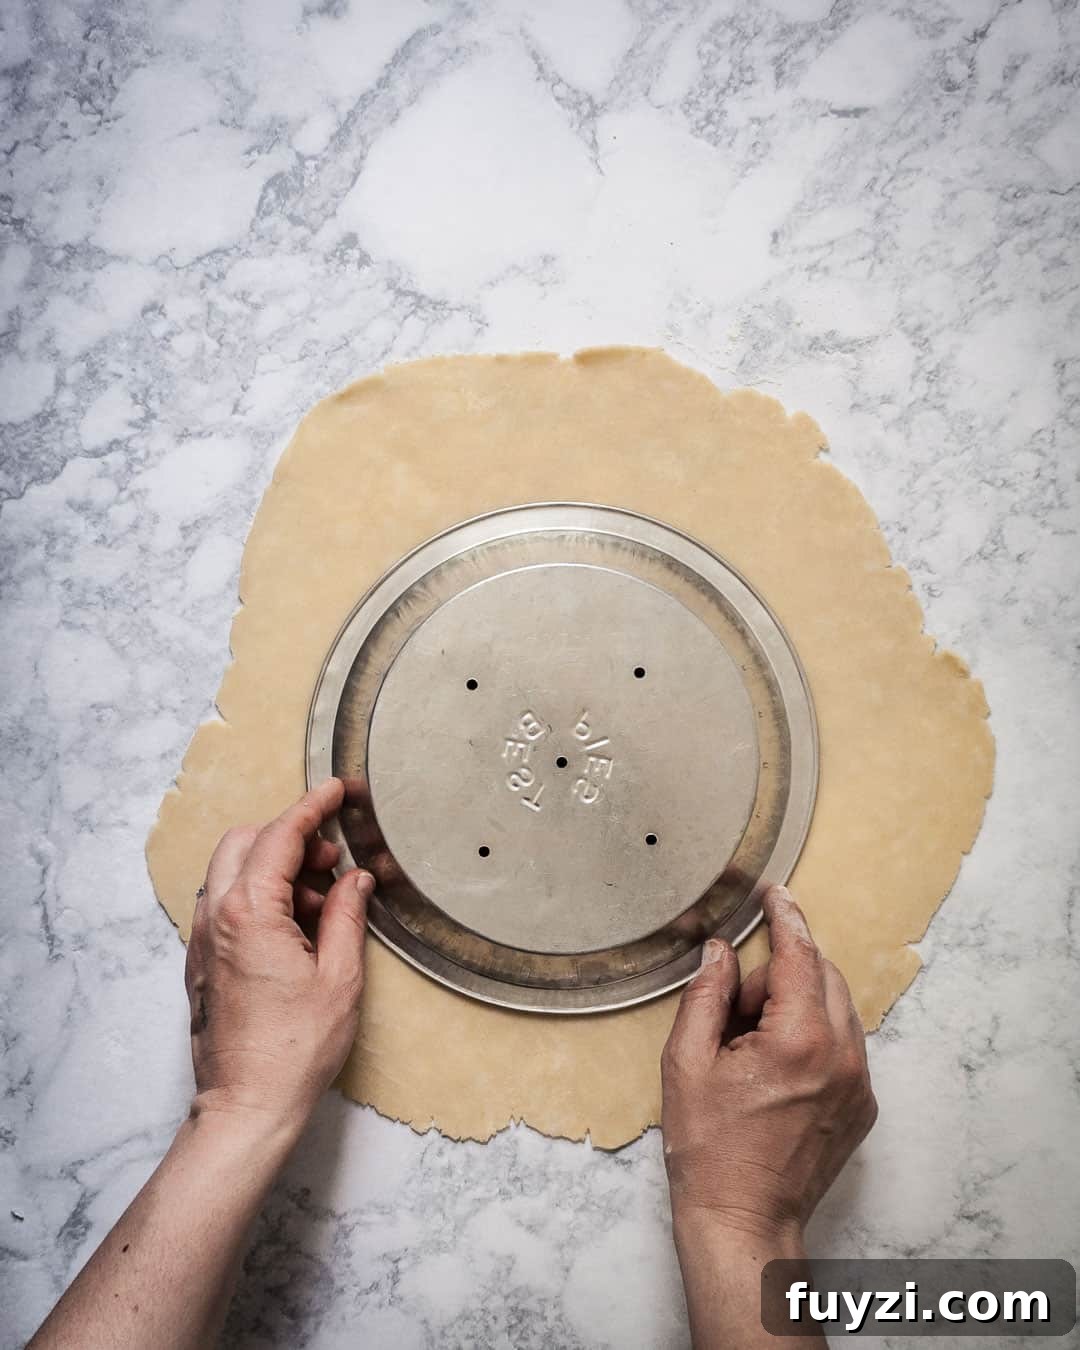
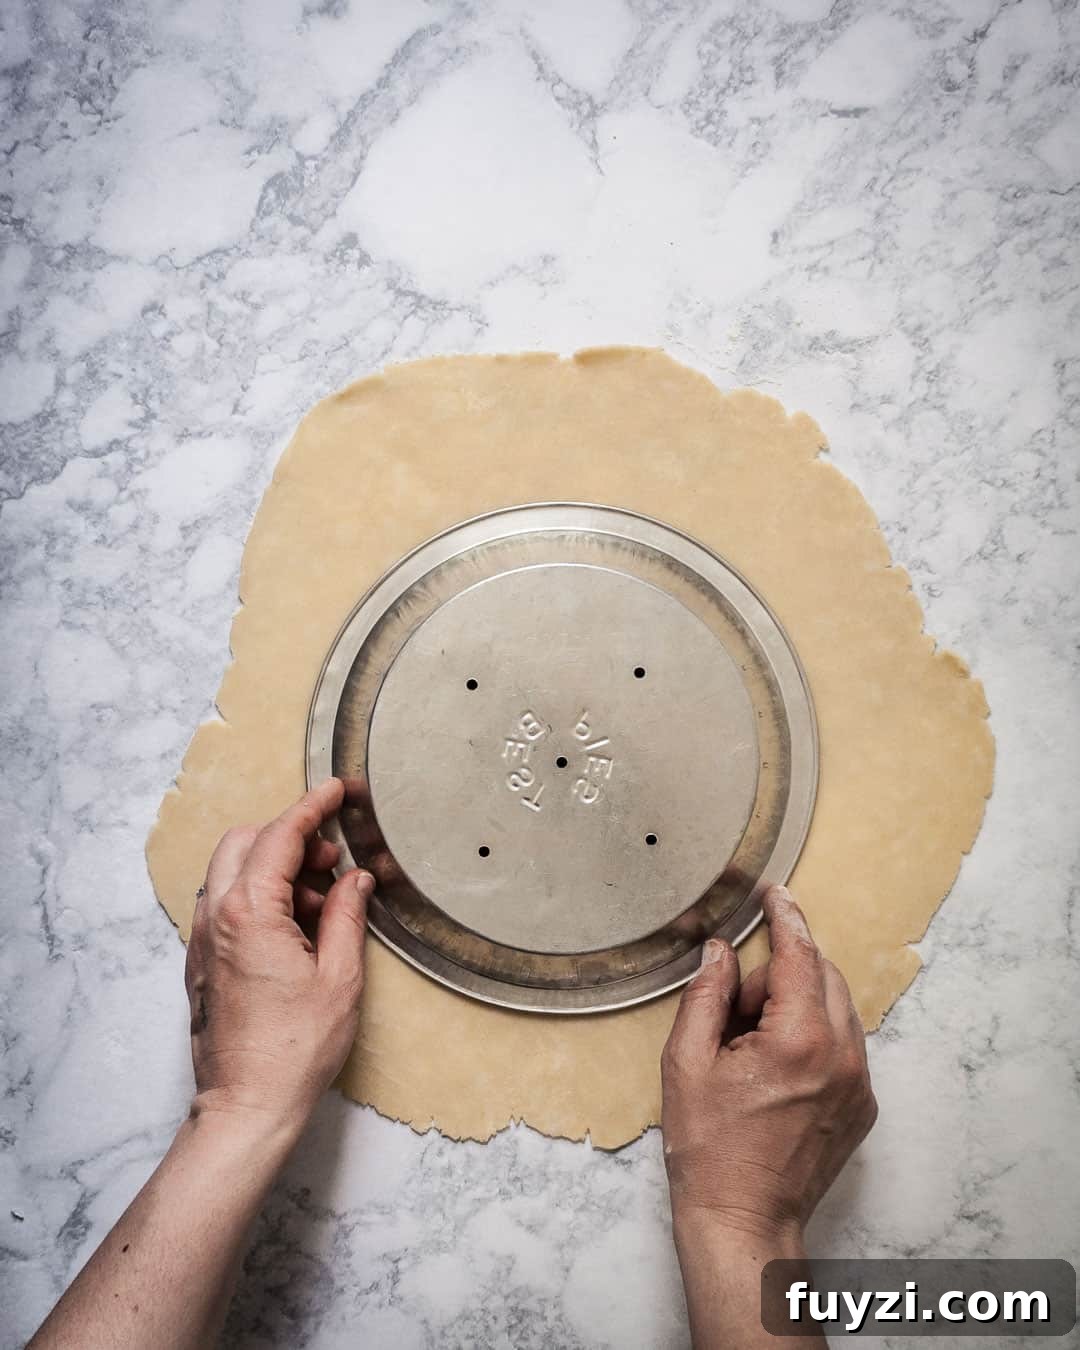
You want the rolled dough to overhang the pie dish by about one to two inches. To check, turn the dish upside down and place it on the dough.
To transfer, lay the rolling pin across the dough, gently roll the dough onto the pin, then unroll it over the pie dish so it centers evenly.
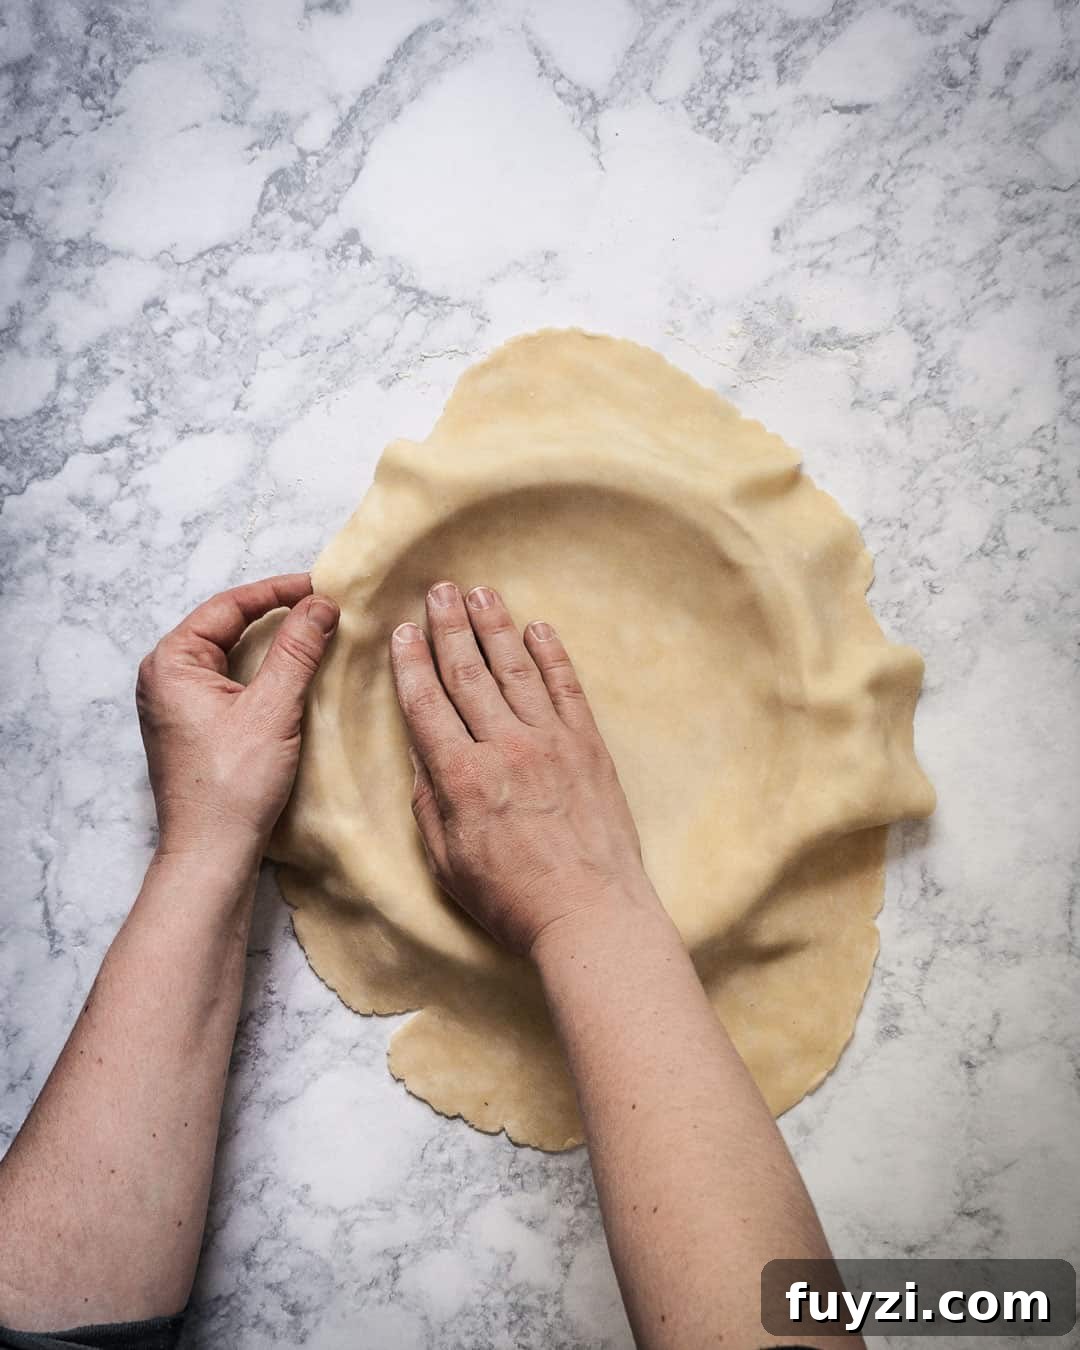
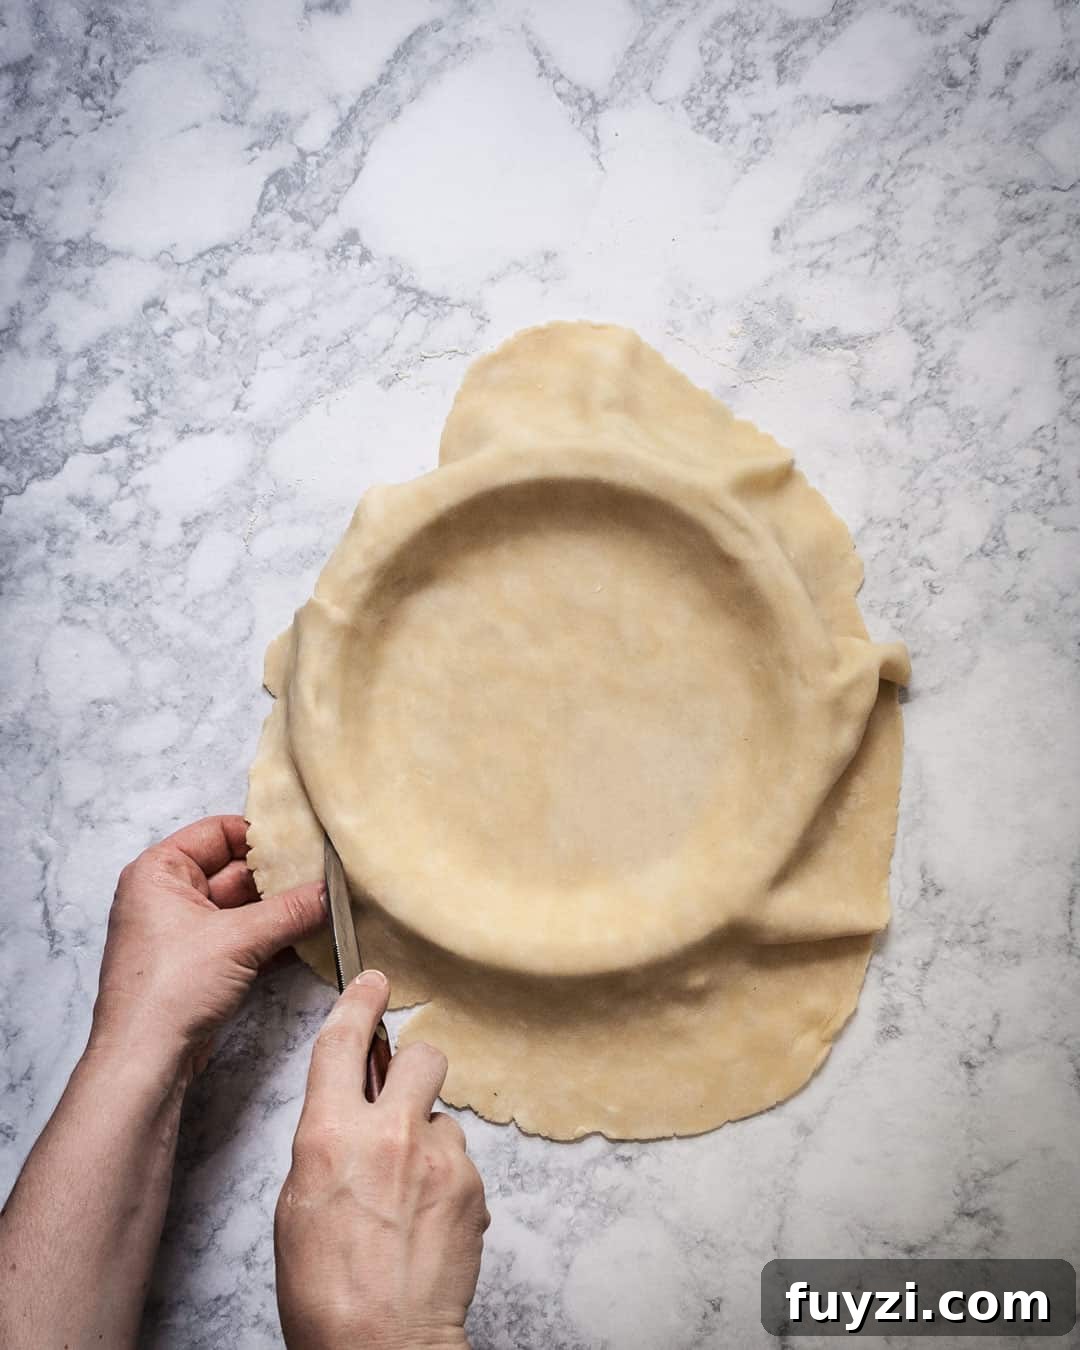
Gently lift the edges so the dough drops into the dish and press lightly to remove air pockets. Trim any excess dough around the rim with a knife, then chill the prepared shell while you roll the top crust.
Remove the second disc and let it relax for 10–20 minutes. Roll it out so it extends an inch beyond the pie dish on all sides. Transfer this sheet to a large baking sheet (parchment helps) and refrigerate for 15 minutes to firm it up for cutting.
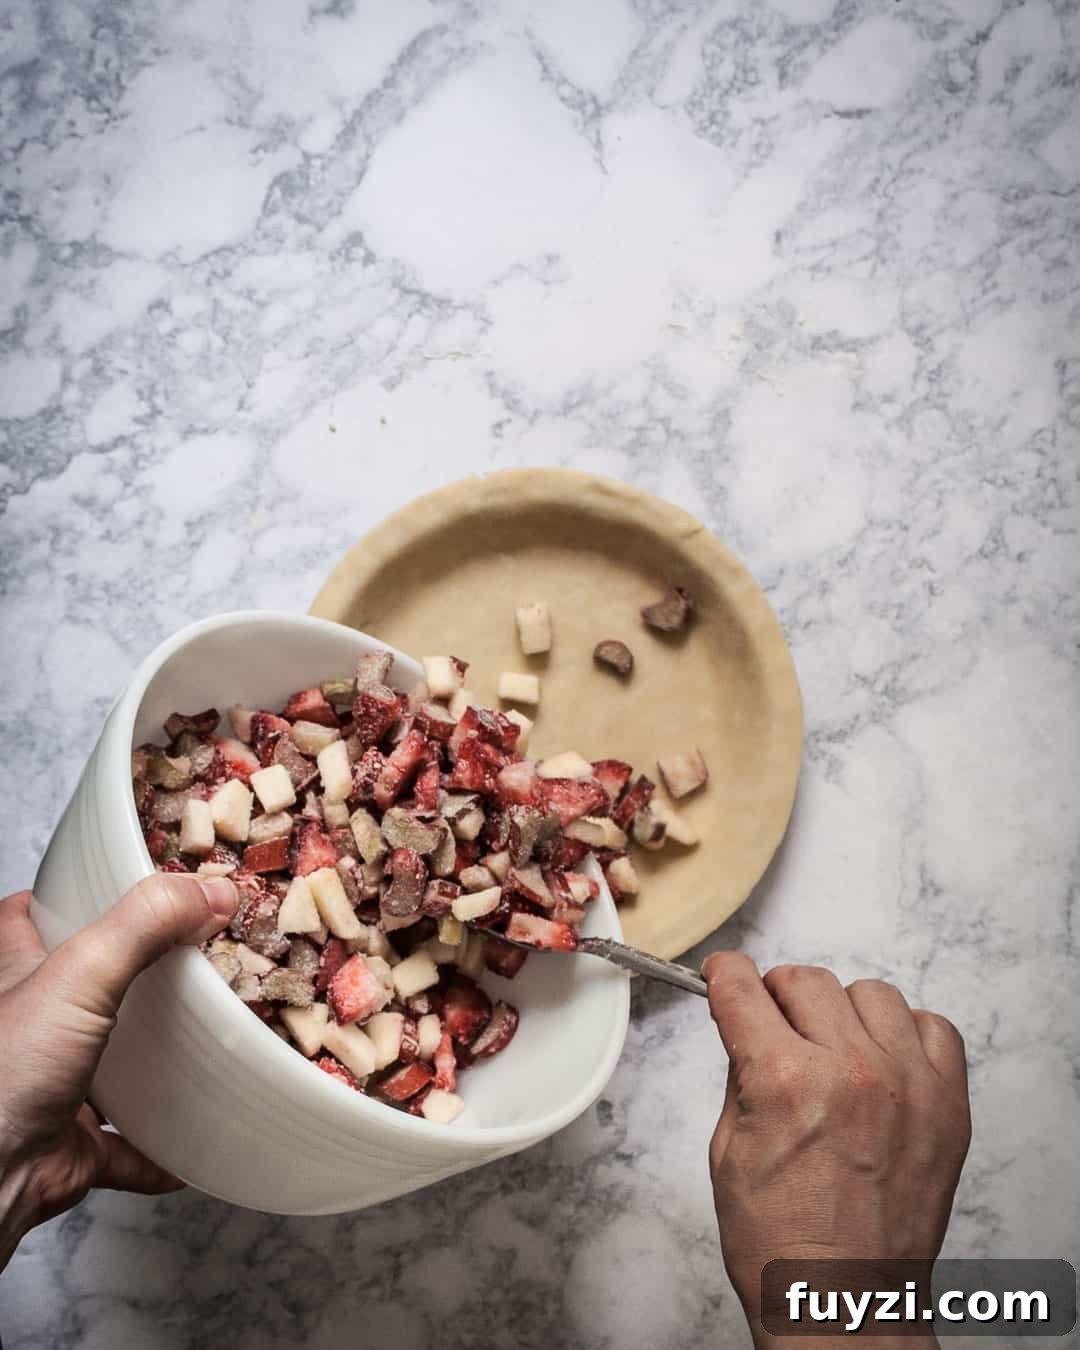
Prepare your filling and pour it into the chilled bottom crust. Return the pie to the refrigerator while you cut and prepare the lattice strips.
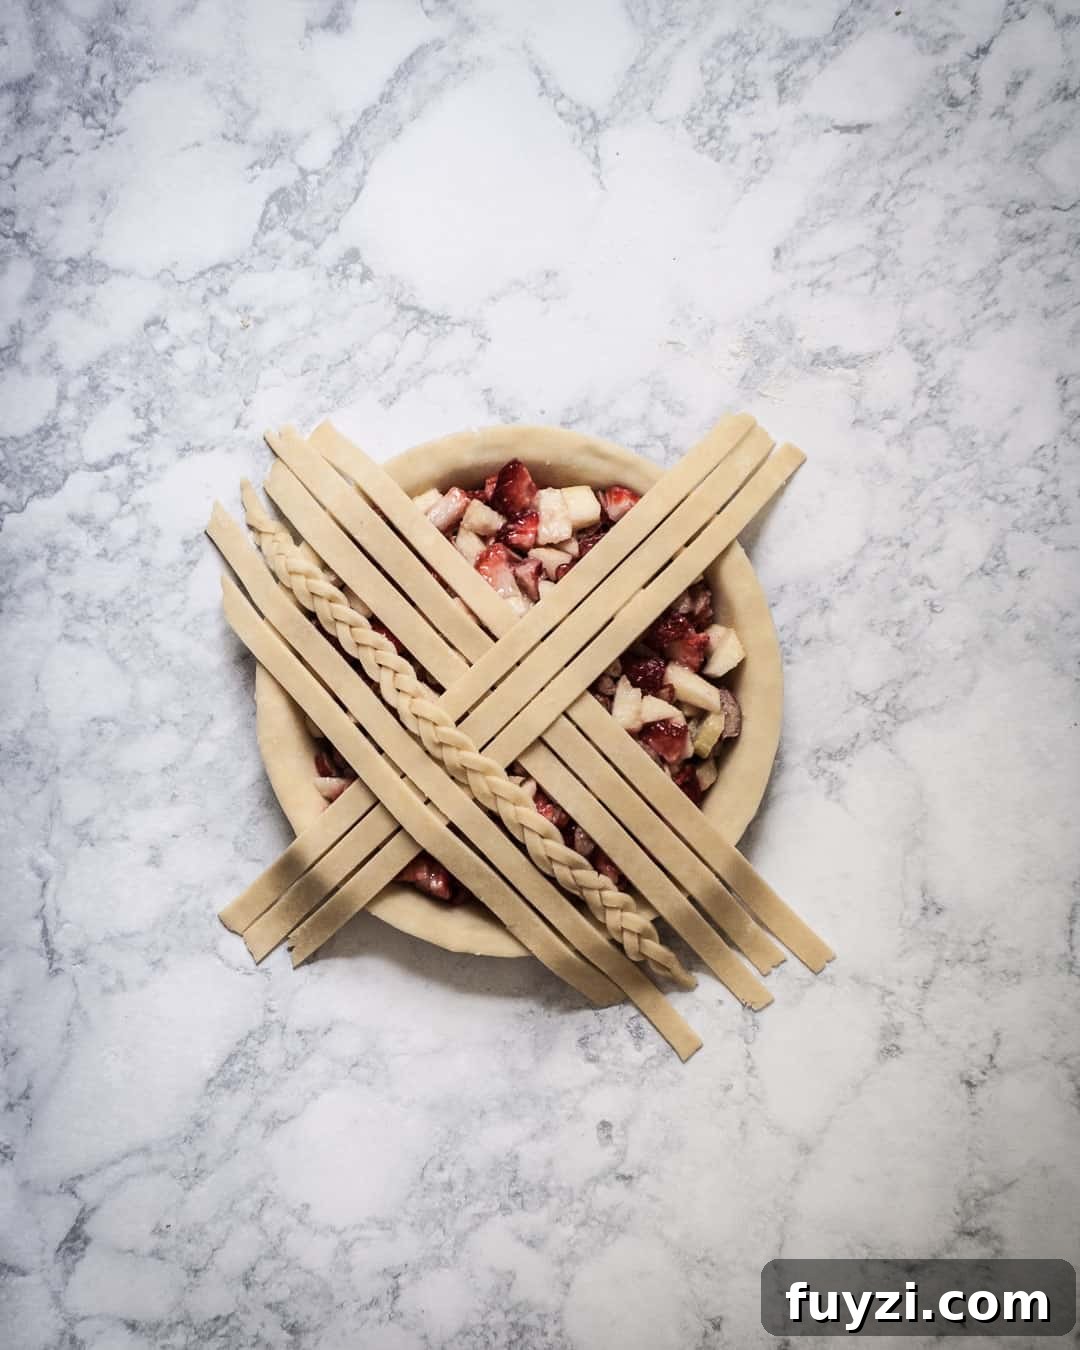
For the lattice design shown here, cut a total of 18 strips from the chilled sheet: 17 strips about ½-inch wide and 3 slightly under ¼-inch wide. One of the narrower groups will become a three-strand braid. Use a ruler and a sharp knife, pastry wheel, or pizza cutter for even strips. If the dough becomes soft during cutting, chill it for 10–15 minutes — cool dough is easier to work with and will produce crisp, clean lines.
To braid: pinch the three narrow strips together at one end and braid them gently, keeping each strand flat. Minimize bending and stop to chill if the dough starts to warm. Once braided, chill the braid and the other strips for 10–15 minutes before assembling.
Building the Lattice Top
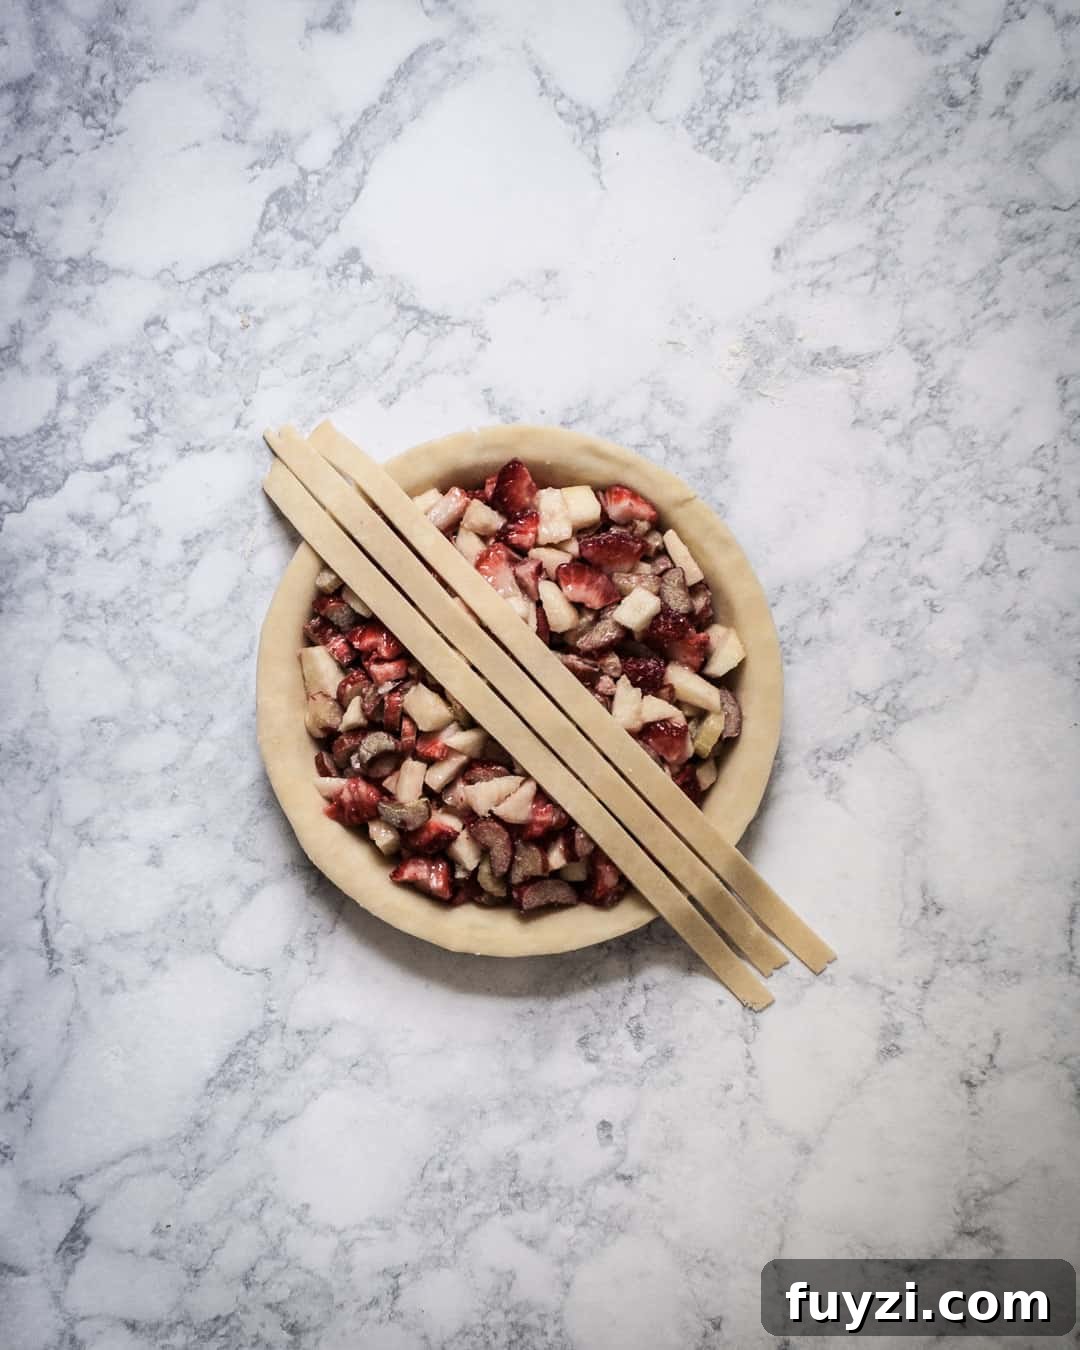
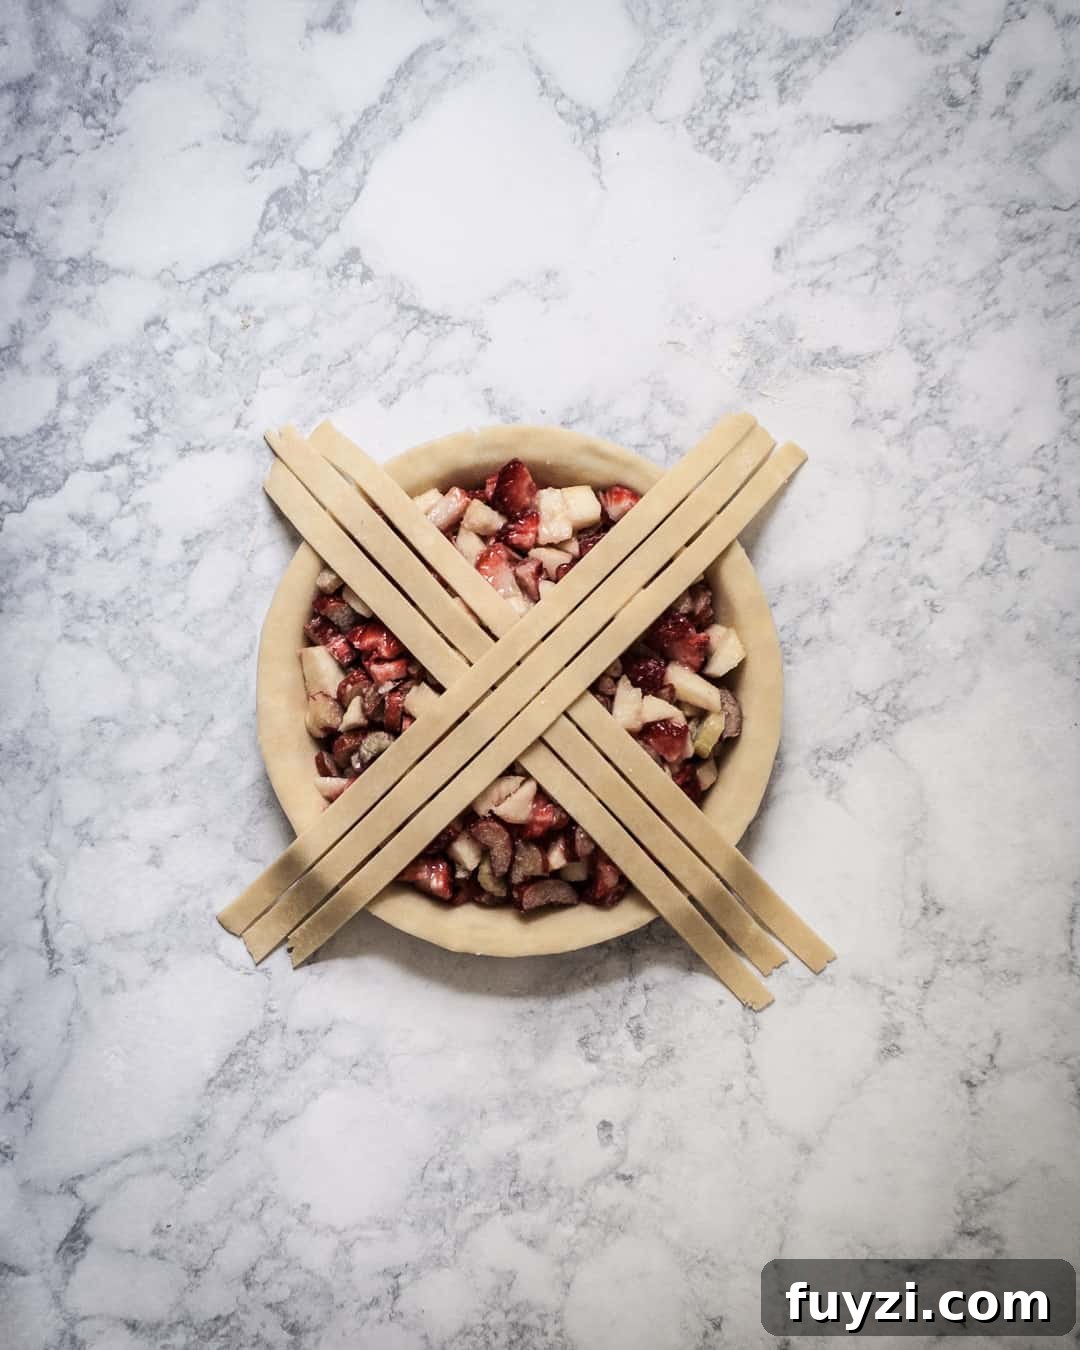
Remove the pie and strips from the fridge. Lay three of the longest strips across the center of the pie with small gaps so the filling shows through. Add another three long strips at a 90-degree angle on top to create a central X.
Next, place the braid and two strips parallel to the left of the center group, leaving about a ¼-inch gap to define spacing. On the right side, add three more strips in a matching grouping. If you prefer the braid to stand out more, save it to weave in near the end so it appears over more layers.
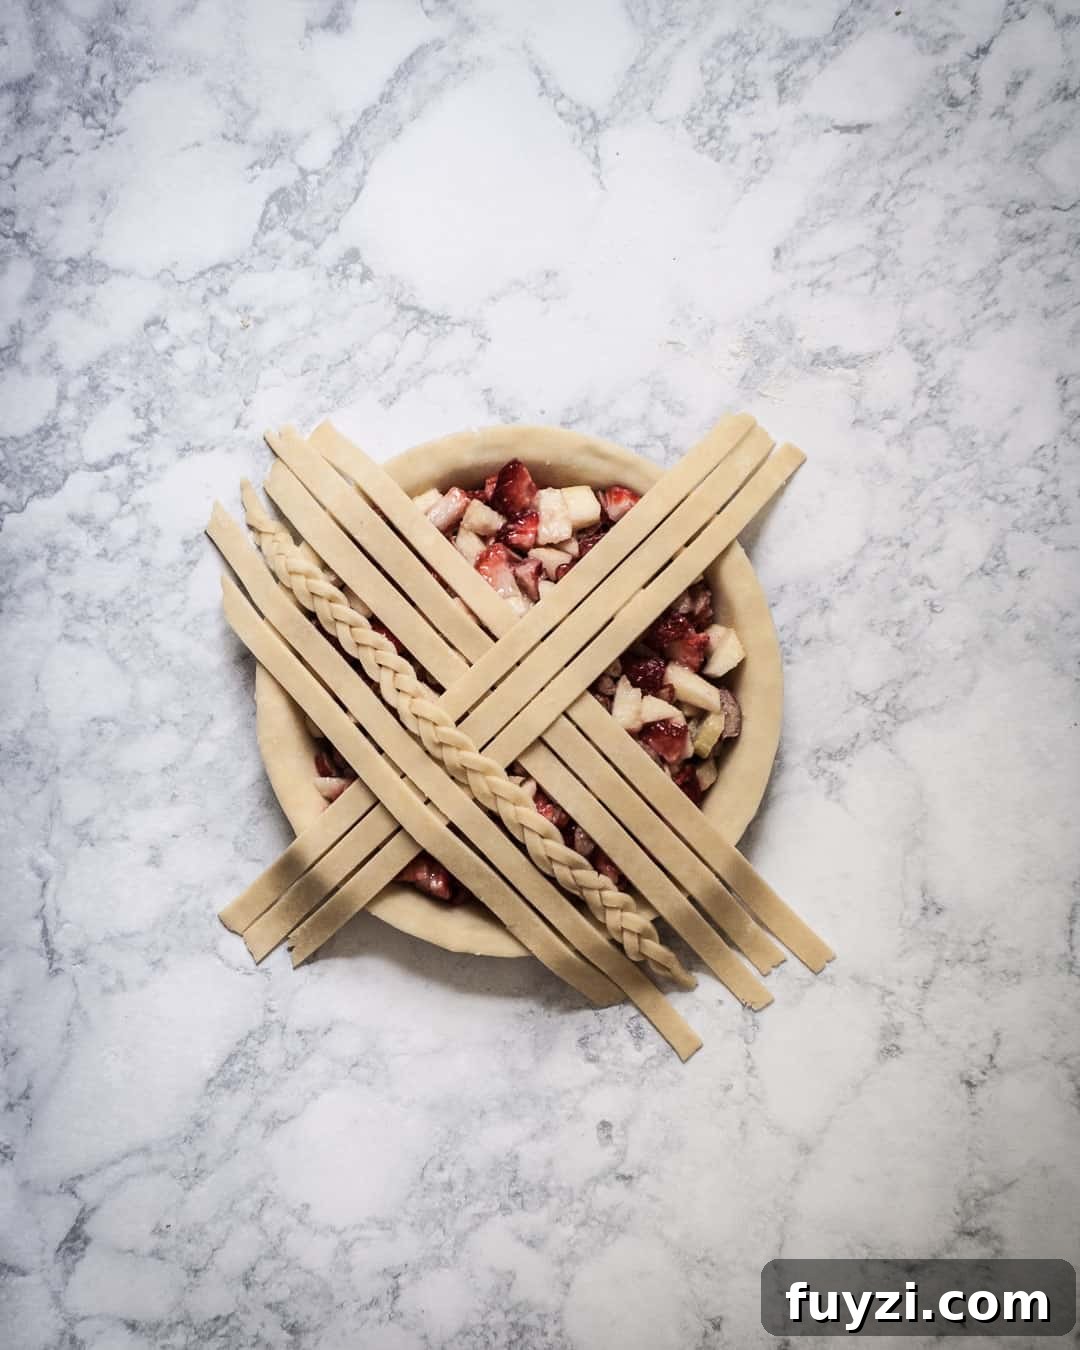
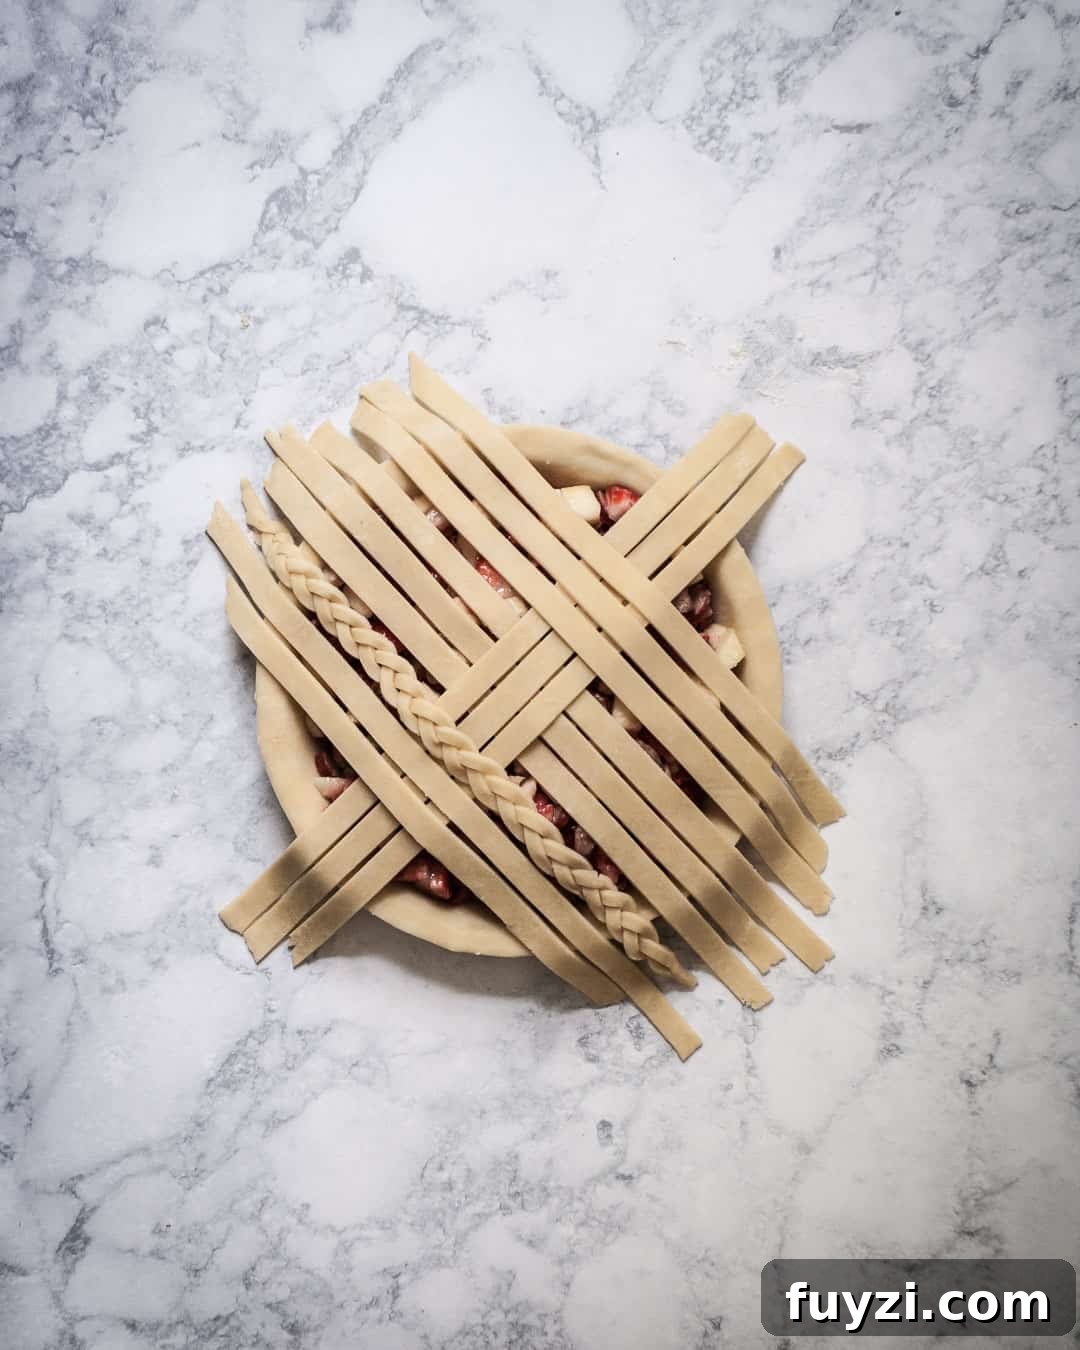
To weave, lift alternate strips of the center group and lay perpendicular strips underneath, then fold the lifted strips back over. Repeat this up and down the pie, alternating which strips you lift so the pattern interlocks. Work carefully and chill briefly if the dough softens.
Continue adding strips in groups of three, folding and tucking as needed until the lattice covers the pie. Place the final three strips at the bottom and fold the center strips down to finish the weave.
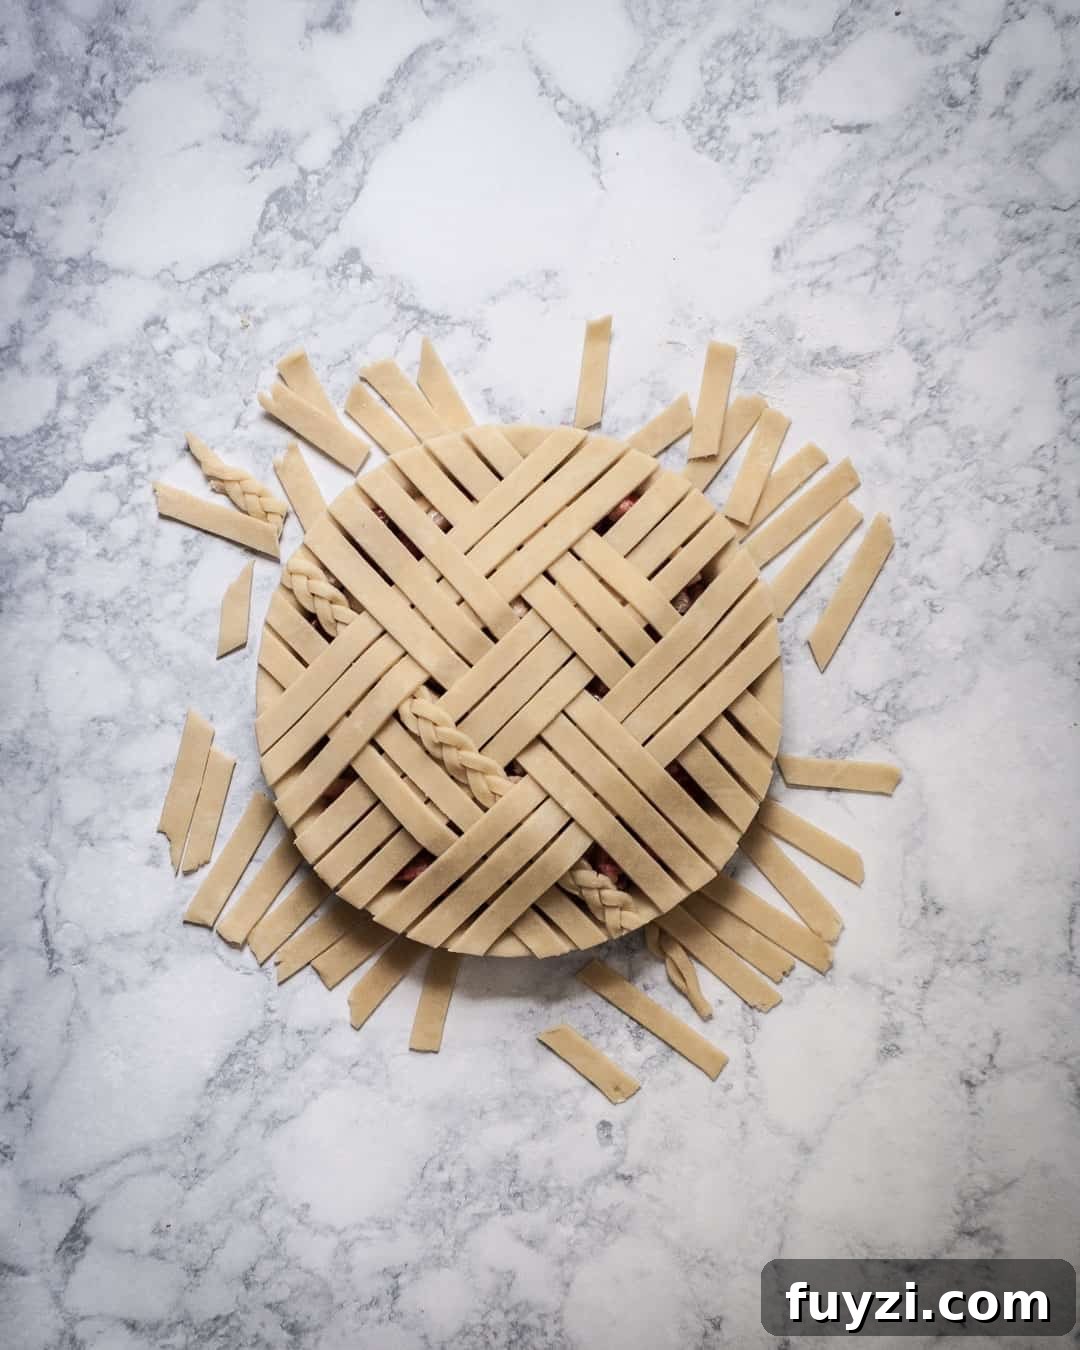
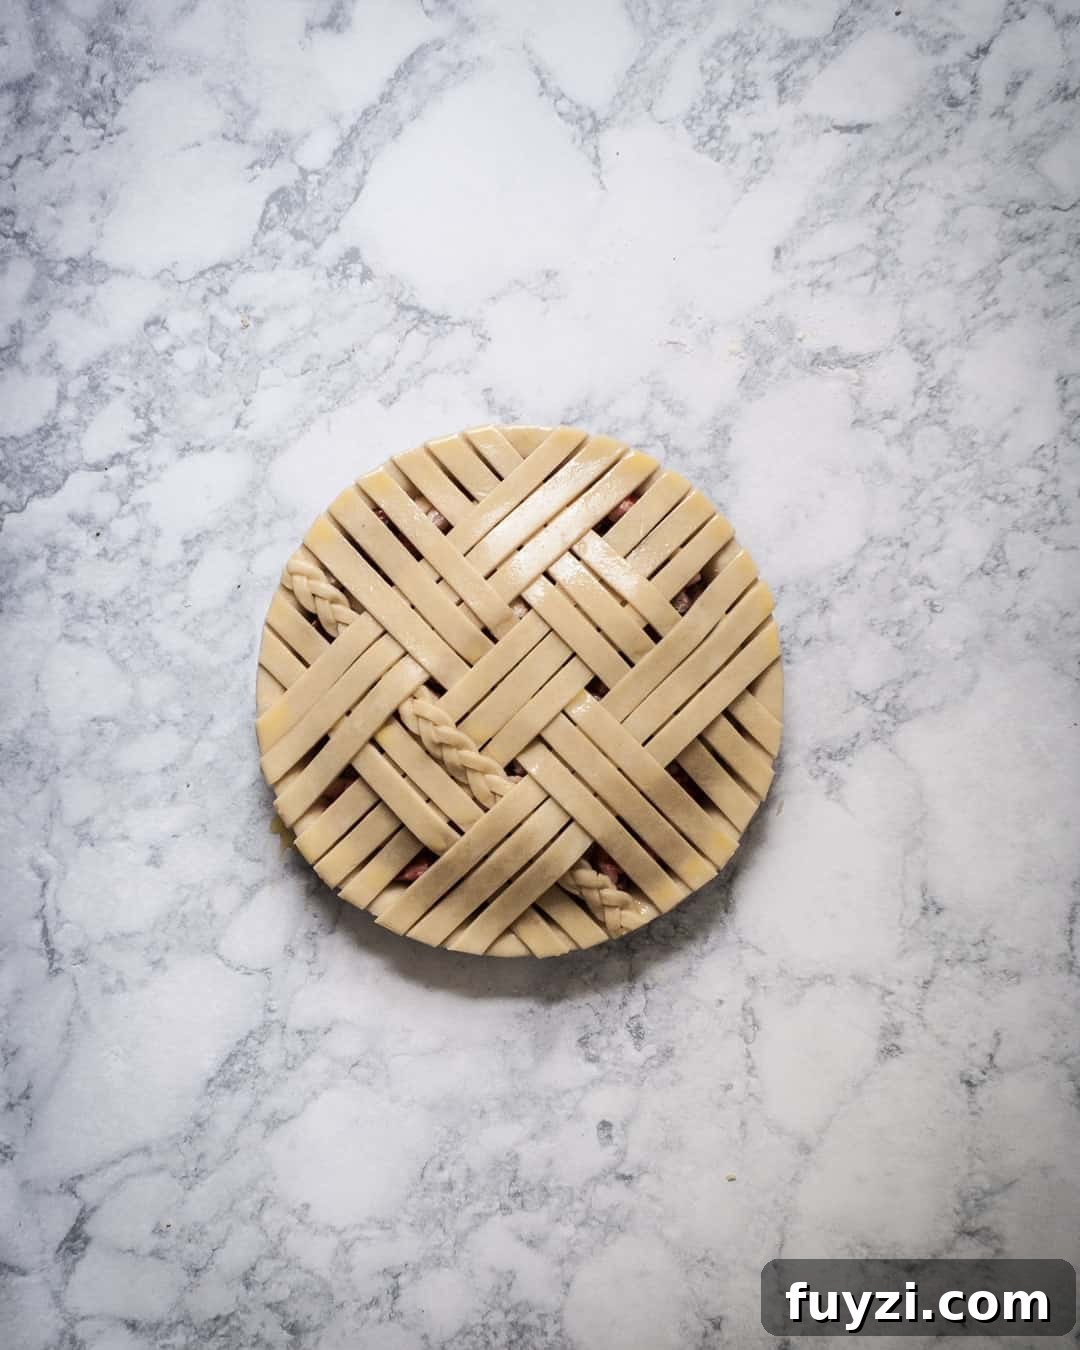
Trim overhanging strips flush with the pie dish and press the ends gently to seal them to the bottom crust. Brush the entire crust with an egg wash (one beaten egg with about 1 teaspoon water) and sprinkle with sugar — granulated or coarse Turbinado sugar adds extra crunch and shine.
Chill the assembled pie for 30 minutes while you preheat the oven. This final chill helps the butter stay firm so the lattice holds its shape during baking. Then bake according to your pie recipe until the crust is golden and the filling is bubbling.
Once baked, let the pie cool enough to set the filling, then admire and serve your beautiful lattice-topped pie — you earned it.
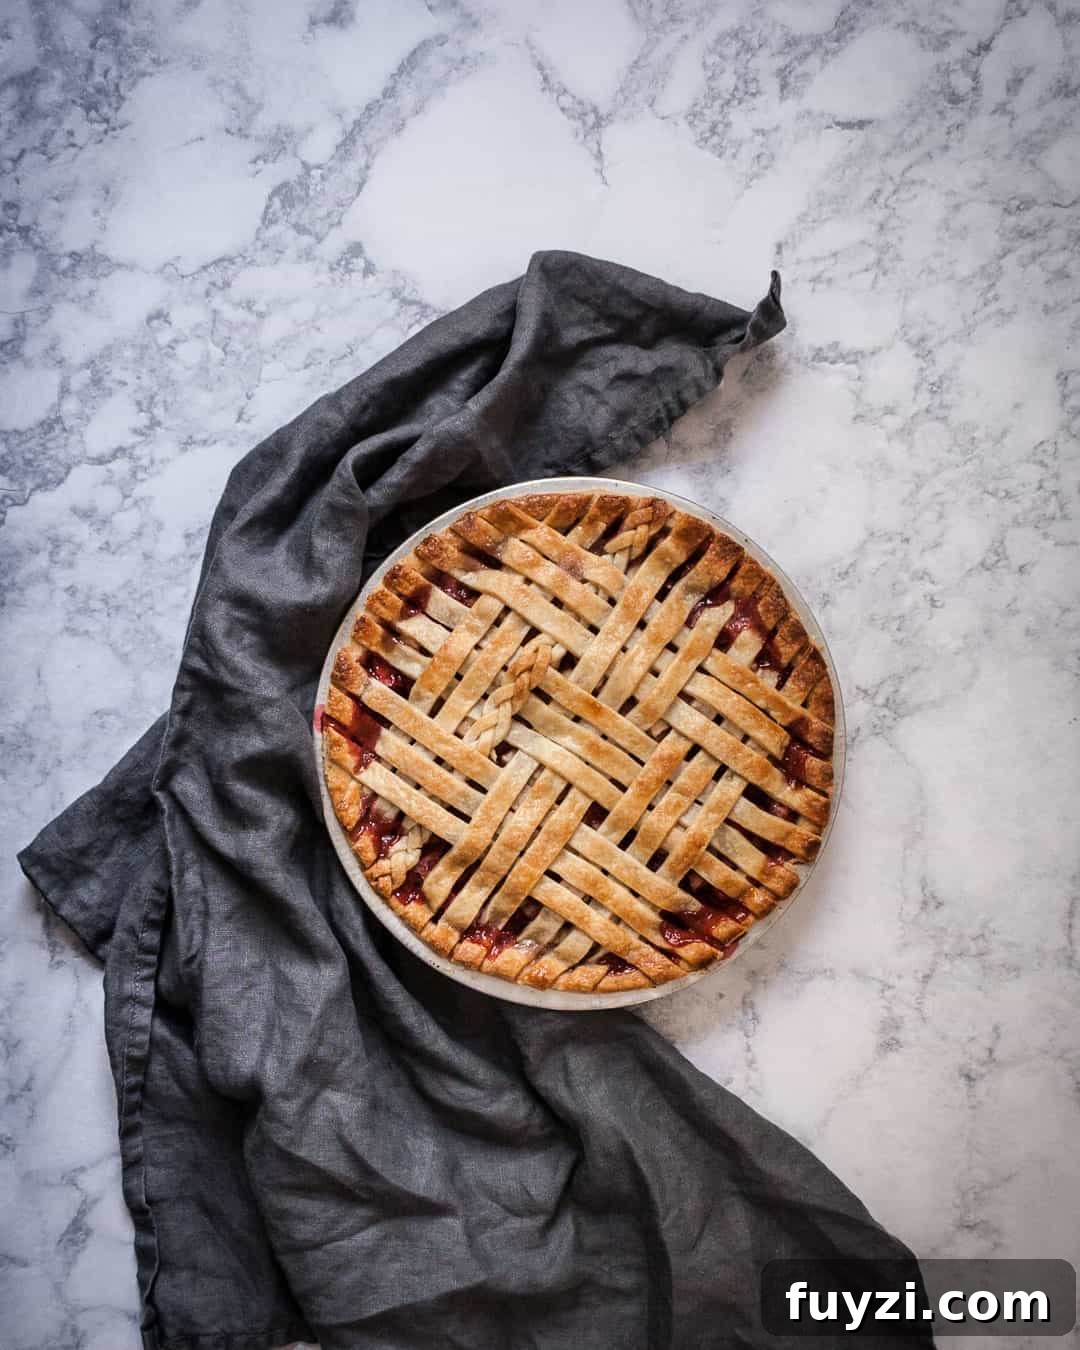
Lattice Braid Tip
If you want the braid to be a focal point, weave it so it appears over-under-over within the lattice. Insert the braid during one of the last few groupings of strips rather than at the beginning. That placement exposes the braid in two areas and hides it under only one, making it more prominent and eye-catching.
More Lattice-Topped Pies
Try this lattice technique on any fruit pie. Below are a few recipe ideas that look particularly lovely with a woven top.
-
Strawberry Rhubarb Slab Pie
-
Rhubarb Apple Pie
-
Pasta Frola (Quince Tart)
-
Cherry Rhubarb Pie