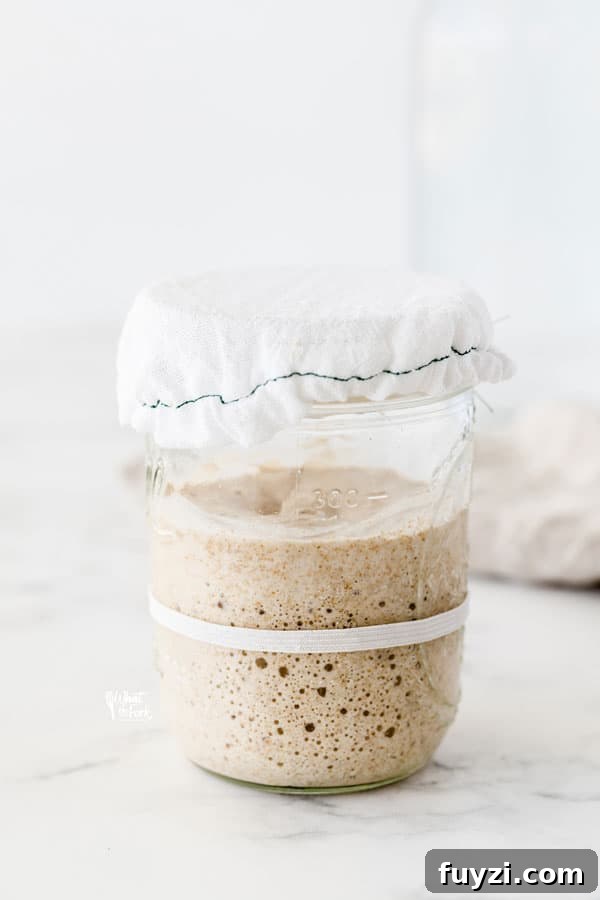
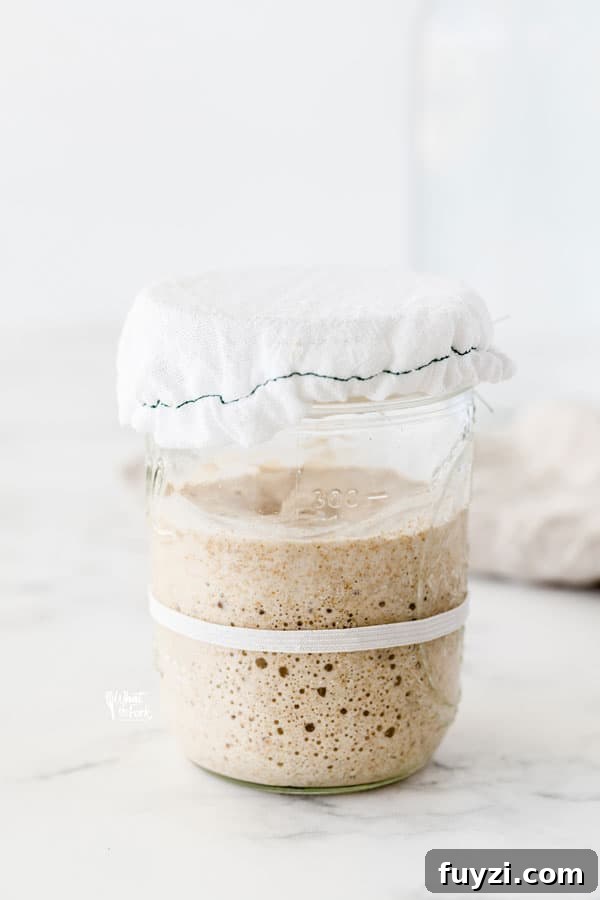
Learn how to feed and maintain a sourdough starter the easy way. Caring for a gluten free sourdough starter can seem intimidating at first, but with a few simple tips and a routine, feeding and maintaining it becomes straightforward and stress-free.
This post contains affiliate mentions for products and ingredients I use and recommend. Thank you for supporting the blog so I can continue sharing gluten free recipes ♥
Easy Steps for Feeding and Maintaining Your Sourdough Starter
If you’ve read about making a gluten free sourdough starter and hesitated, now is the time to start. Once you begin, the process becomes familiar and surprisingly simple. This guide focuses on straightforward maintenance so your starter stays healthy and ready to bake.
When I first explored making a starter, the amount of information felt overwhelming. After actually making one, I realized the routine is simple and rewarding. Once you bake your first gluten free sourdough bread, it’s easy to see why people get hooked: the flavor, texture, and satisfaction of baking your own bread are well worth the small effort.
Sourdough discard is also useful in other recipes, so maintaining a starter helps reduce waste and adds flavor to cookies, quick breads, pancakes and more.

What Feeding and Maintenance Mean
“Feeding” a starter simply means adding fresh flour and water to refresh the yeast and bacteria so the starter stays active. Regular feeding keeps the culture strong and prevents it from becoming overly acidic or weak. Part of the process may include discarding some starter before feeding so the ratios remain balanced.
As an Amazon Associate I earn from qualifying purchases.
Key Ingredients for Feeding Your Starter
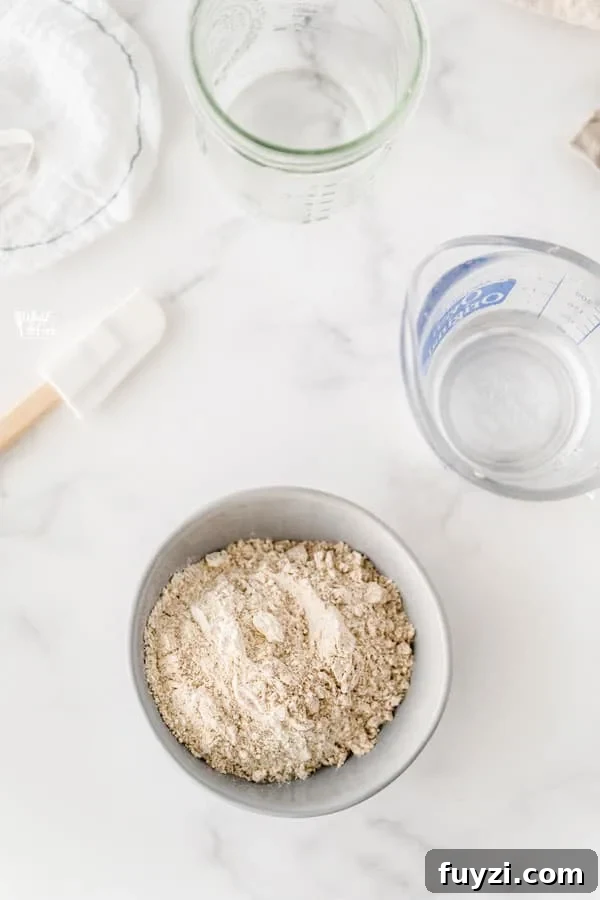
Only two ingredients are required for regular feedings:
- Gluten-free flour: Use the same flour you used to create the starter when possible. If you need to switch flours, do it intentionally and gradually.
- Water: Filtered or bottled water is best because chlorine in tap water can inhibit the wild yeast and beneficial bacteria. If tap water is your only option, boil and cool it first.
Equipment Needed
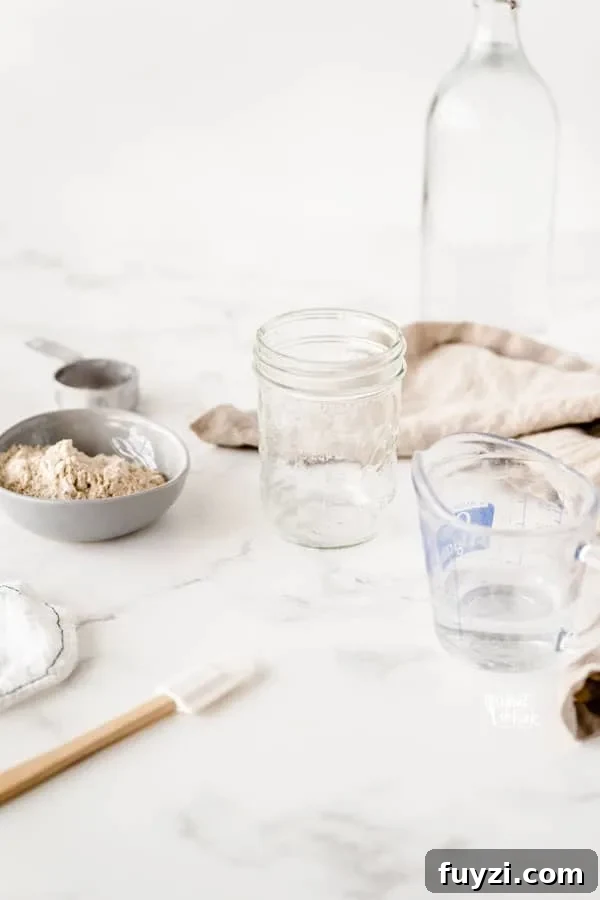
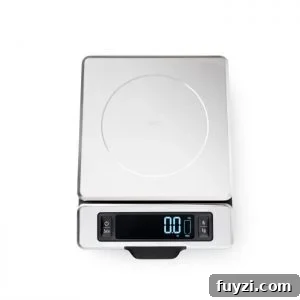
- Digital kitchen scale: Weighing ingredients gives consistent feedings and better results.
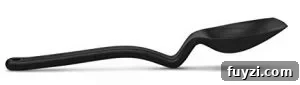
- Silicone spatula: A spatula is ideal for stirring and scraping the jar sides clean to prevent mold.
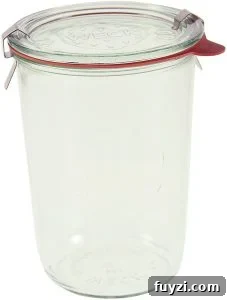
- Glass jars: Straight-sided jars such as Weck jars are easy to clean and store your starter well.
How to Store Your Starter
Where you keep your starter determines how often you need to feed it. You can store a starter at room temperature for frequent baking or in the refrigerator for occasional use.
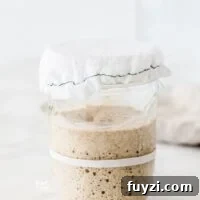
Store refrigerated starter covered but not airtight—use a coffee filter, paper towel or a loose lid so it can breathe. For room-temperature storage, keep the jar in a stable spot away from vents, the stove, or direct heat, and cover it loosely as well.
Feeding frequency: A refrigerated starter should be fed about once a week. A starter kept at room temperature should be fed every 24 hours.
Following a simple feeding schedule helps keep the starter predictable. Many bakers find it helpful to print a feeding chart and keep it near their baking tools.
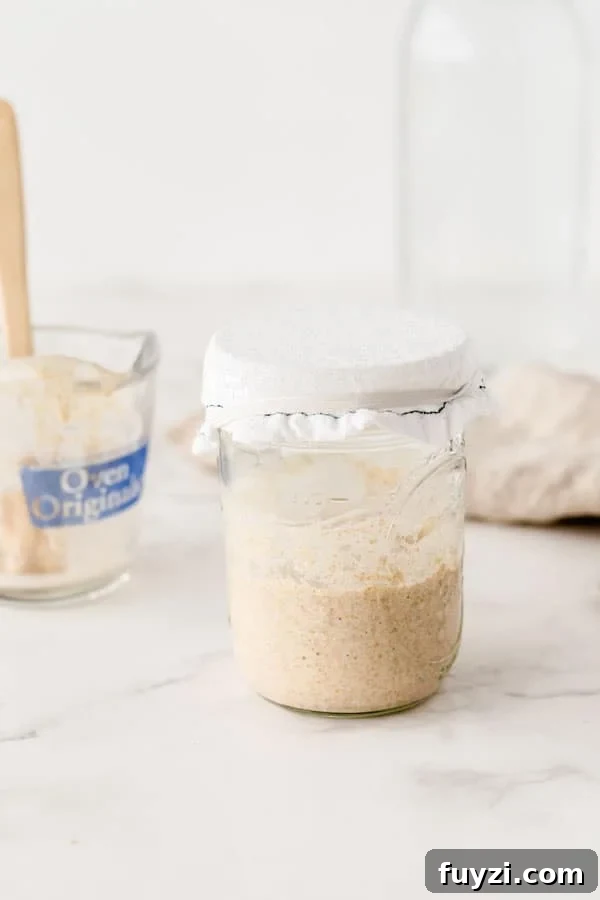
Maintaining a Room-Temperature Starter
Step 1. Stir the starter, then discard or set aside all but 25 grams. Add 75 grams of gluten-free flour and 75 grams of bottled or filtered water. Stir thoroughly until combined.
Step 2. Cover loosely and leave on the counter. Use or discard the removed starter in other recipes. Repeat feeding every 20–24 hours.
How to Maintain a Starter in the Fridge
Step 1. Remove the starter from the fridge. If a grayish or brown liquid has formed on top—called “hooch”—it’s normal. You can stir it back in or pour it off. Scrape the jar sides as you mix.
Step 2. Keep or discard all but 25 grams of starter, then add 75 grams of gluten-free flour and 75 grams of bottled or filtered water. Stir until smooth and cover loosely.
Step 3. Let the jar sit at room temperature for about two hours so the culture can wake up and begin to bubble, then return it to the refrigerator. Repeat weekly to keep the starter healthy.
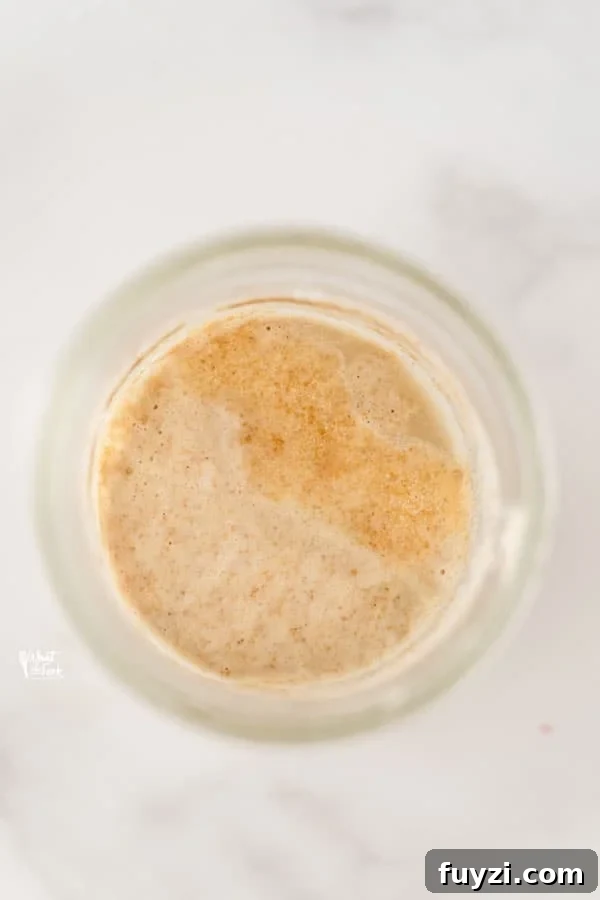
Maintaining Your Starter While on Vacation
If you’ll be away for a couple of weeks, store the starter in the refrigerator and feed it before you leave. For a two-week break, increase the feeding amounts (for example, double the usual feed) so the food supply lasts longer. Make sure the jar is large enough for the expanded volume.
How to Tell If Your Starter Is Ready to Use
A healthy starter will double or triple in volume after a feeding. The exact timing depends on room temperature and the starter’s strength. A refrigerated starter may take up to 12 hours to show activity. When it reliably doubles within 6–8 hours after feeding, it’s ready.
If you’re unsure, try the float test: spoon a small amount of starter into a bowl of water—if it floats, it’s airy and ready to bake with.
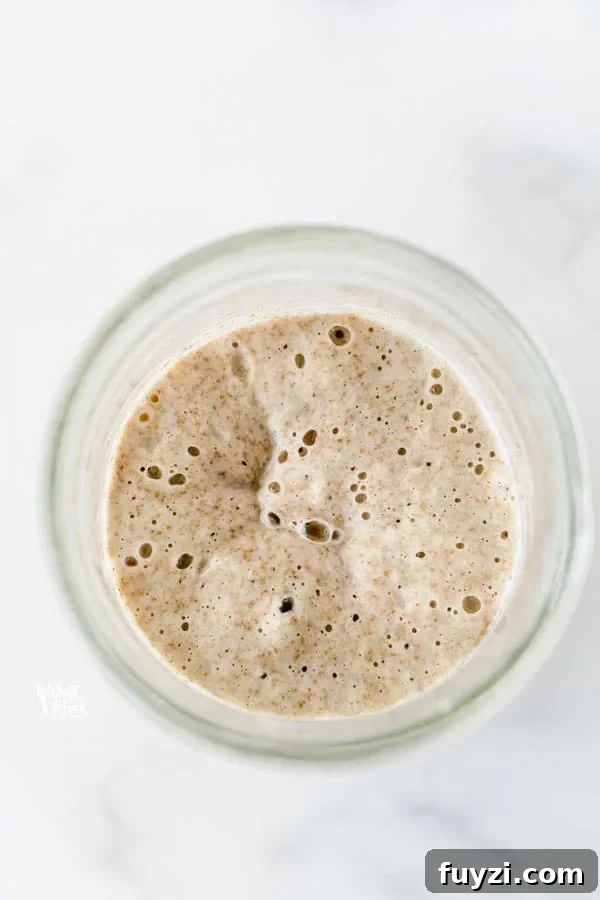
Helpful Tips for a Gluten-Free Starter
- Always use a kitchen scale. Weighing ingredients ensures consistent feedings and predictable behavior.
- You can switch flours. To transition to a different flour, keep 25 grams of your current starter, then feed with the new flour and water. Monitor activity during the change.
- Allow the starter time to mature. A starter should be at least two weeks old before baking, and many bakers prefer letting it age a month for fuller flavor and more reliable rise.
- Create a second starter from discard. If you want a starter using a different grain without changing your main culture, you can use discard to start a new one.
- Join a community. Baking groups and forums are great places to ask questions and get encouragement from fellow gluten-free bakers.
Gluten-Free Sourdough Discard Recipes to Try
- Gluten Free Sourdough Banana Bread
- Gluten Free Sourdough Discard Pumpkin Bread
- Gluten Free Sourdough Chocolate Cake
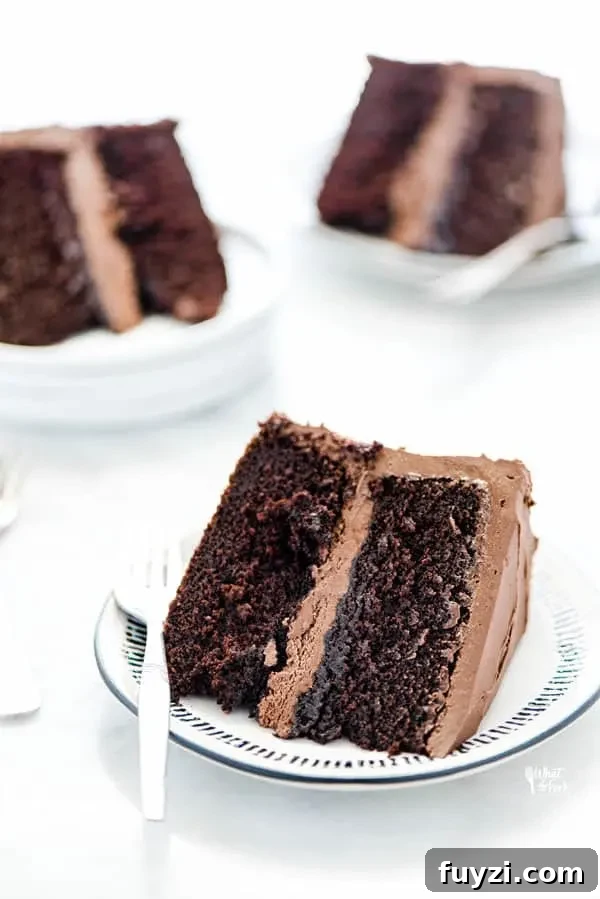
Follow along on social media and tag your bakes — I love seeing what you make!
If you enjoy gluten free baking, follow the blog to never miss a recipe.

Feeding Sourdough Starter for Maintenance
Ingredients
- 25 grams sourdough starter
- 75 grams gluten free flour
- 75 grams bottled water
Instructions
Maintaining Your Room Temperature Starter
-
Stir the starter, and discard or set aside all but 25 grams. Add 75 grams gluten free flour and 75 grams bottled water. Stir well to combine.
-
Cover loosely and return to the counter. Use the discard in other recipes or discard it. Repeat every 20–24 hours.
How to Maintain a Sourdough Starter in the Fridge
-
Remove the starter from the fridge. If hooch has formed, stir it in or pour it off, then scrape the jar sides and mix well.
-
Discard or set aside all but 25 grams, then add 75 grams gluten free flour and 75 grams bottled water. Stir to combine and cover loosely.
-
Let it sit at room temperature for about two hours so it can wake up, then return it to the fridge. Repeat weekly.
Notes
Recommended Products
Nutrition Information
Disclaimers
As an Amazon Associate and participant in other affiliate programs, I may earn from qualifying purchases.
Nutrition facts are estimates and may vary. Consult a professional if you have special dietary needs.
Did you make this? Leave a star rating and share a comment so others can learn from your experience.