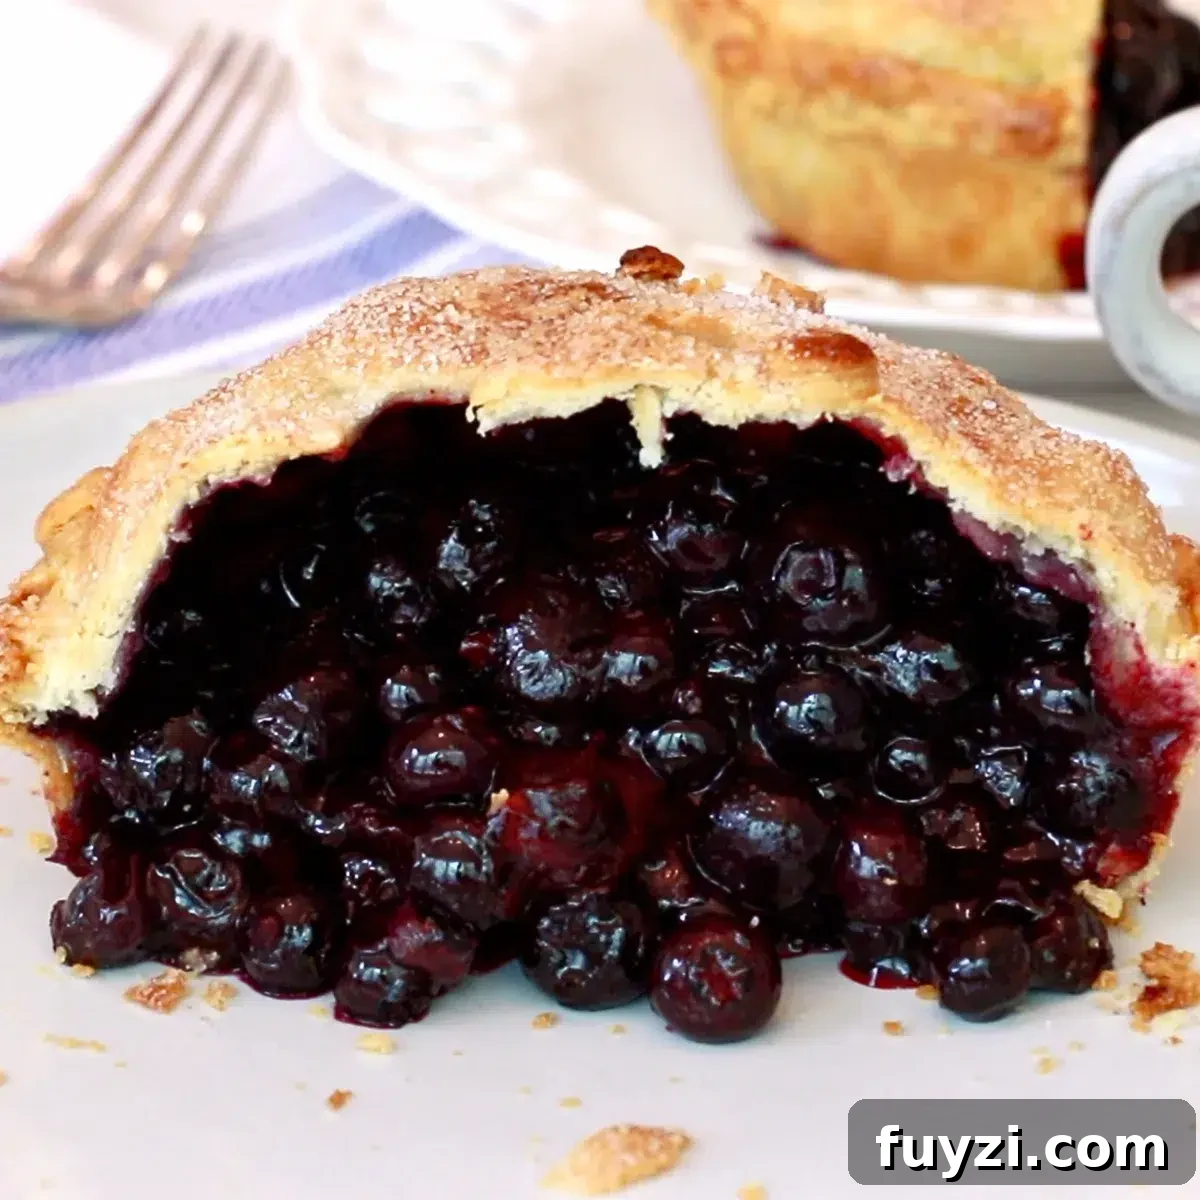
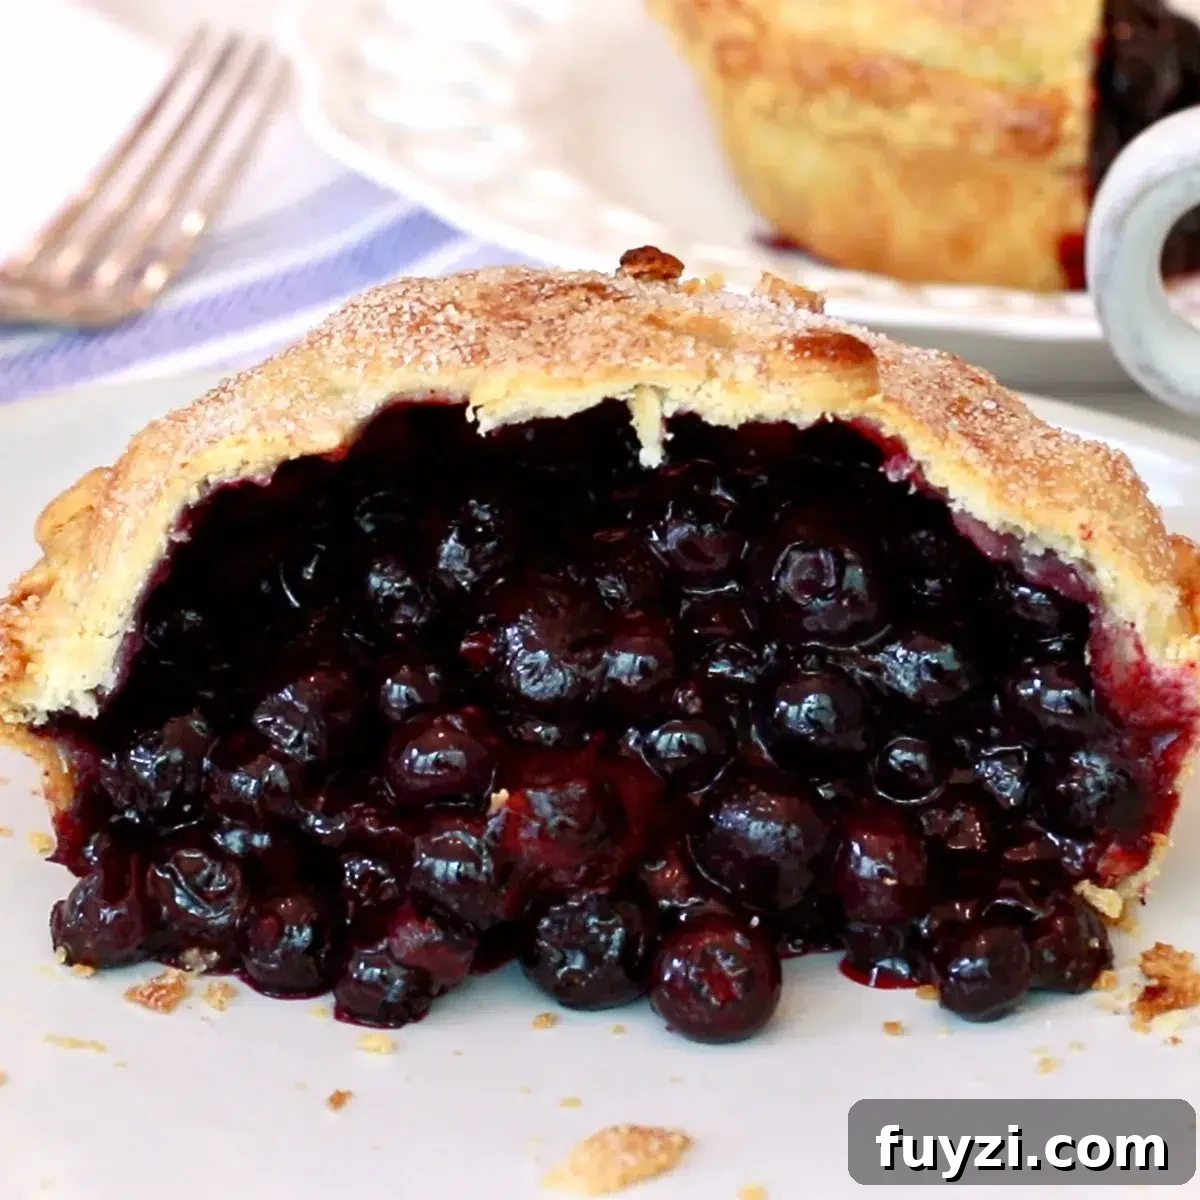
Every so often I crave a slice of homemade blueberry pie. The combination of juicy blueberries and a flaky, crisp crust is irresistible. Below you’ll find clear steps, essential tips, photos, and a reference to a video tutorial so you can make this pie successfully at home.
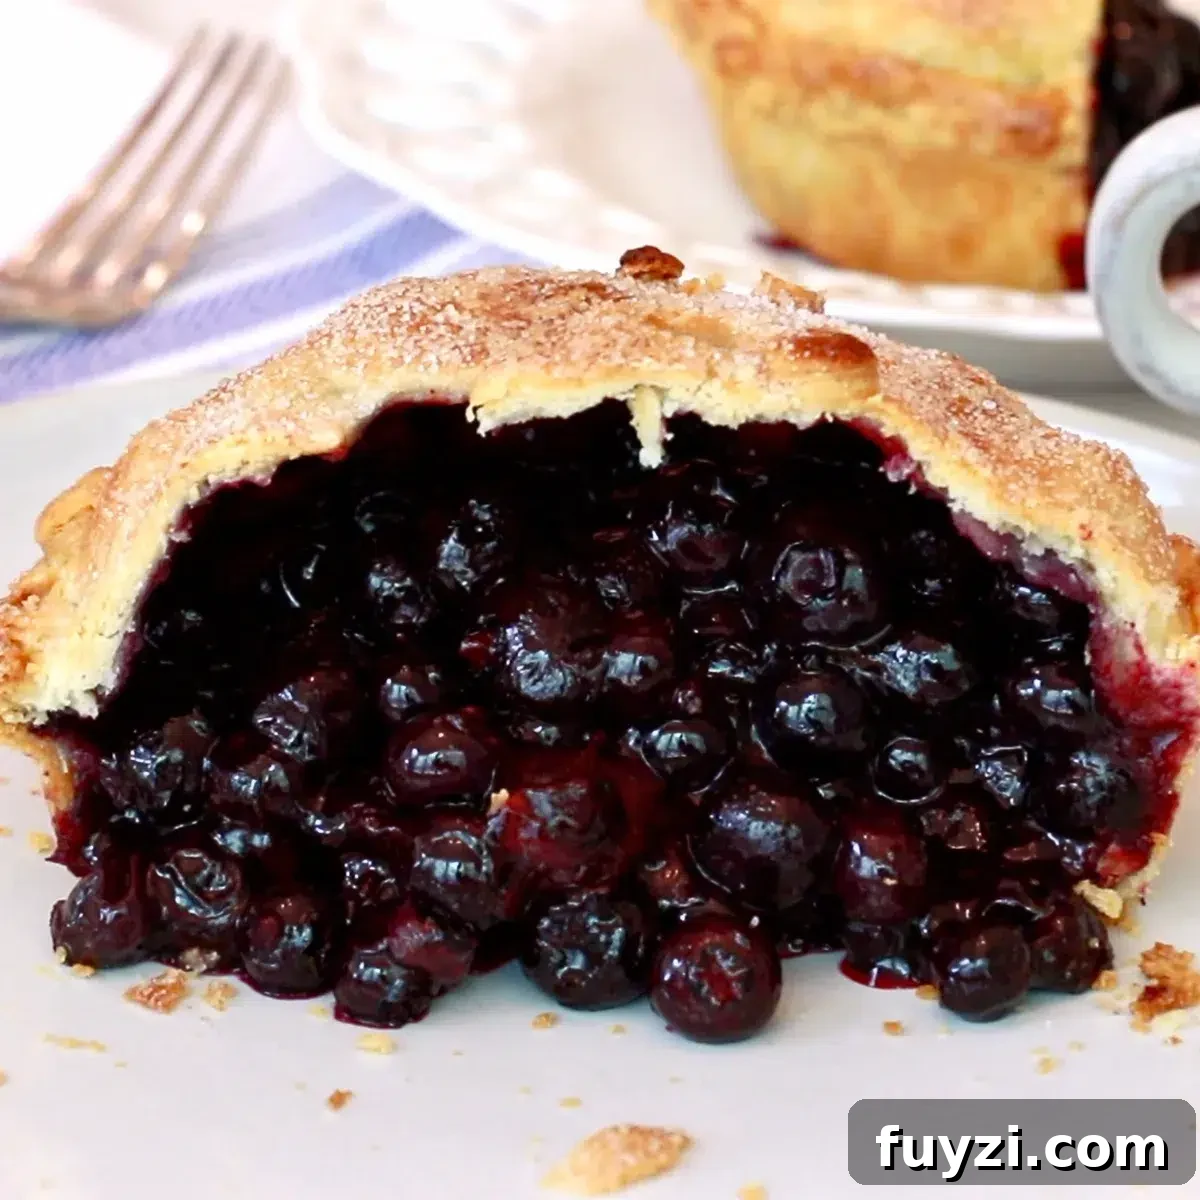
The best part is the crust: It bakes up incredibly flaky and crisp, much like my favorite mini apple pies. That texture pairs perfectly with the juicy blueberry filling and makes this pie special.
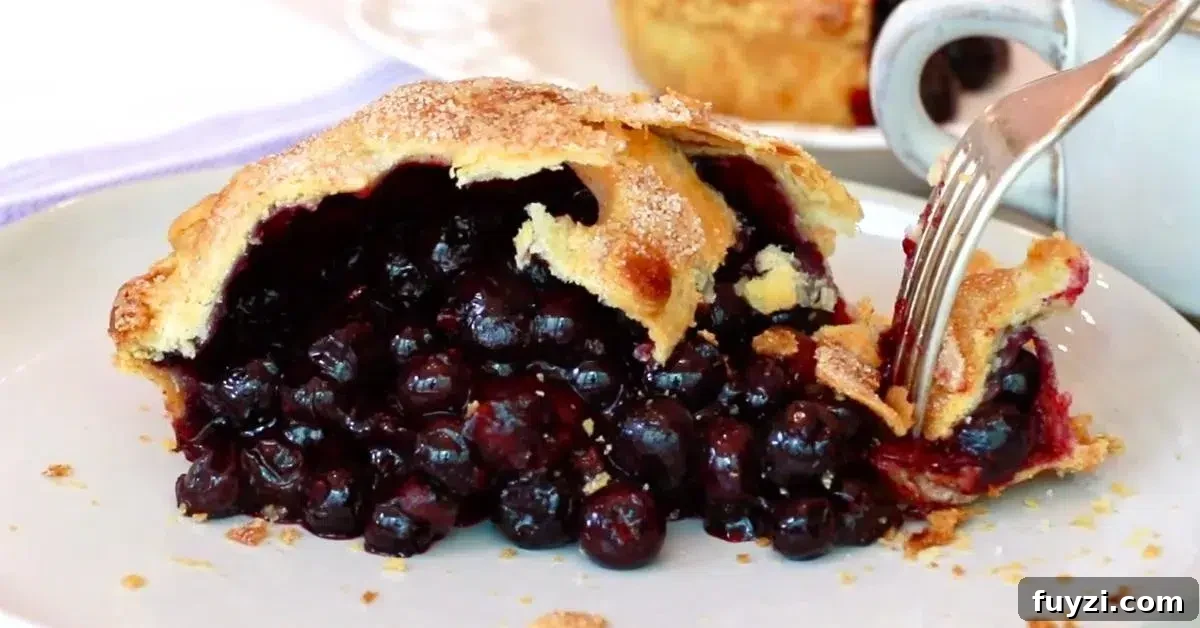
What I Love About This Blueberry Pie
- Perfect balance of sweetness — not overly sweet.
- A hint of lemon zest and cinnamon adds subtle depth of flavor.
- Juicy filling that isn’t runny when set correctly.
- Flexible sizing: make one large pie or several small individual pies.
VIDEO: Watch How To Make the Blueberry Pie
A step-by-step video tutorial demonstrates each stage and technique if you prefer visual guidance. Search for the same recipe title on the channel to follow along.
What’s in the Blueberry Pie
Pie Dough
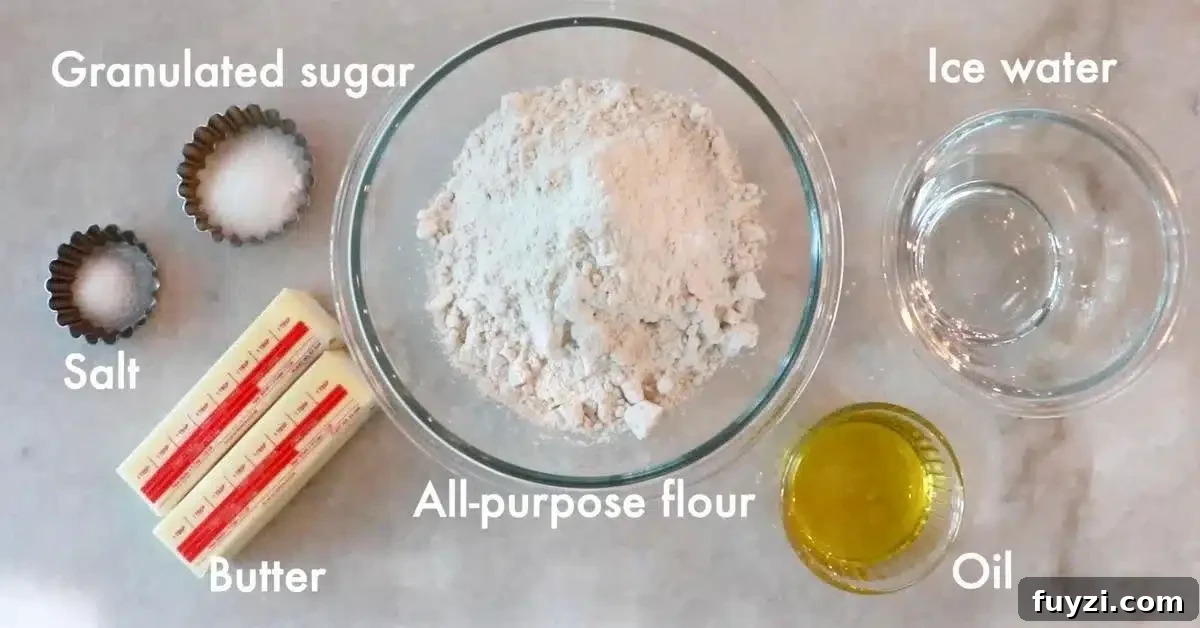
- All-purpose flour
- Granulated sugar
- Salt — to enhance flavor
- Cold unsalted butter
- Very cold water — keeps butter pieces firm
- A small amount of oil — a tip for a flakier, slightly crisp crust
The Filling
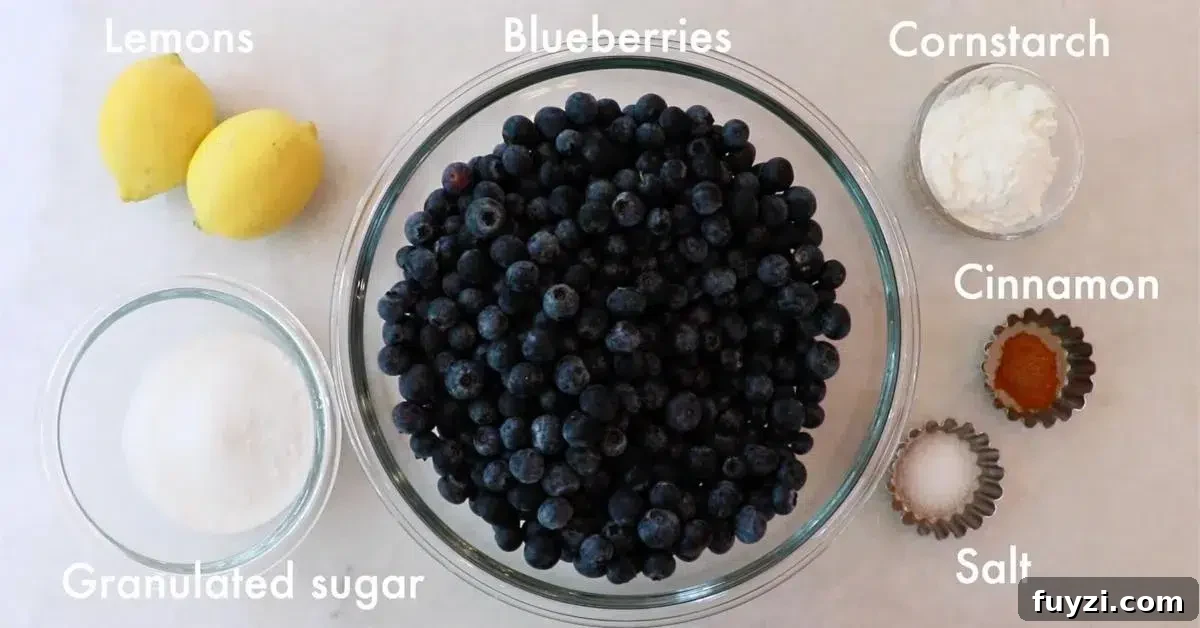
- Granulated sugar — the recipe uses a modest amount since blueberries sweeten as they warm
- Salt — brings out the fruit flavor
- Cornstarch — thickens the filling
- Cinnamon — pairs surprisingly well with blueberries
- Lemon zest — brightens the flavor
- Blueberries — fresh or frozen (drain excess liquid if needed)
- Lemon juice — adds acidity for balance
To Finish Assembling
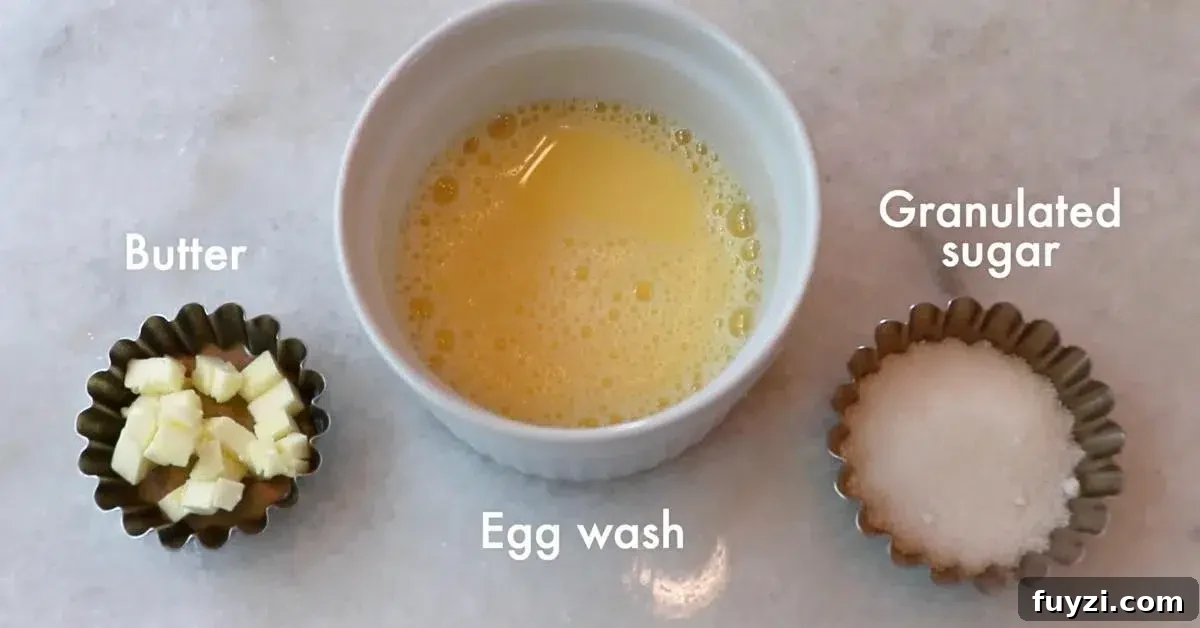
- Small pieces of butter to dot the filling
- Egg wash (egg : water = 1 : 1) for color and seal
- Granulated sugar for sprinkling
How to Make Blueberry Pie
Step 1: Make one batch of pie dough
Prepare a standard flaky pie dough and divide it into two discs. Wrap each in plastic and chill in the refrigerator for a few hours so the butter stays cold and the dough is easier to roll.
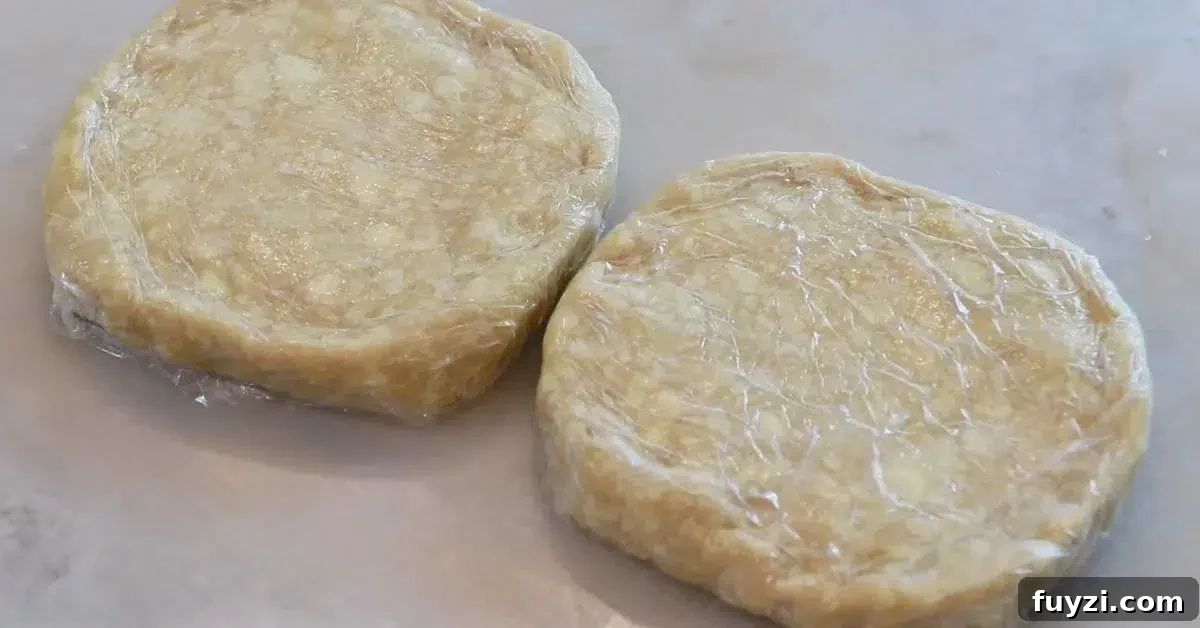
Why chill the dough?
- Protects butter pieces: Cold dough keeps little bits of butter intact, which creates flakiness when baked.
- Easier to roll: Resting relaxes gluten, so it resists less and shrinks less while rolling.
Step 2: Roll it out thin — 0.1 in (2–3 mm)
Roll both dough discs thinly. Use one for the bottom and chill the other for the top layer until you are ready to assemble.

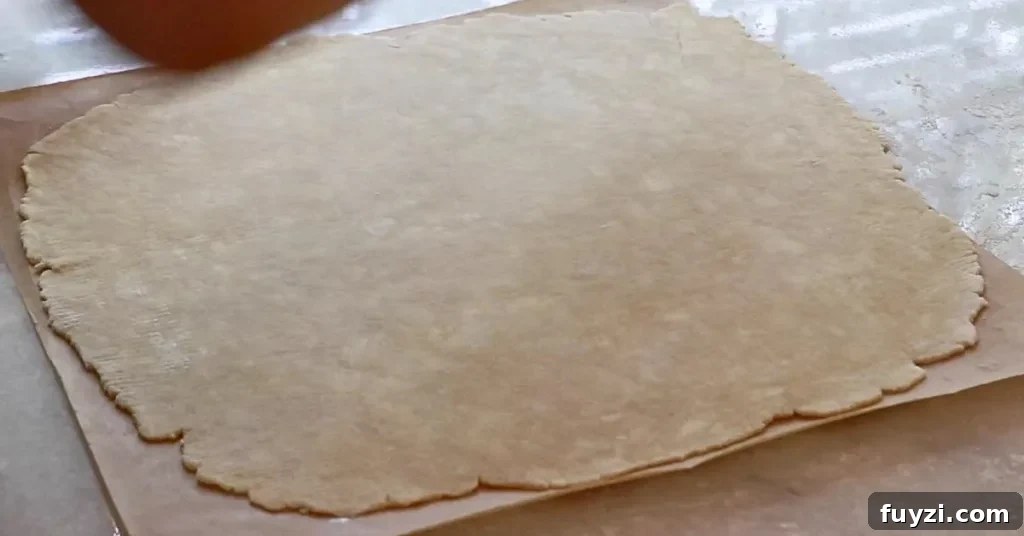
Tips
Rolling on parchment makes cleanup easier, but you can roll directly on a floured work surface if preferred.
Step 3: Fit the dough into pie plates
Cut circles for the bottom layers and gently ease each into your pie plates or ramekins. I used 6.3-inch (16 cm) tart pans to cut multiple bottoms from one sheet.

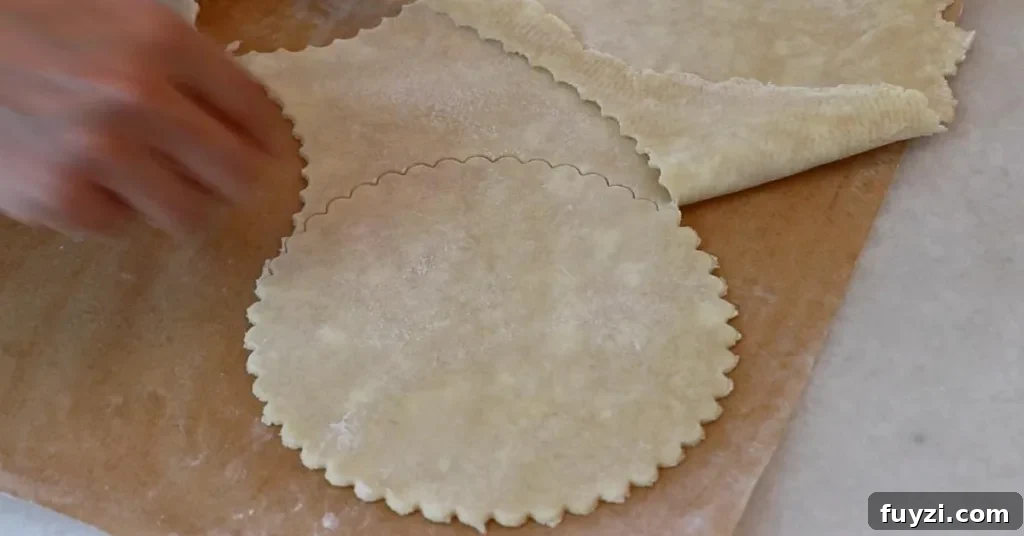
Tips
- Use a plate, cutter, or knife to trim circles. Adjust the size to match your pans.
- If the dough becomes sticky, chill briefly to make cutting easier.
- This recipe makes either four 5-inch ramekins or one 10-inch pie.
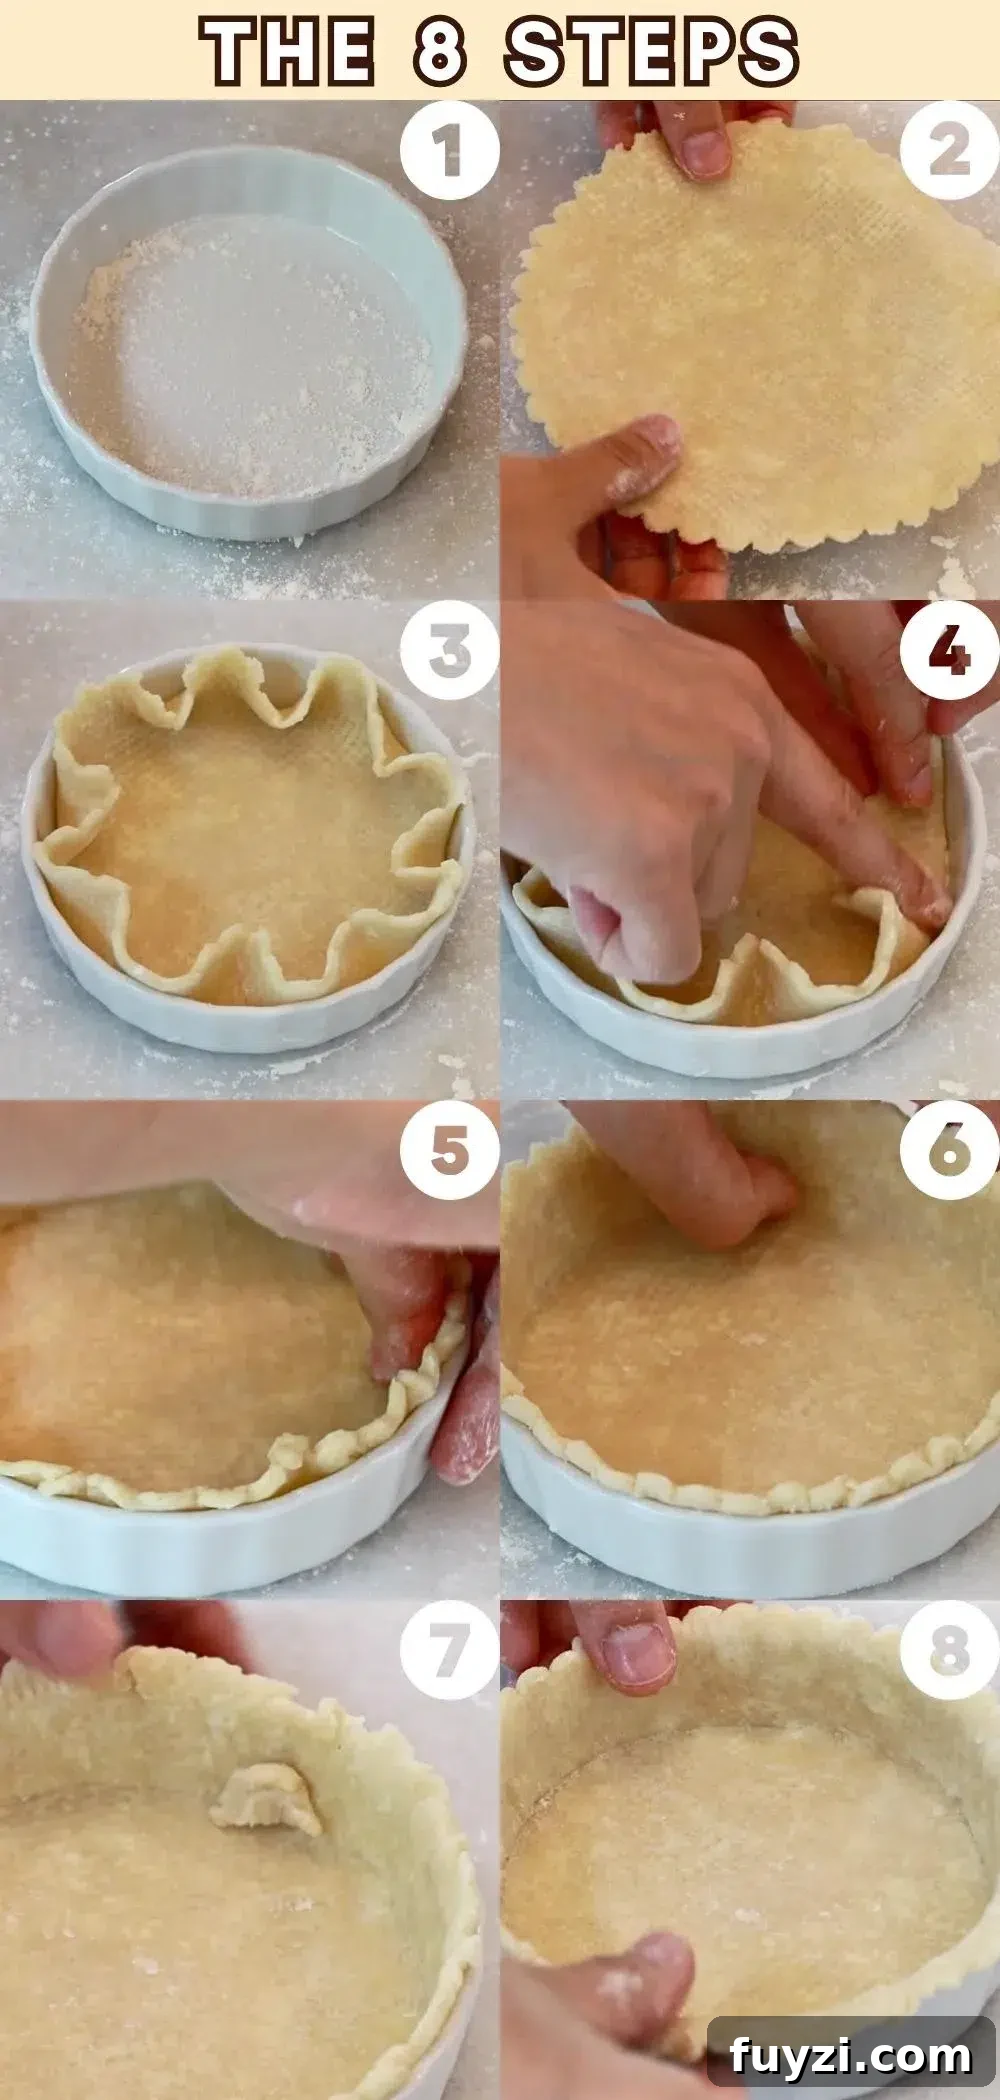
How to set the bottom layer:
- Lightly butter the pan and dust the bottom with flour so the crust releases easily.
- Center the dough and ease it down evenly.
- Fold and press corners so the sides stay in place while baking.
- Use your thumb to press the dough against the pan sides for a secure fit.
- Where more dough is needed, add a small patch underneath to avoid overhanging top edges.
- Leave the top edge slightly open so you can brush egg wash later.
- Chill the filled bottoms while you prepare the filling.
Step 4: Combine the dry filling ingredients
Whisk together sugar, salt, cornstarch, and cinnamon, then add lemon zest and mix to distribute the zest evenly. Accurate measuring of the cornstarch is important to get the right filling thickness.


Step 5: Toss with blueberries and lemon juice

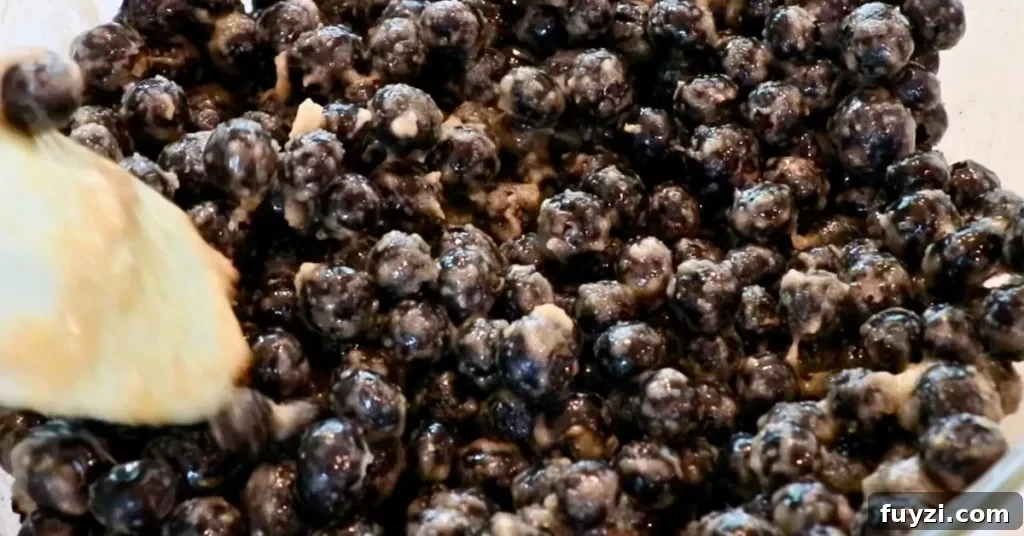
Tips
- Scrape the bottom of the bowl so no dry ingredients remain unseen.
- Mix thoroughly so each pie gets consistent flavor and thickening.
Step 6: Divide the filling among the pie plates
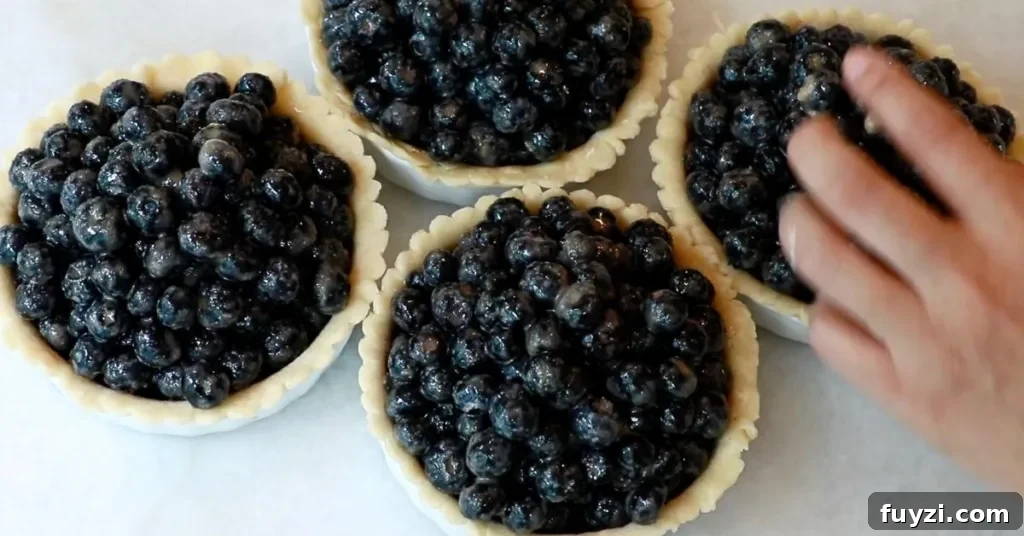
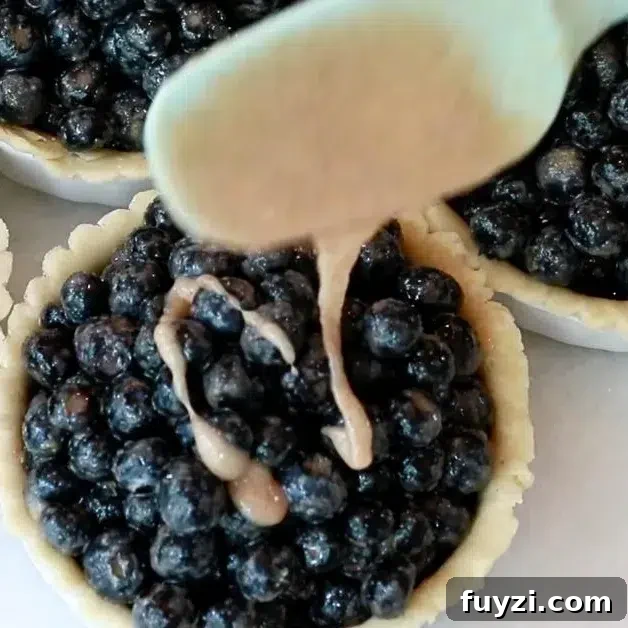
Tips
- The filling may look plentiful but will reduce as it cooks.
- Collect any thick mixture stuck to the bowl and distribute it evenly (it contains flavor and cornstarch).
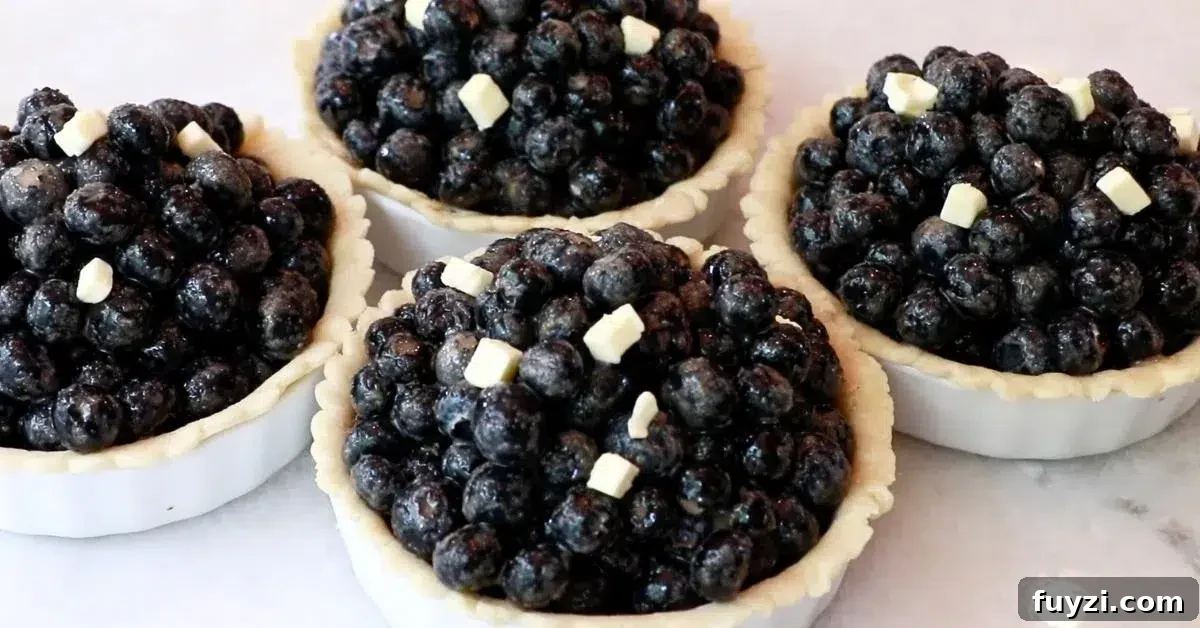
Step 7: Dot with butter
Optionally scatter a few small butter pieces over the filling to add richness as it bakes.
Step 8: Cut the second dough for the top layer
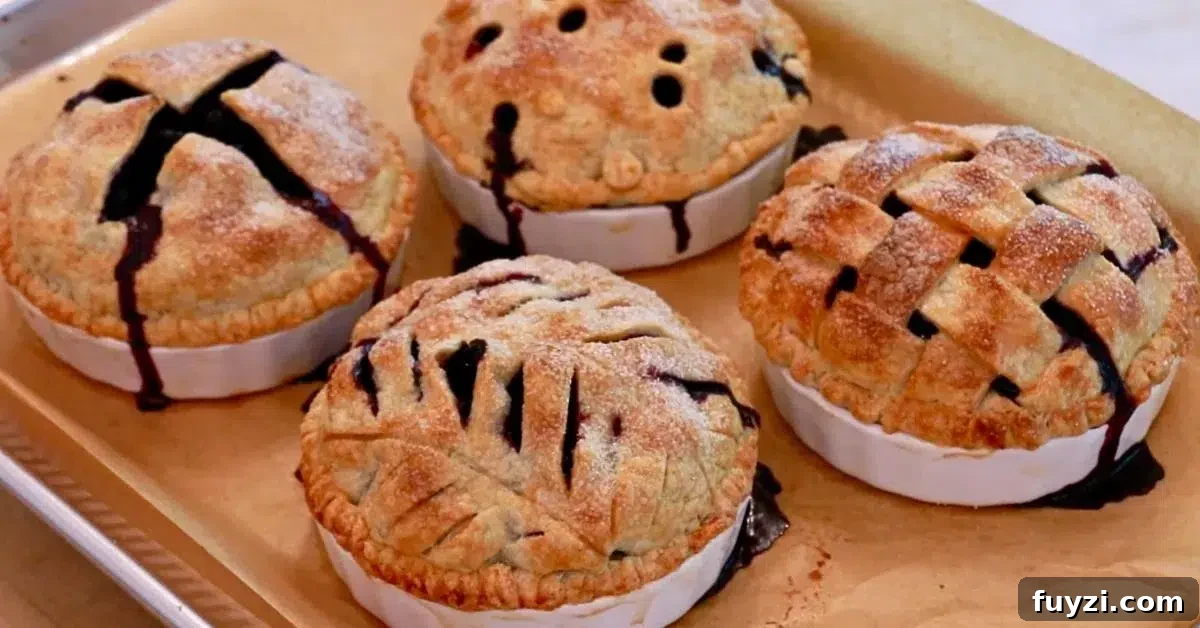
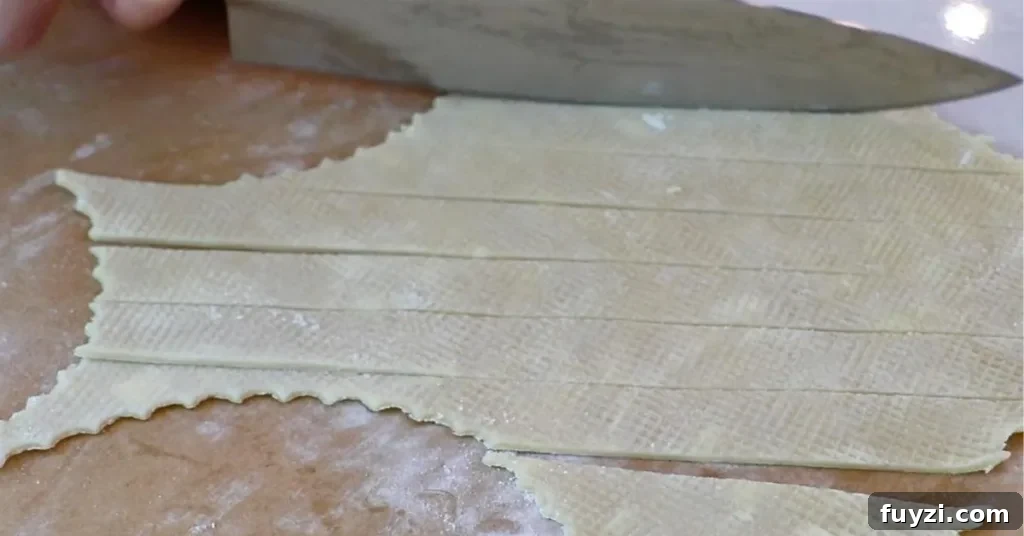
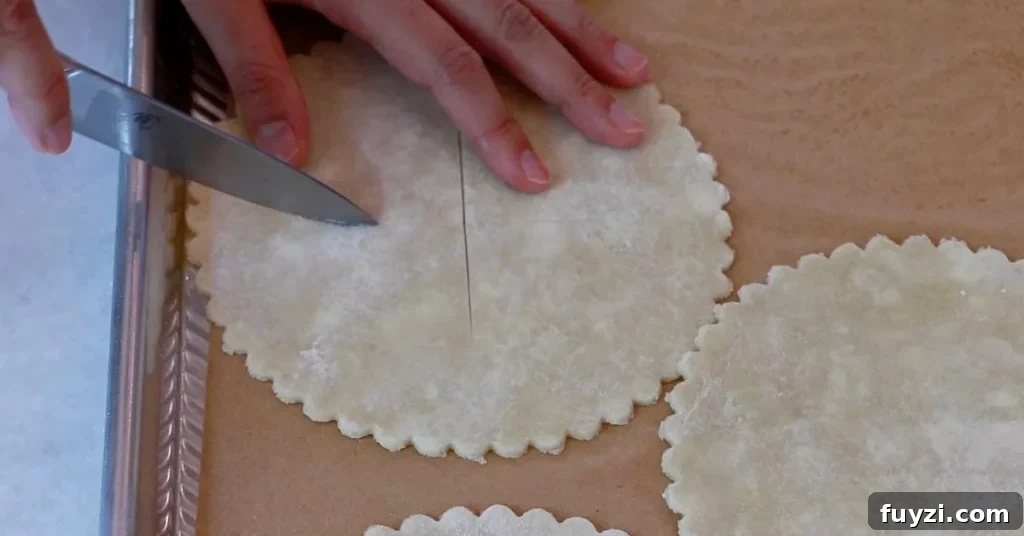
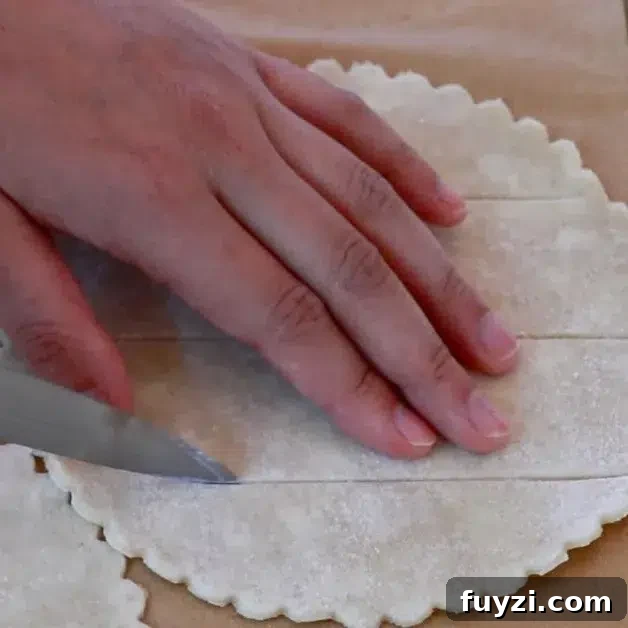
Remove the second chilled dough sheet and cut shapes or vents for the tops. You can make a lattice, simple cross cuts, fine slits, or small punched holes — choose the look you like.
Pattern: Lattice
Cut long strips and weave them over the filling for a classic look.
Pattern: Simple cross-cut
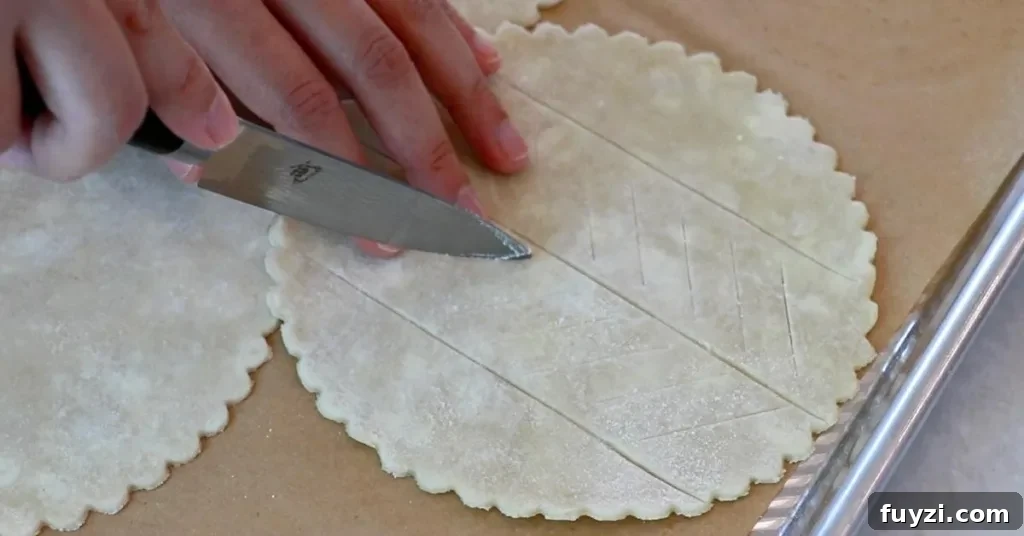
Pattern: Fine slits
Make a few parallel lines and add small diagonal cuts to let steam escape and create an elegant pattern.
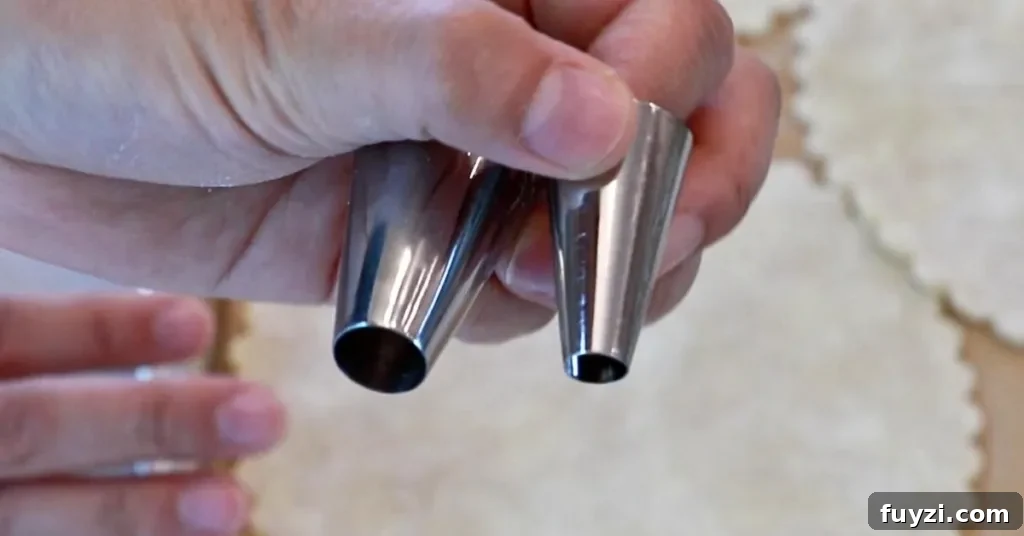
Pattern: Small holes
Use small round cutters or tips to make neat vents across the top for a decorative finish.
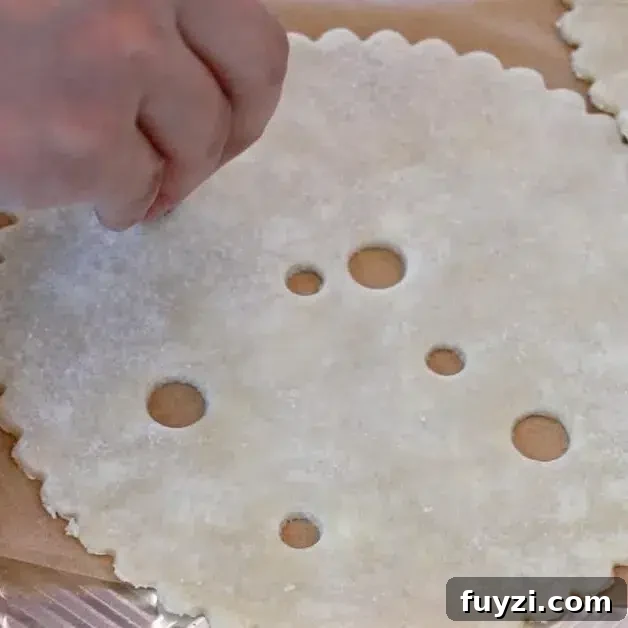
Tips
Chilled dough is easier to cut and shape. You can also prepare toppers ahead of time and keep them refrigerated until assembly.
Step 9: Seal with the top layer
Brush the rim with egg wash (egg mixed with equal water) to act as glue, place the top layer, press and crimp the edges to seal, and add any decorative edge patterns.

- Brush egg wash on the edge to help the top adhere.
- Attach several points around the top so it won’t slide.
- Press firmly to seal and pinch the edge so filling cannot escape.
- Brush the whole surface with egg wash and fold or crimp the edge as desired.
- Optionally add fork marks or other edge patterns for decoration.
Tips
- If the top dough is stiff from chilling, warm it slightly with your hands to make it pliable.
- Trim away any excess dough that might stick to the pan once baked to make removal easier.
Step 10: Egg wash and sugar
Brush a light layer of egg wash over the surface and sprinkle with sugar. This gives a lovely sheen and a slight crunch.
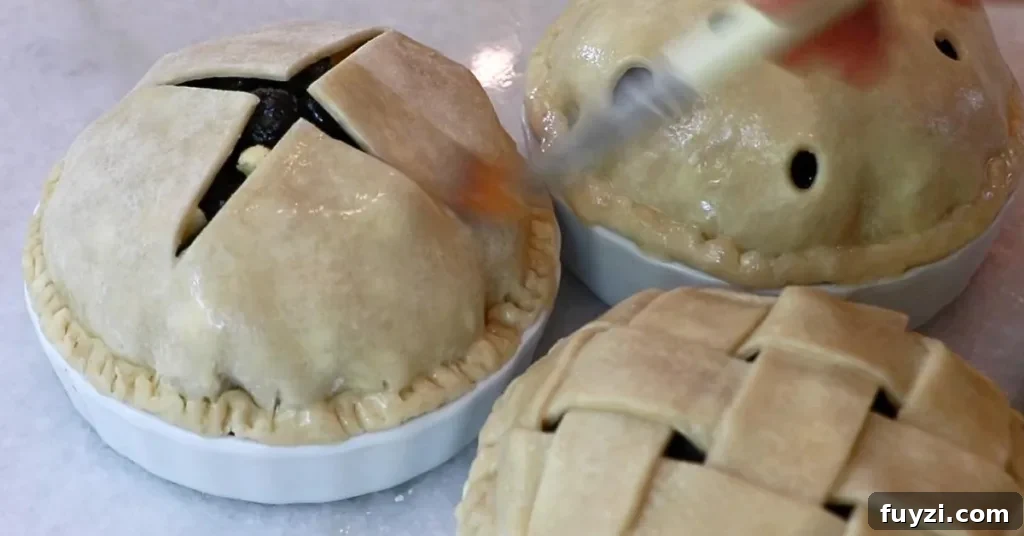
Step 11: Chill before baking
Chill assembled pies for at least 30 minutes (up to an hour). This helps the dough hold its shape and promotes a flakier crust during baking.
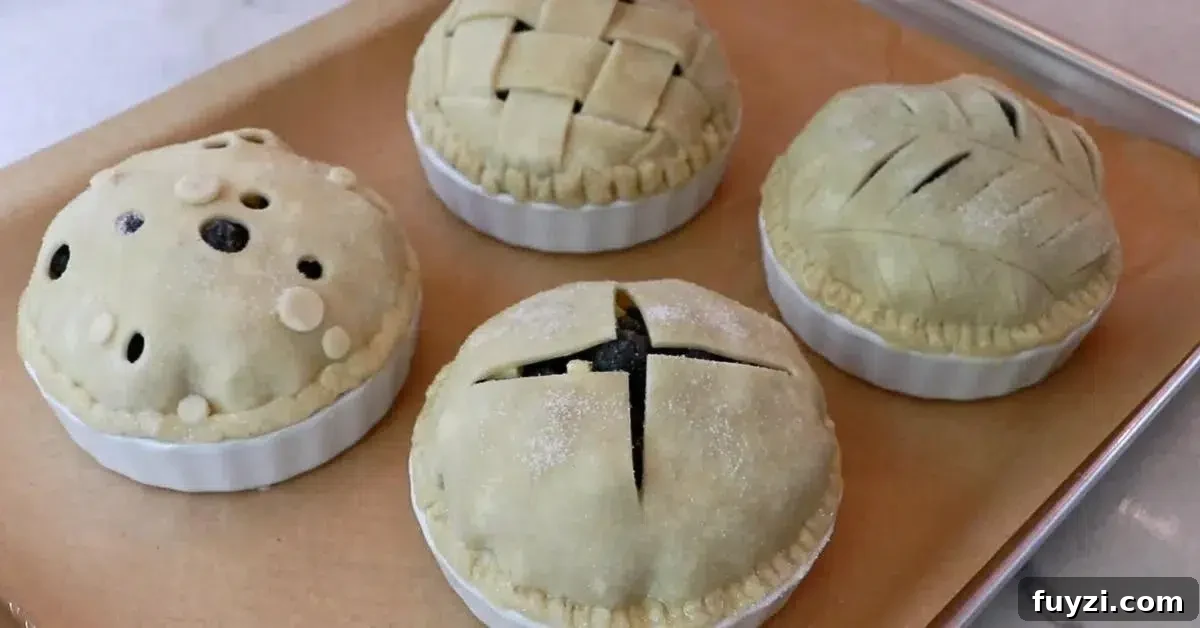
Step 12: Bake at 380°F (193°C) for 45–50 minutes
Bake in a preheated oven until the crust is golden and the filling bubbles. When you see bubbling through vents or edges, the pies are done.
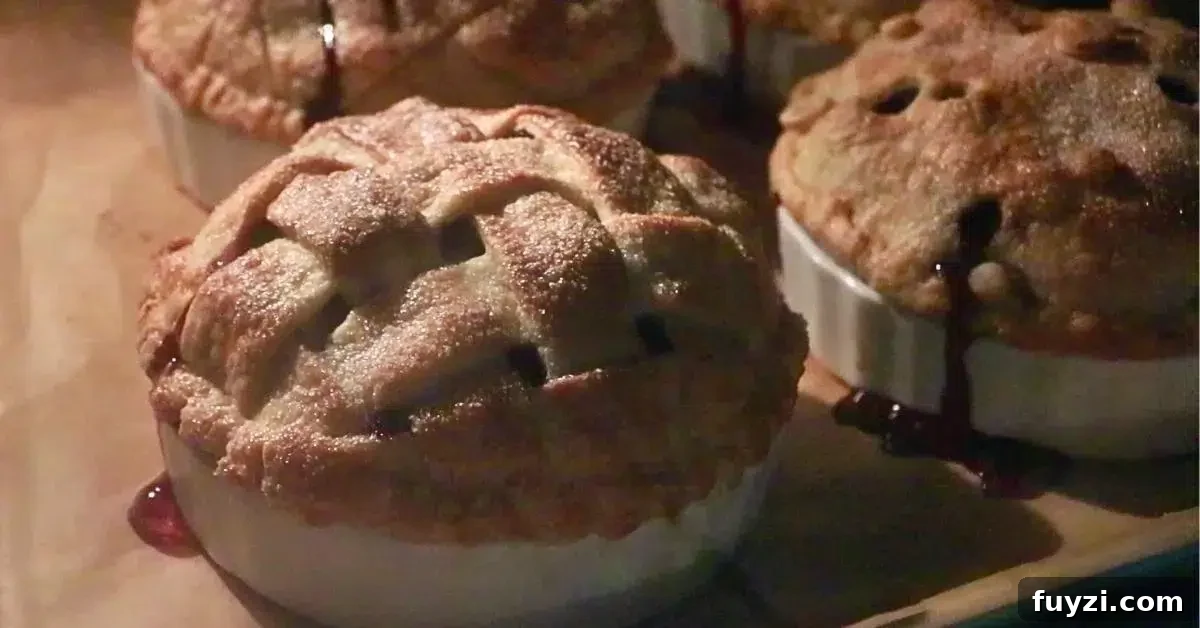
Tips
- Bake until edges and the top show rich golden caramelization for maximum crispiness.
- Allow pies to cool slightly before serving — they will be extremely hot inside.
- Wait 20–30 minutes before removing pies from pans; wear oven mitts if needed.
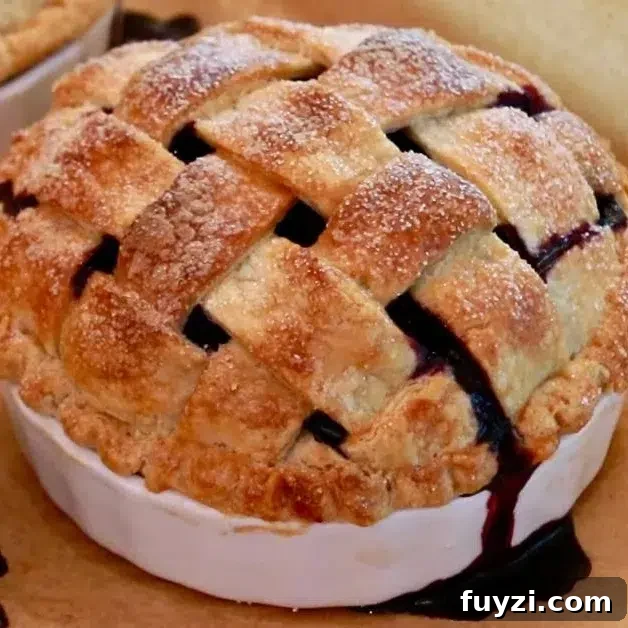
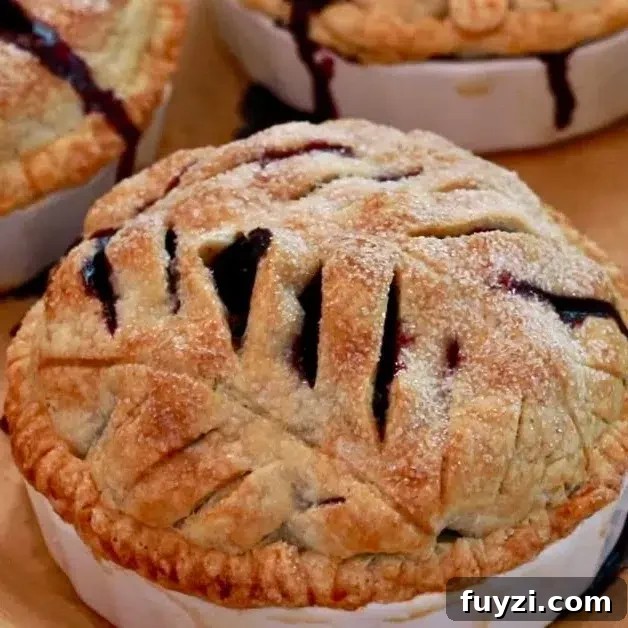
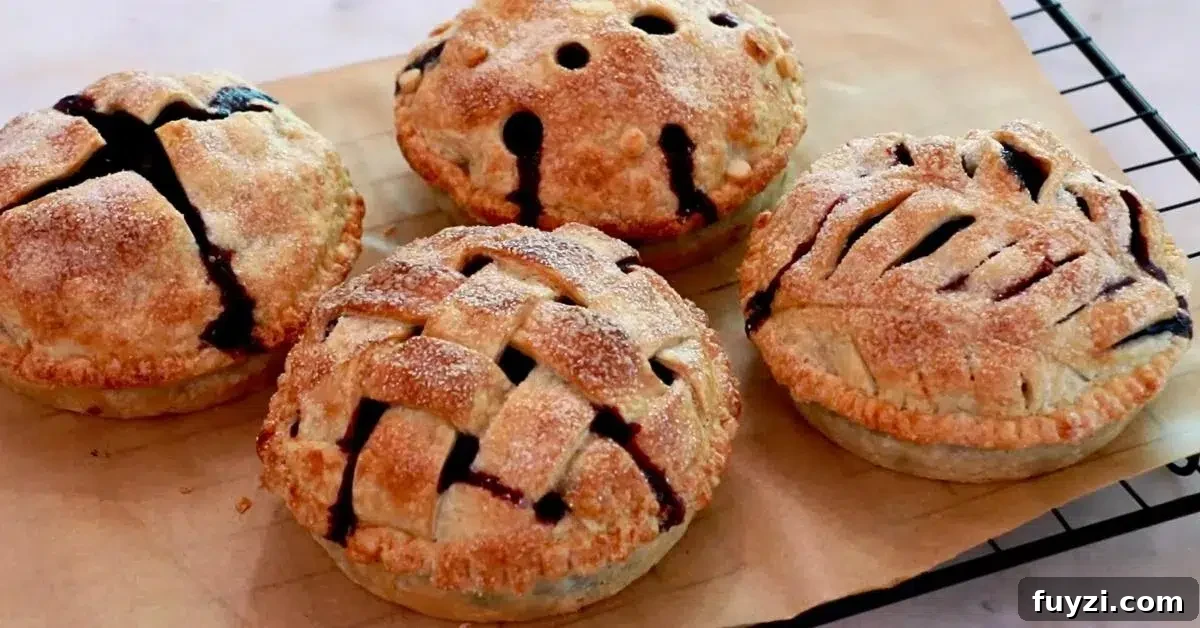
This pie is at its best warm, when the filling is soft and the crust is flaky. Baking smaller individual pies means more edge-to-filling ratio, so every bite has that crisp pastry.
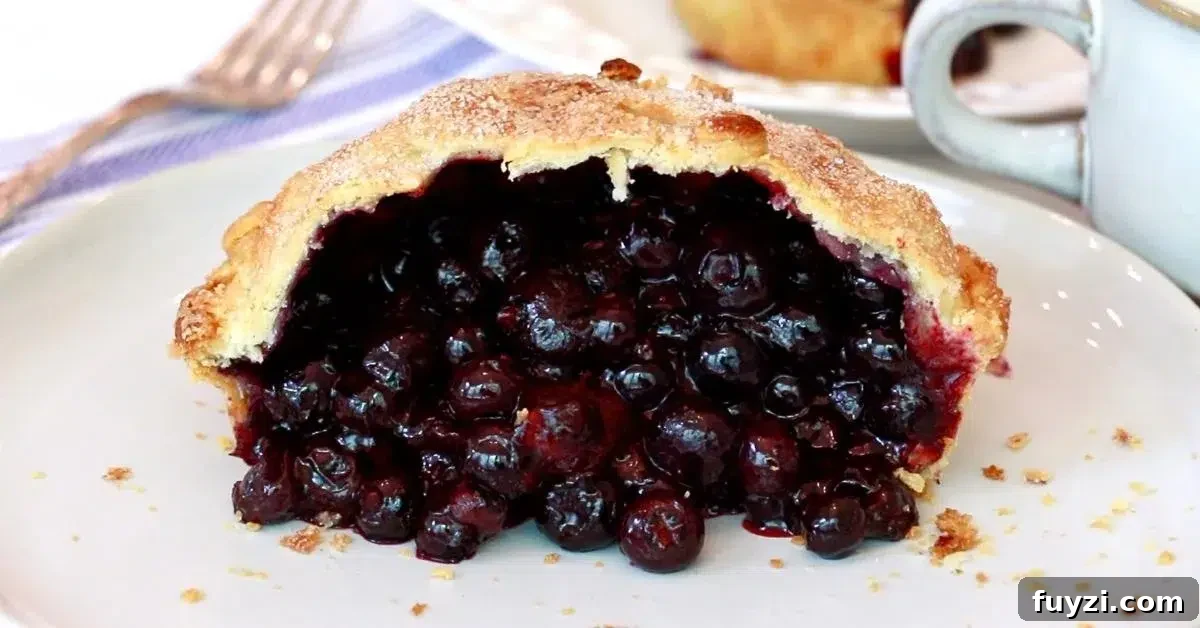
How to Store Blueberry Pie
Cover with plastic wrap or place in an airtight container. Store in the refrigerator for up to four to five days, though it’s best enjoyed sooner.
When the pie is cold
The cornstarch-based filling firms up significantly when chilled. Warm pieces briefly before serving for a softer filling unless you prefer the thicker chilled texture.
How to reheat
Reheat in a preheated oven at 350°F (176°C) for 10–20 minutes to refresh the crust’s crispness. Time will vary by oven and pie size.
Frequently Asked Questions
Properly wrapped and refrigerated, it keeps 4–5 days, though sooner is better for texture and flavor.
Yes. Thaw and drain any excess liquid if the frozen berries release a lot of juice before mixing with the dry ingredients.
Yes. Use larger pans for one big pie or several small pans — adjust baking time accordingly.
More Pie Recipes
If you enjoy this blueberry pie, you might also like these other pies and tarts.
- Apple Hand Pies
- Classic Apple Pie
- Key Lime Pie
- French Silk Pie
Did you try the recipe?
Please leave a comment below with your honest feedback. I’d love to hear how it turned out for special gatherings or everyday treats.
Thank you! – Aya
Amazing Blueberry Pie
A flaky, crisp crust with a perfectly balanced blueberry filling, brightened with lemon zest and a touch of cinnamon.
Servings: 4 (5-inch ramekins) | Prep: 1 hour | Cook: ~50 minutes
Ingredients
Pie Dough
- 375 g all-purpose flour (about 3 cups)
- 1 tablespoon granulated sugar
- ½ teaspoon salt
- 226 g cold unsalted butter (1 cup)
- 110 g icy cold water (about ½ cup + 2 teaspoons)
- 1 tablespoon oil
- Some bread flour for rolling and some butter to grease pans
Blueberry Filling
- 113 g granulated sugar (½ cup + 1 tablespoon)
- ½ teaspoon salt
- 4.5 tablespoons cornstarch
- ½–1 teaspoon cinnamon (to taste)
- Zest from 2 lemons
- 1020 g blueberries (about 6½ cups), fresh or frozen
- 2 tablespoons lemon juice (adjust as desired)
To Finish
- Small pieces of butter
- Egg wash (egg : water = 1 : 1)
- Granulated sugar for sprinkling
Method
- Make one batch of pie dough, divide into two discs, wrap, and chill for a few hours.
- Roll each disc to about 0.1 in (2–3 mm). Use one for bottoms and one for tops.
- Cut bottoms and fit into pie plates; chill while preparing filling.
- Whisk sugar, salt, cornstarch, cinnamon, and lemon zest together. Mix with blueberries and lemon juice until combined.
- Divide filling among pie plates, dot with butter, and top with the second dough (lattice, vents, or whole top with slits).
- Brush edges with egg wash, crimp to seal, brush surface with egg wash, and sprinkle sugar.
- Chill assembled pies 30–60 minutes, then bake in a preheated oven at 380°F (193°C) for 45–50 minutes, until the filling bubbles and crust is golden.
- Cool slightly before serving; allow 20–30 minutes before removing from pans for best results.
Notes
Store covered in the refrigerator up to 4–5 days. Reheat at 350°F (176°C) for 10–20 minutes to refresh the crust.