
I love making paper crafts, so I had to try this DIY hanging paper lantern. Making your own paper lantern is an easy, rewarding project that adds a cheerful, festive touch to any room or event.
This simple craft works well for parties, seasonal decor, classroom activities, or just brightening a corner of your home. With basic supplies like construction paper, scissors, and glue, you can create colorful lanterns in minutes and customize them to match any theme or color palette.
Follow the step-by-step directions below to make your own handmade paper lantern.

Supplies Needed:
- Colored construction paper (example: red and yellow)
- Scissors
- Decorative scissors (optional, for patterned edges)
- Hot glue gun and glue sticks (or strong craft glue)
- Ruler
- Pencil
- Eraser
DIY Paper Lantern Step-By-Step Video
A full video tutorial is available on the creator’s YouTube channel showing every step. Below are clear, written step-by-step instructions to follow along if you prefer to craft without watching the video.
Subscribe to the YouTube channel for more craft videos and ideas.
Instructions:
Prepare the Base Paper
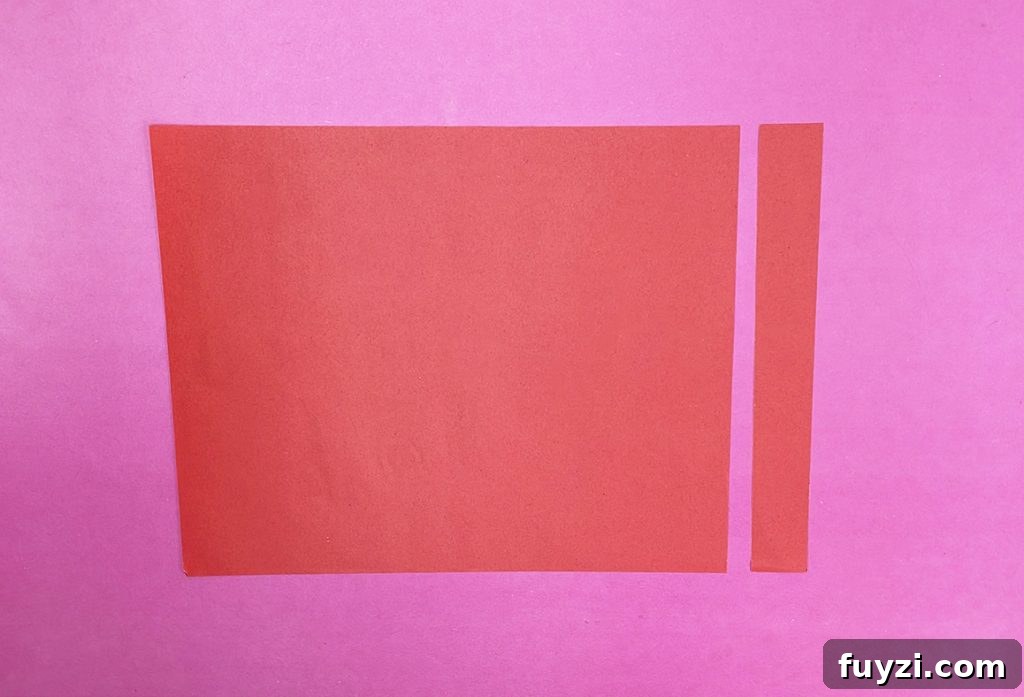
Start with one sheet of colored construction paper (red was used in this example). Trim 1 inch off the shorter side and set that narrow strip aside — this will become the handle.
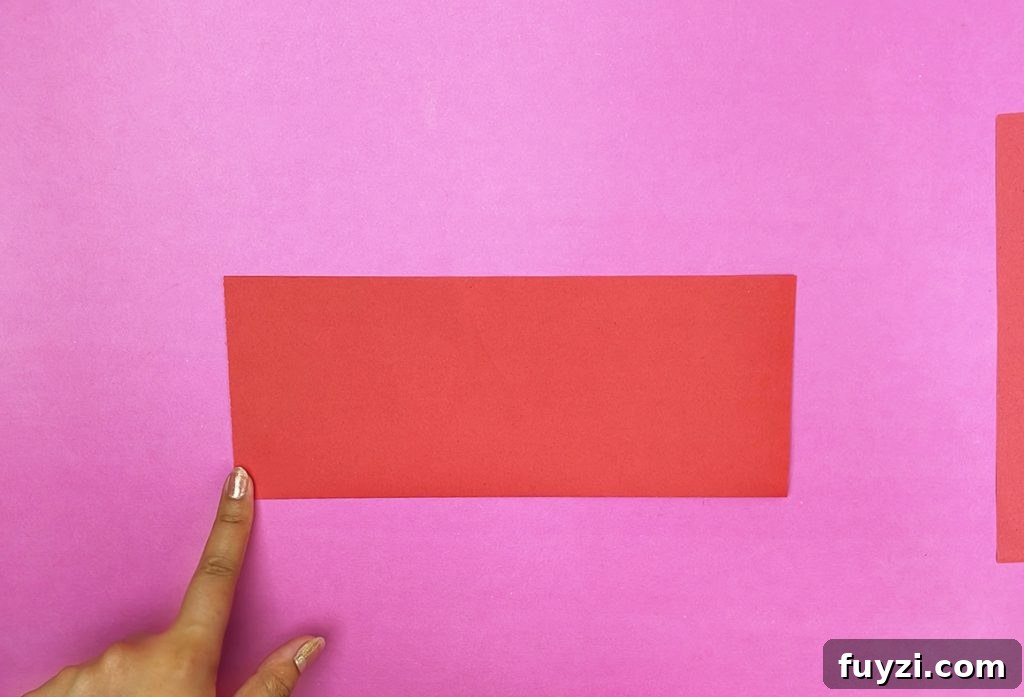
Fold the remaining sheet lengthwise (a “hot dog” fold) to create a crisp center crease.
Mark and Cut the Slits
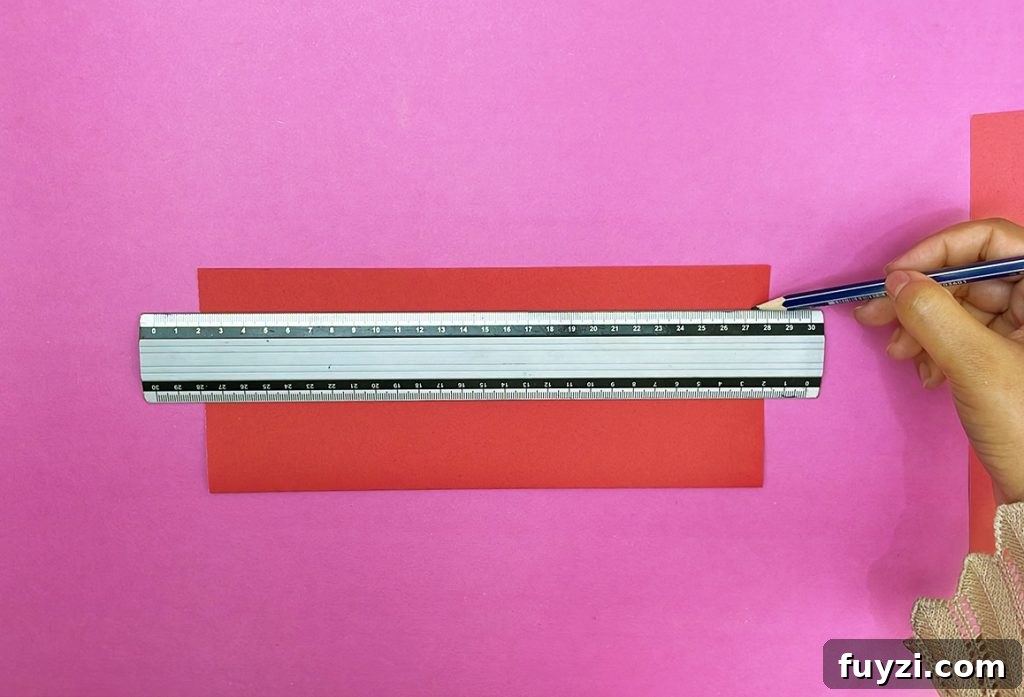
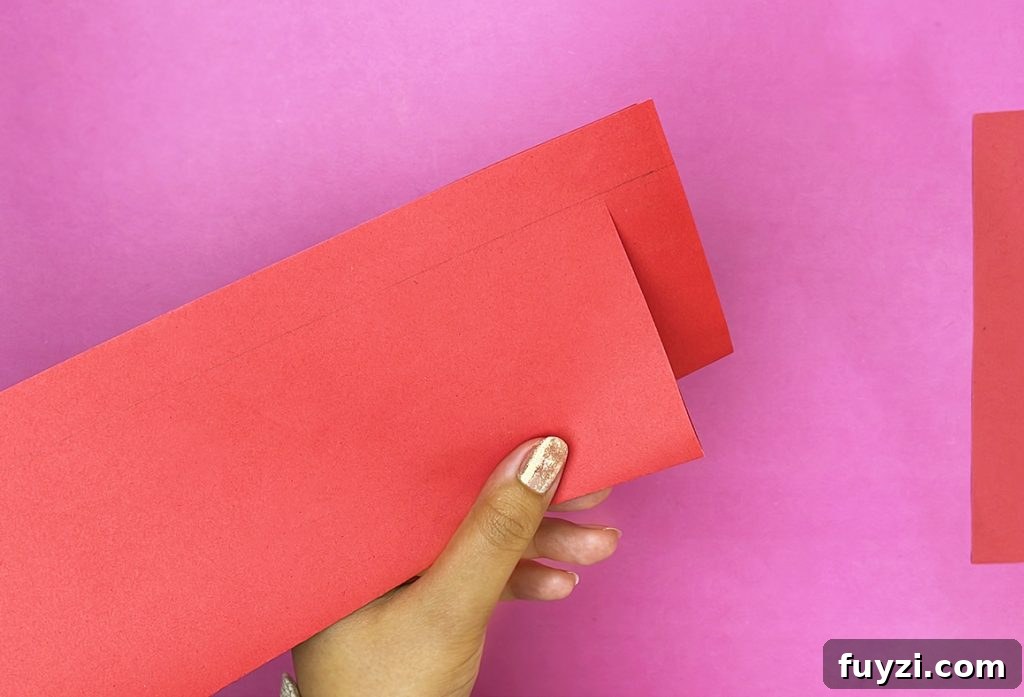
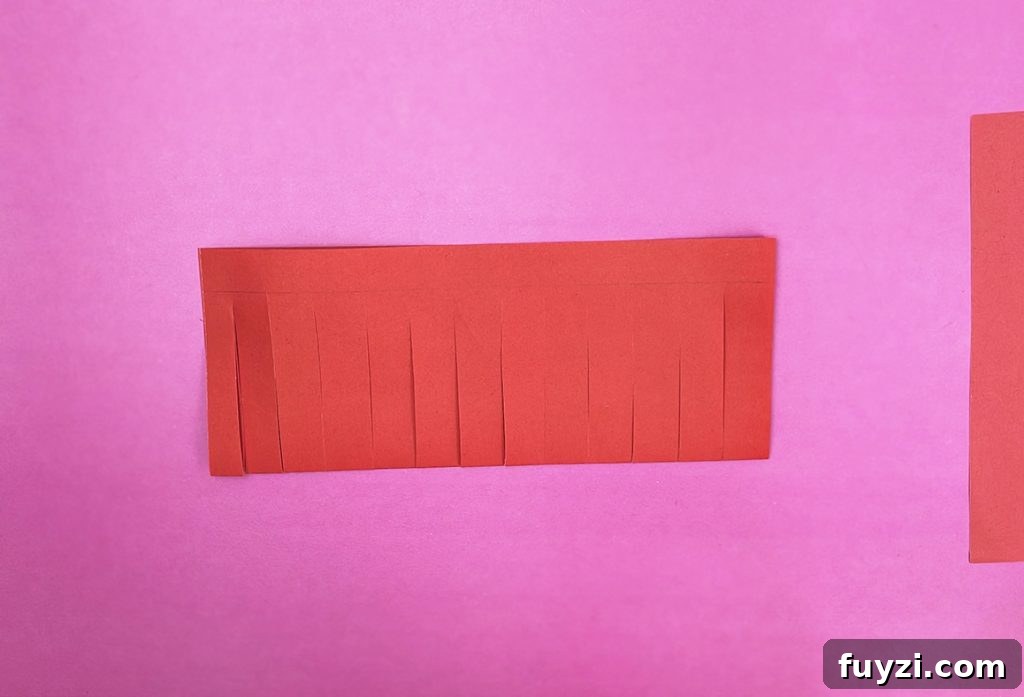
Using a ruler and pencil, draw a 1-inch margin along the long edge that will remain uncut. From the folded edge, cut 1-inch wide slits up to the pencil line. Aim for about 12 evenly spaced cuts across the sheet.
After cutting, erase the pencil guide and carefully unfold the paper to reveal evenly spaced slits that will form the lantern’s body.
Create Decorative Strips
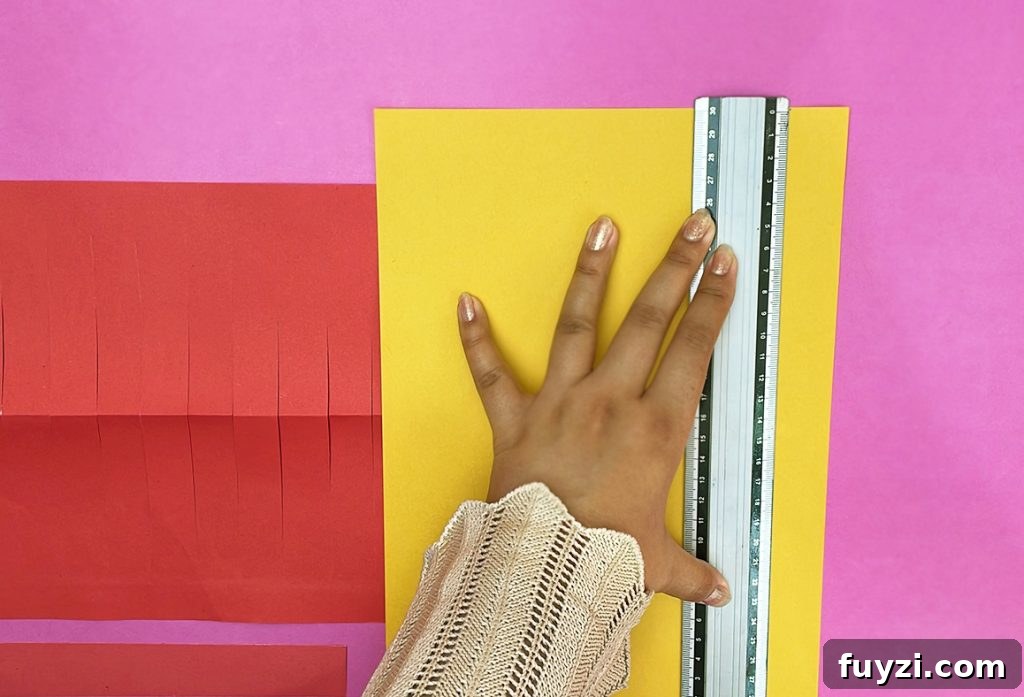
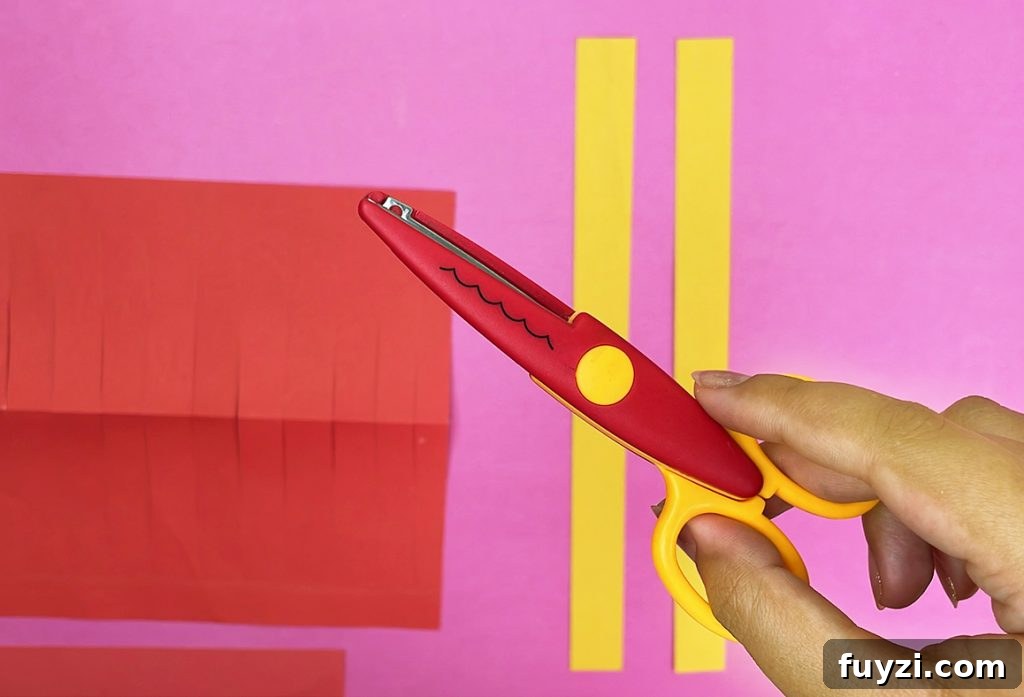
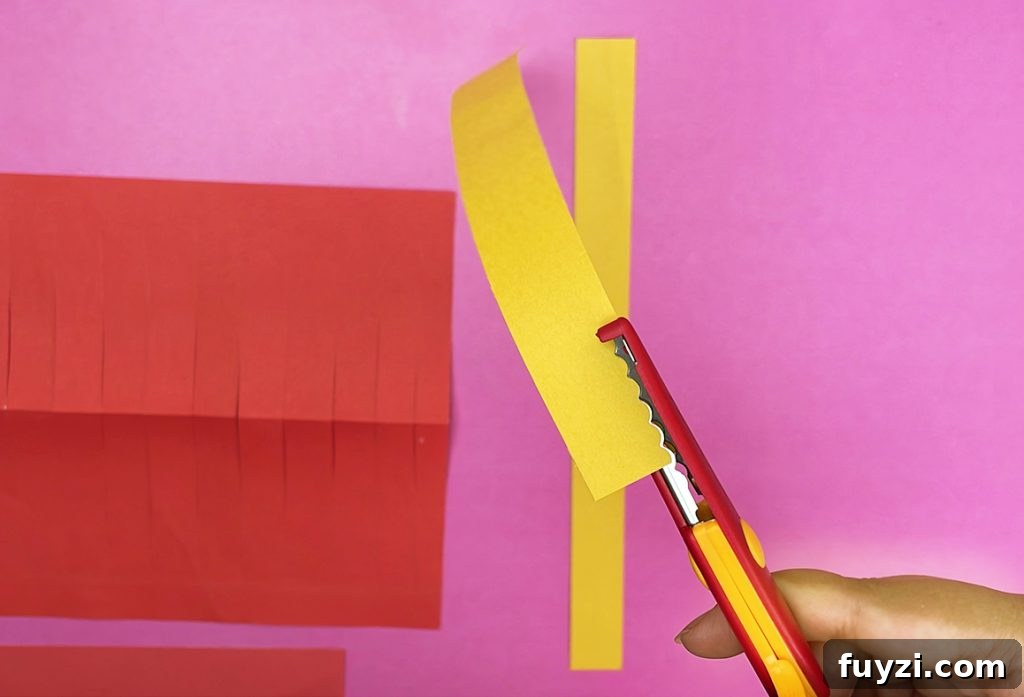
Take a second sheet of construction paper (yellow was used) and cut two 1-inch strips from the short side. If you like, use decorative scissors to add a patterned edge on one side of each strip for an accent.
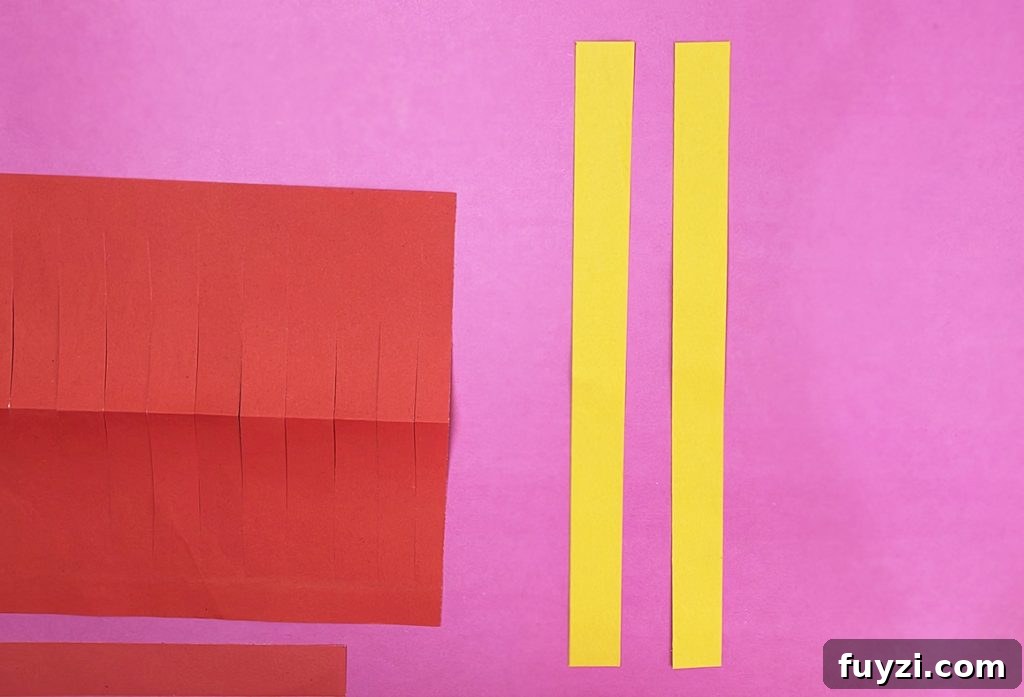
Trim one long edge of each strip with the decorative scissors so the lantern gets a finished, stylish border.
Assemble the Lantern
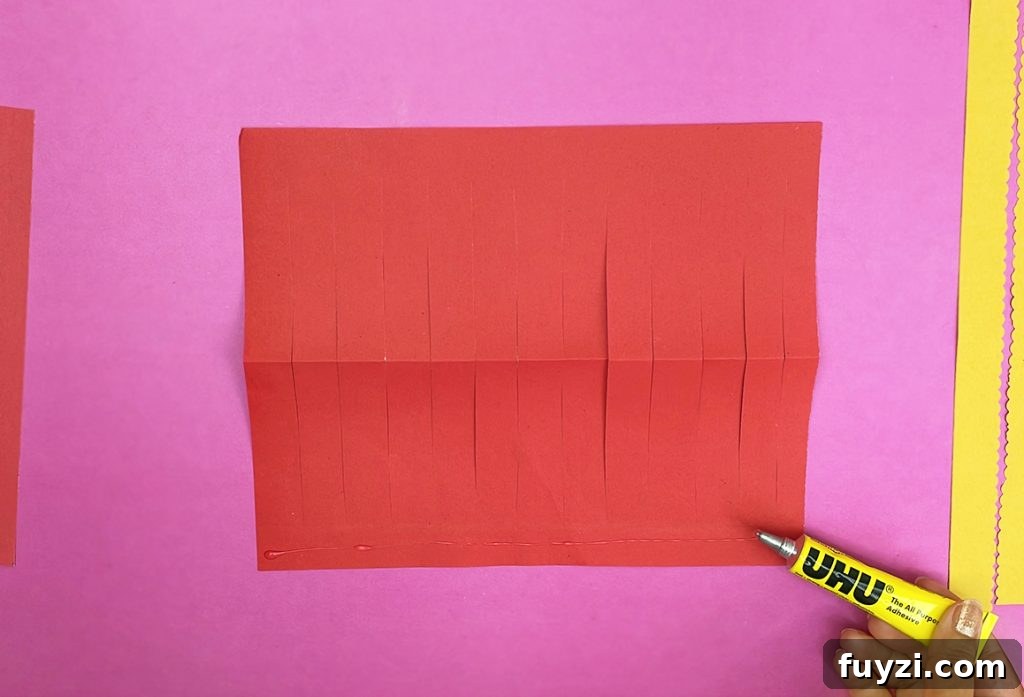
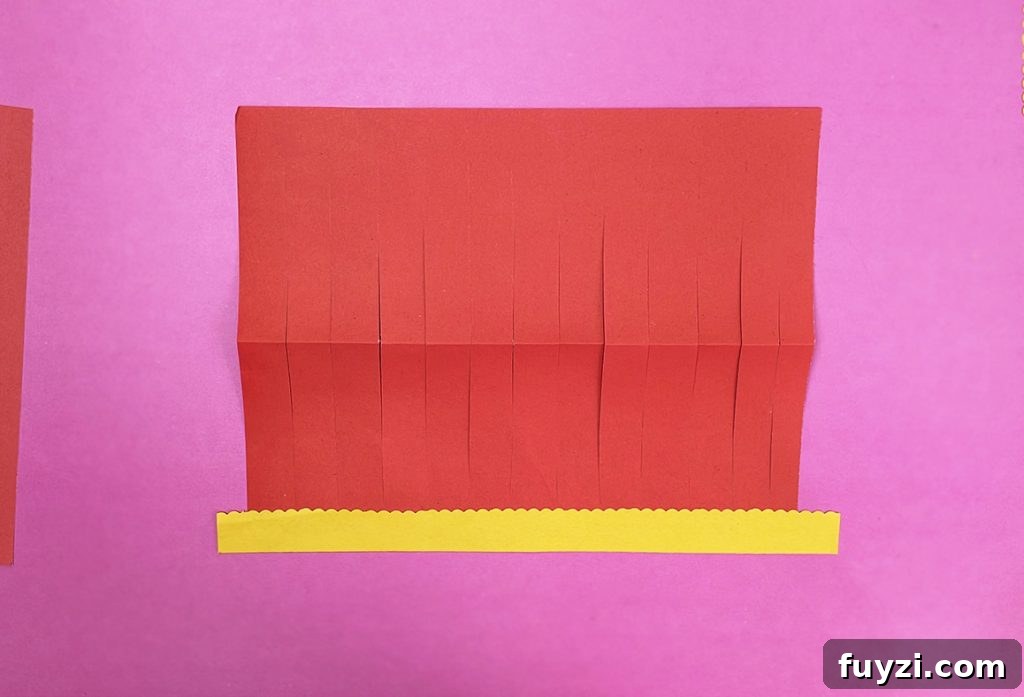
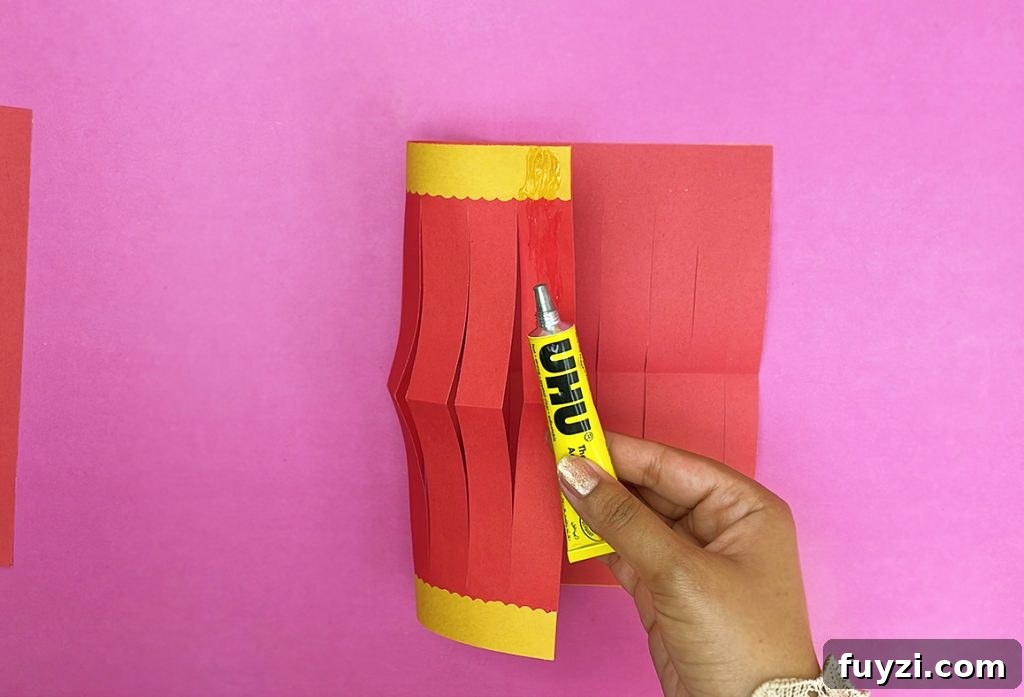
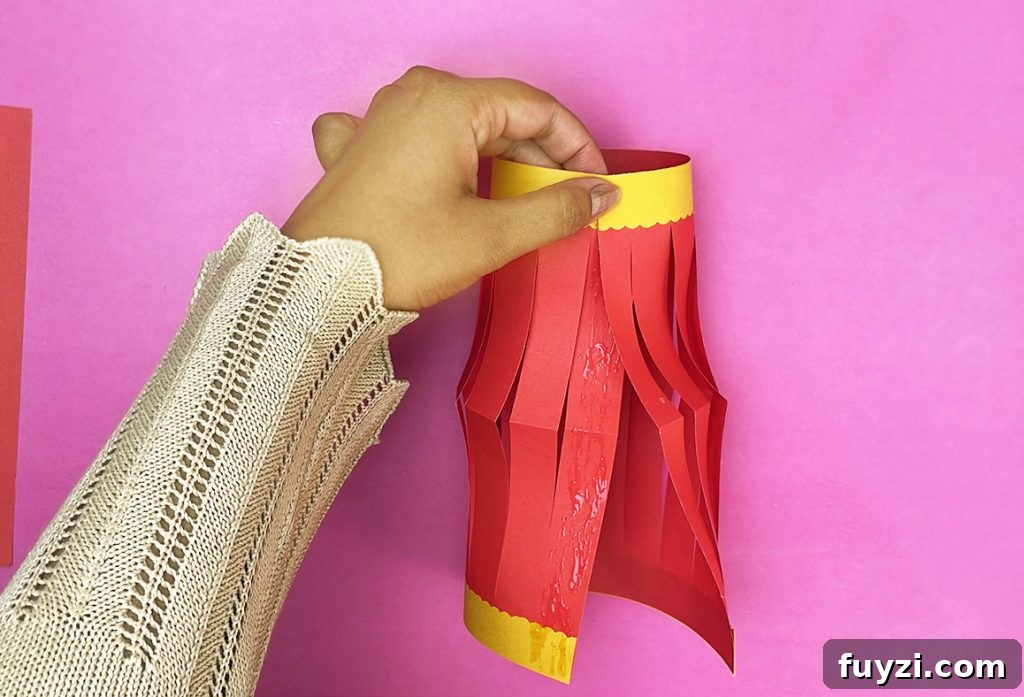
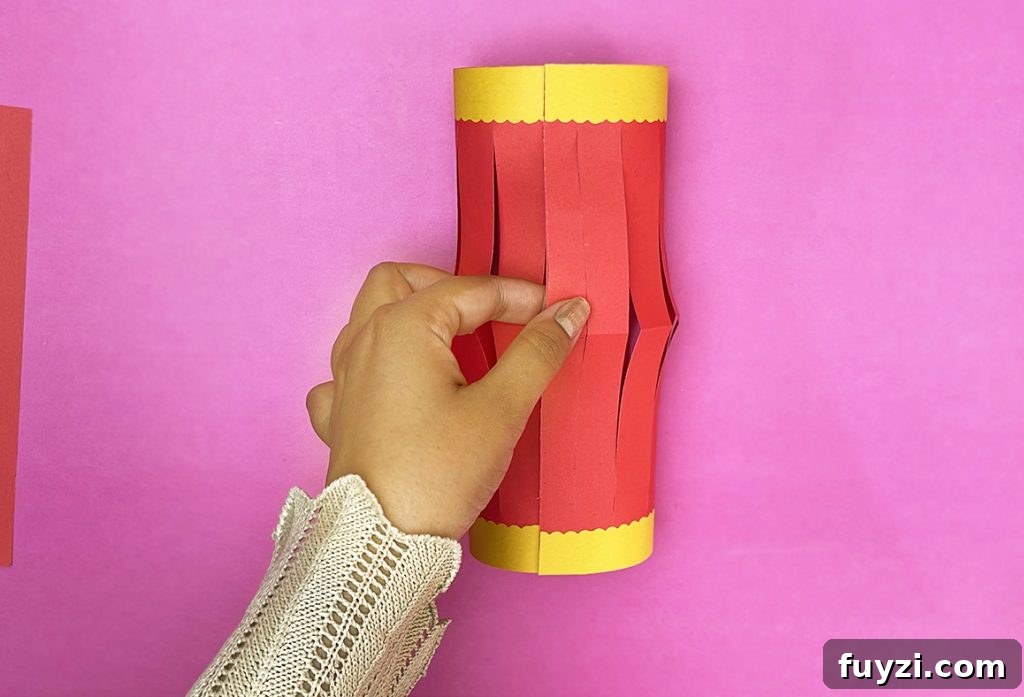
Glue the decorative strips along the top and bottom edges of the slitted paper, trimming any excess for a clean look. Then bring the short ends together and glue them to form a cylinder; this will be the lantern body.
Attach the Handle
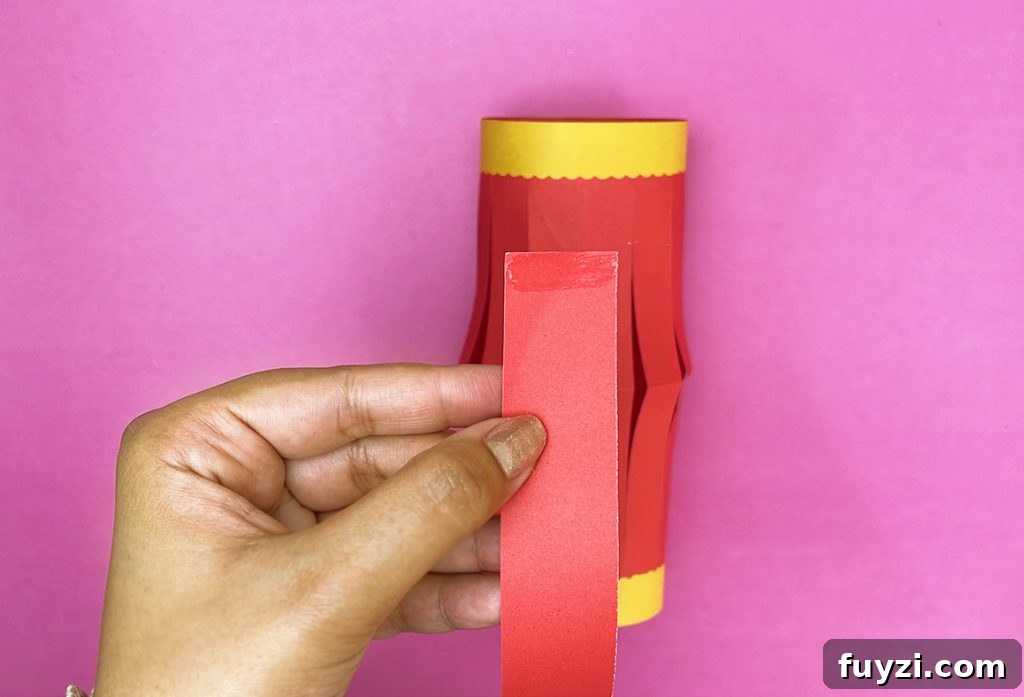
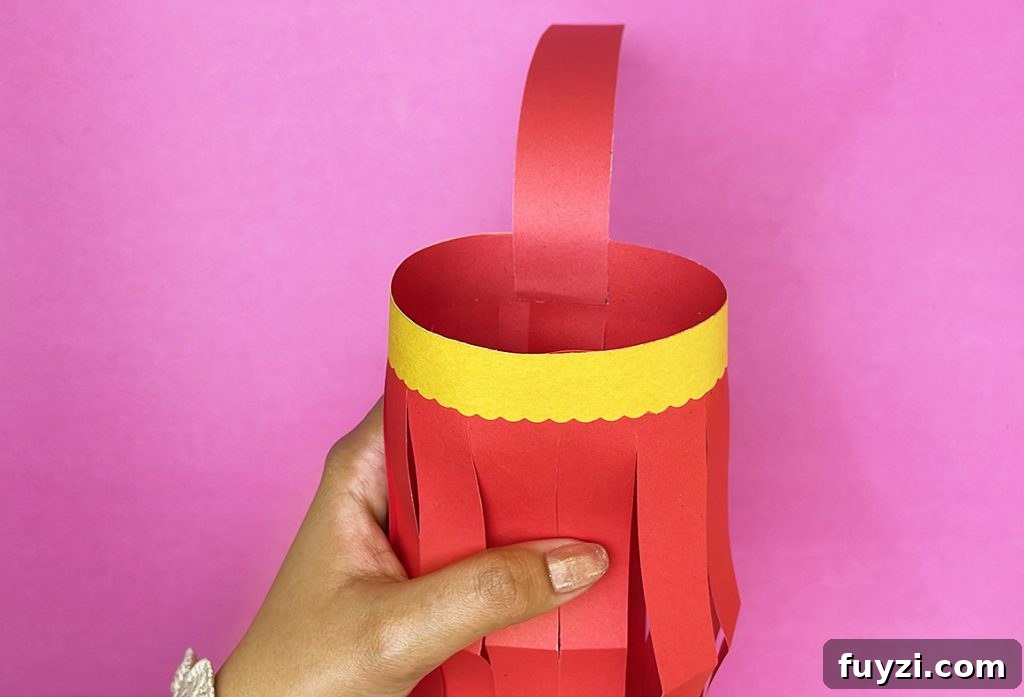
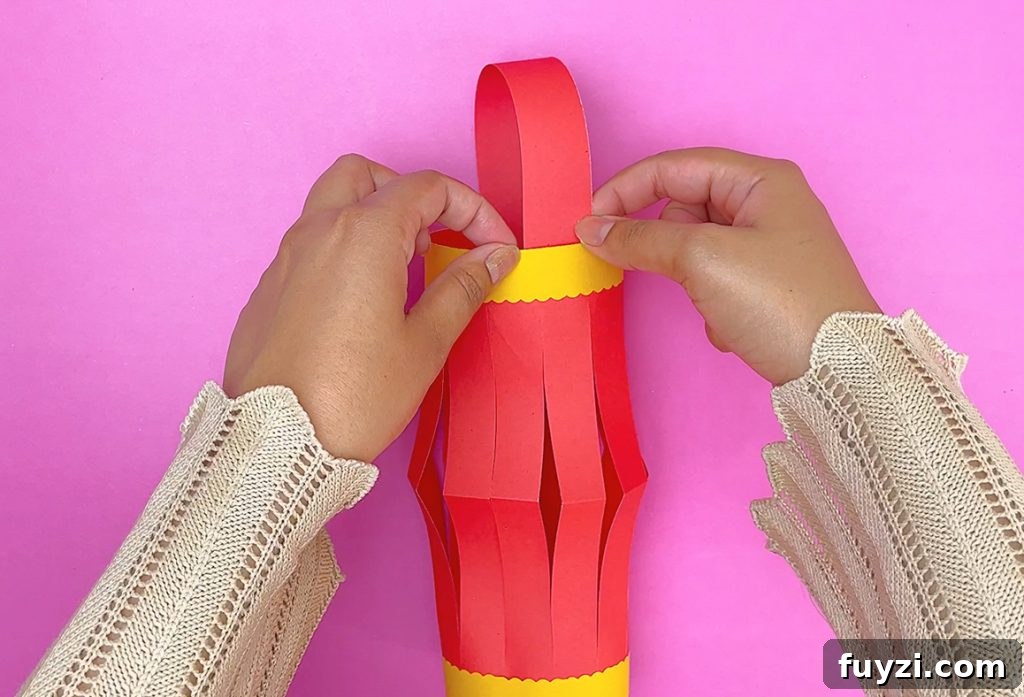
Use the 1-inch strip you saved from the first sheet as the handle. Glue each end of that strip inside the top edge of the lantern and press firmly until secure. The handle makes it easy to hang the lantern or carry it as a decorative piece.
Create the Lantern Base
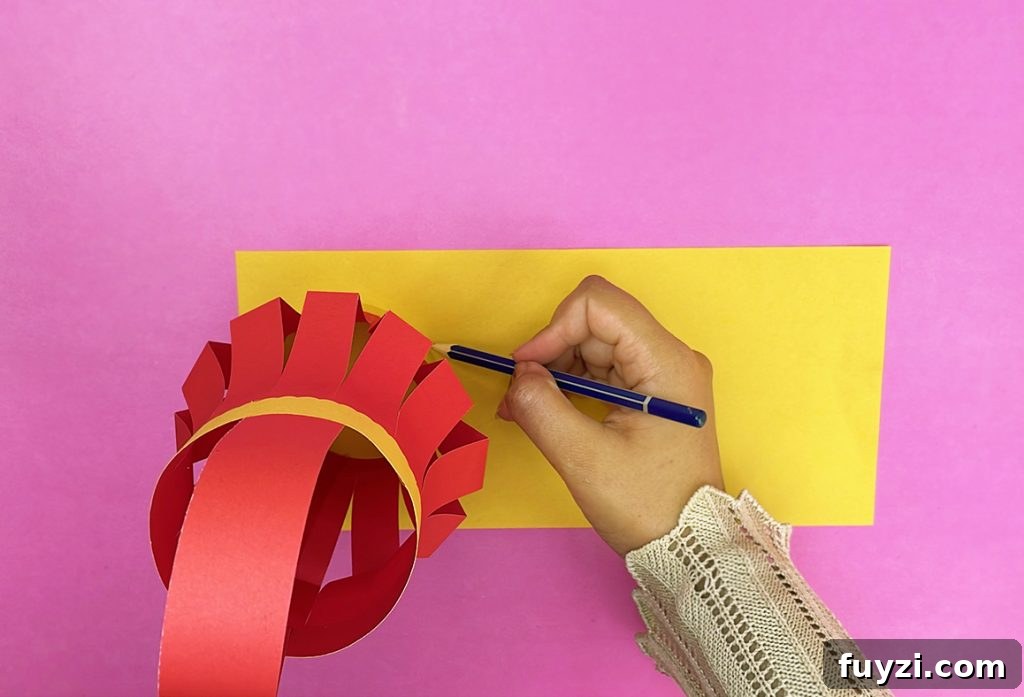
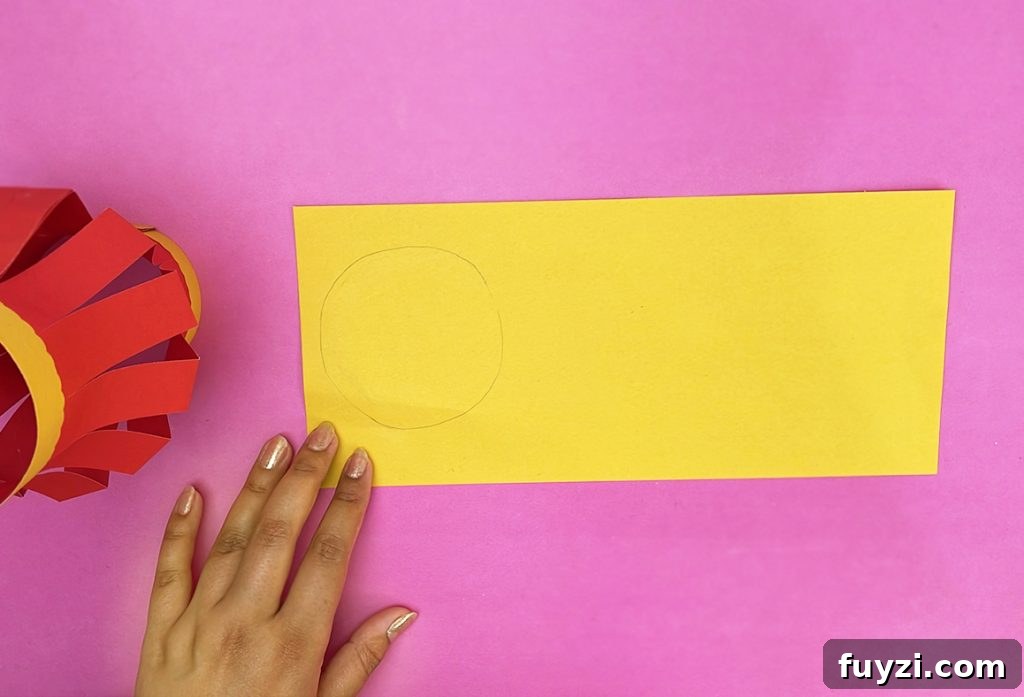
To stabilize the lantern, place it over a sheet of contrasting paper (yellow in the example) and trace the base to create a circle. Cut out that circle and glue it to the bottom inside the lantern. This adds weight and helps the lantern keep its shape.
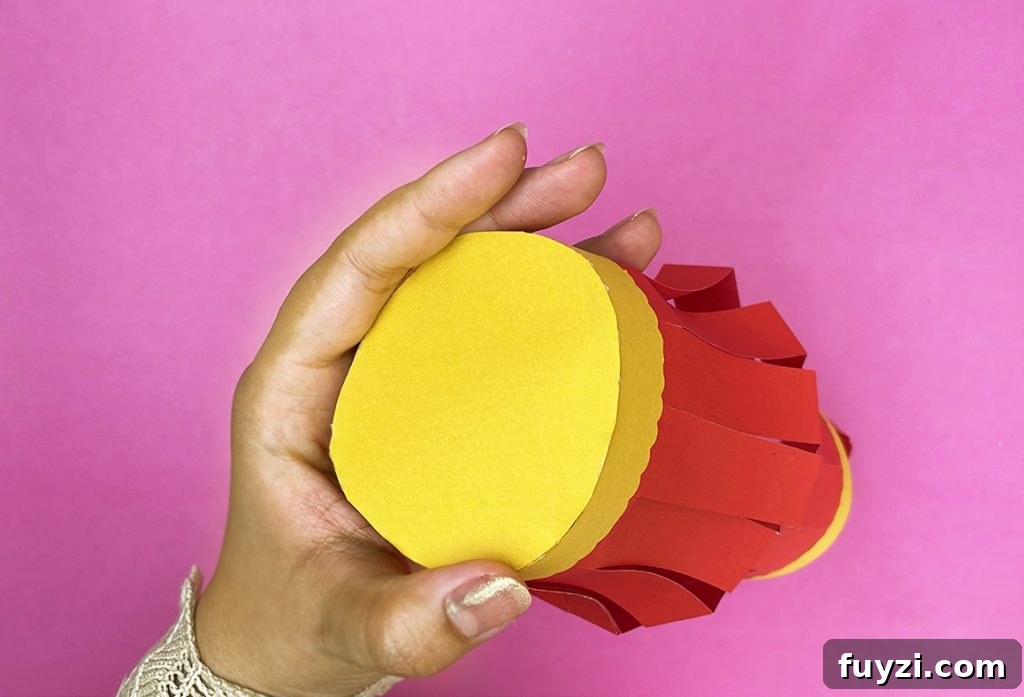
And that’s it! Your colorful DIY paper lantern is ready to display. Hang it, cluster several together for a festive arrangement, or place a battery-operated LED tealight inside for a soft glow.


Isn’t it amazing what you can make with just paper? This craft is quick, affordable, and highly customizable — try different sizes, patterned paper, or metallic cardstock for varied looks.
Tips, Variations, and Safety
- Use LED tealights or battery-operated string lights only; avoid real candles inside paper lanterns for fire safety.
- Experiment with different slit widths and spacing to change the lantern’s light pattern and silhouette.
- Try double-sided paper or mix and match complementary colors for a two-tone effect.
- If working with children, supervise cutting and hot glue use; consider glue sticks or double-sided tape as alternatives.
- To make larger lanterns, start with poster board or larger craft paper and scale the measurements accordingly.
Other Projects You Might Enjoy
- Beautiful Large Paper Flowers
- DIY Ballerina Paper Craft
- Easy Rain Cloud Paper Craft
- DIY Paper Leaves Made from Brown Paper Bags
- Rocking Bunny Paper Craft
Have fun crafting and feel free to personalize your lanterns with embellishments like ribbon, stickers, or punched shapes. Happy crafting!