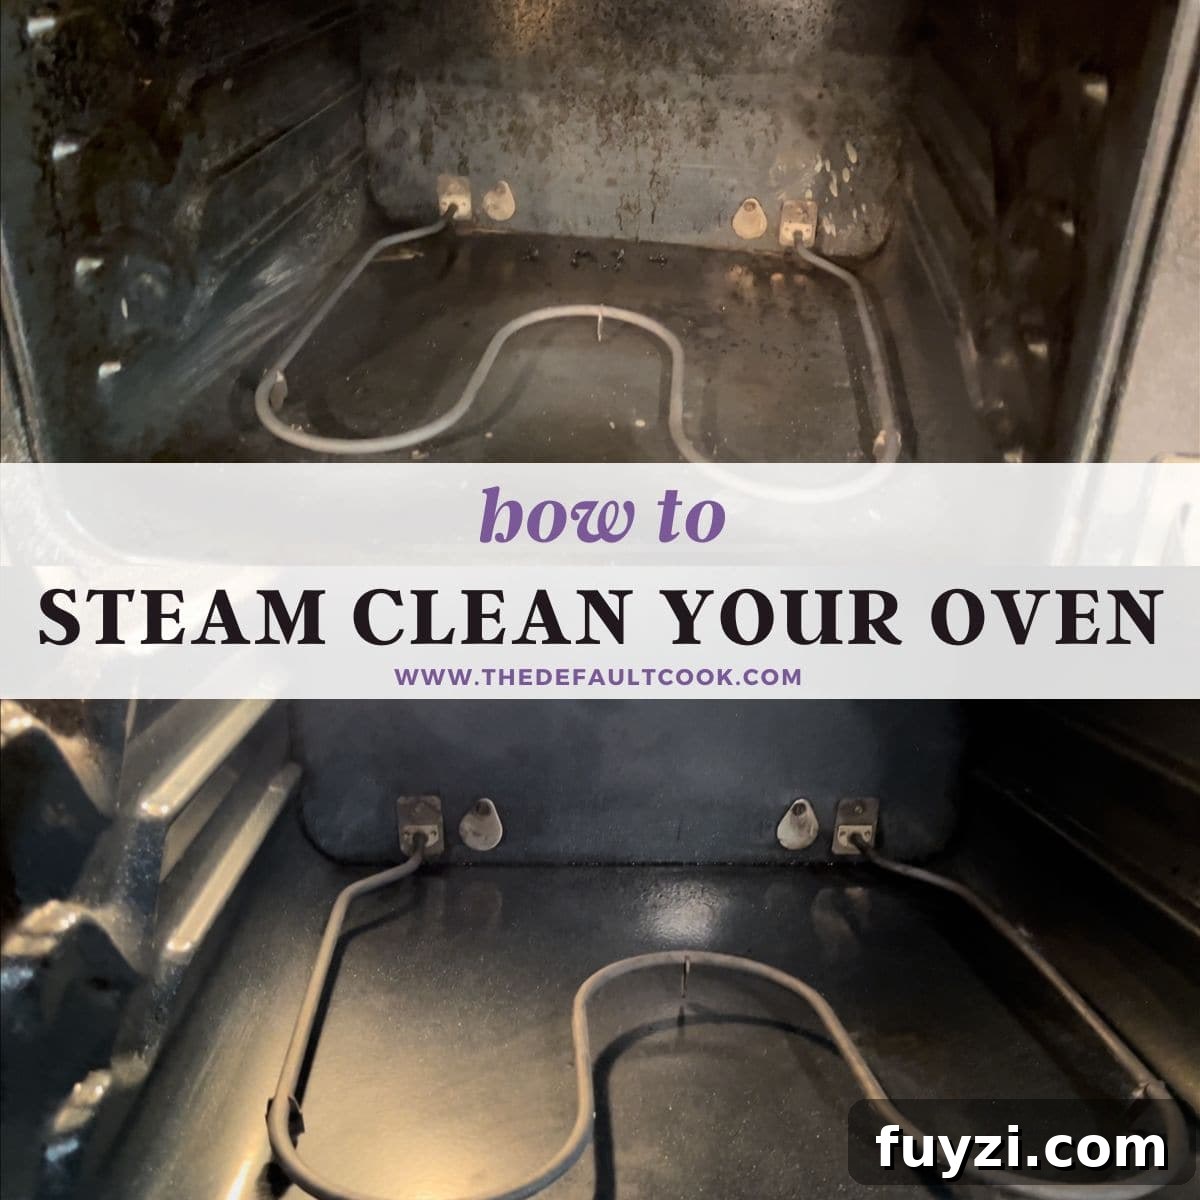
If opening your oven door makes you wince but the self-clean cycle feels too extreme, you’re not alone. Older ovens often have a self-clean option that can heat to very high temperatures, produce strong smells, and take hours. For many people, a gentler approach works better.
In this guide you’ll learn how to steam clean your oven using everyday household items—no harsh chemicals, no extreme heat, and no built-in steam cycle required. With distilled water, a little baking soda, and some basic elbow grease, you can loosen grime and make the actual scrubbing much easier.
Why Steam Cleaning Beats the Self-Clean Cycle
I tried the self-clean cycle once and decided it wasn’t for me: the kitchen stayed hot for hours, the oven ran at very high temperatures, and the whole process felt risky for an older appliance. Appliance experts have pointed out that those extreme cycles can be hard on ovens, so a lower-heat, steam-based method is an attractive alternative.
Steam cleaning provides a middle ground. It softens burned-on residue with normal baking temperatures so you can wipe it away more easily. Unlike the self-clean setting, this method is repeatable, uses only distilled water and baking soda, and avoids excessive heat that can stress electronics or seals.
When to choose steam cleaning:
- Your oven does not have a dedicated steam-clean program
- You prefer a gentler, lower-heat option
- You want a method you can repeat without concern
For most standard or older ovens, steam cleaning is effective because it combines heat, moisture, and a mild abrasive to lift and remove grime without expensive or toxic cleaners.
- Less demanding than scrubbing a completely dry, crusted oven.
- Uses normal baking temperatures (about 450°F) rather than extreme self-clean temps.
- Repeatable as often as needed with no added wear on the appliance.
- No harsh chemical cleaners—just distilled water and baking soda.
What You’ll Need
This technique relies on a few common items. The one purchase you’ll likely need is distilled water.
Distilled water matters because it lacks minerals that cause white, chalky scale when boiled and left to dry. Using distilled water prevents mineral streaks on the oven interior after steaming.
Essentials
- Distilled water: About 2 cups per steam cycle.
- Oven-safe container: A baking dish large enough to hold the water below halfway so it won’t boil over.
- Baking soda: To make a thick paste for stubborn spots.
- Sponge and microfiber cloths: For wiping and polishing.
- Vinegar: A small amount to remove baking soda residue at the end.
Step-by-Step: Prep Your Oven
Before steaming, remove loose debris so the steam focuses on stubborn residue. This prep only takes a few minutes but makes a big difference.
Remove Racks and Wipe Loose Grime
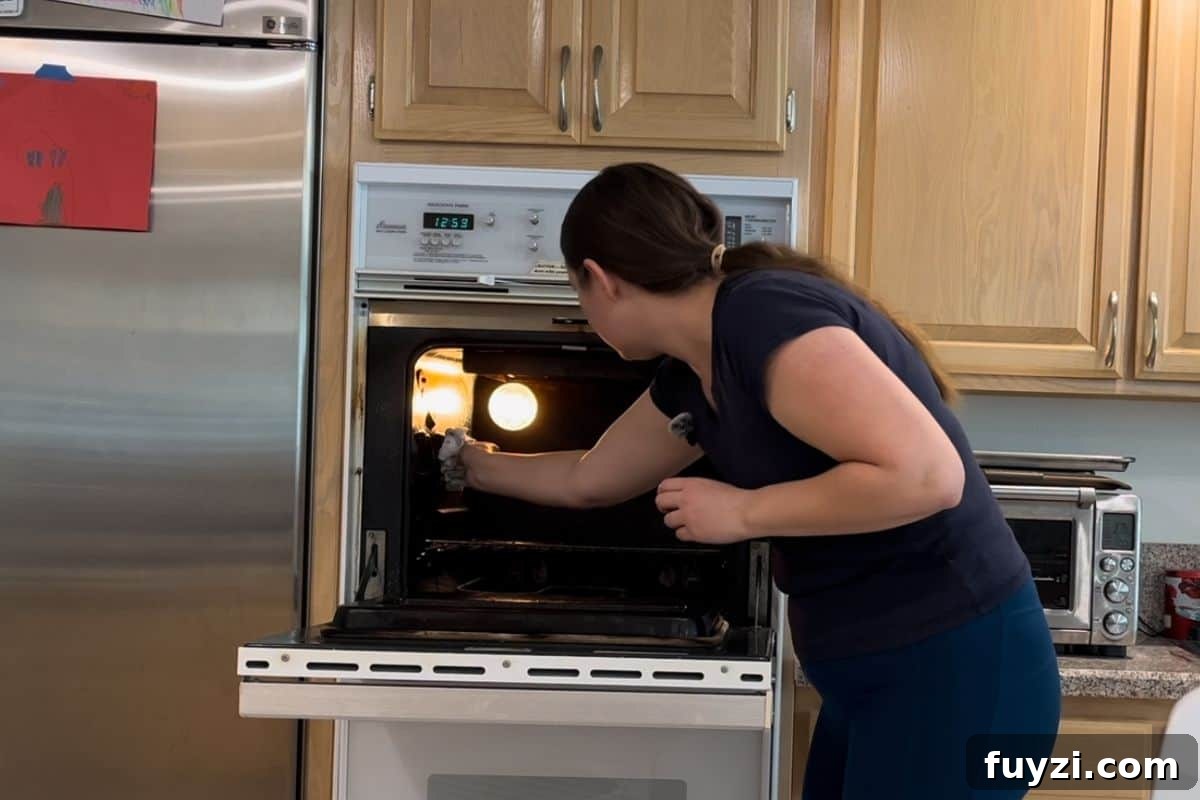
Take out the oven racks and set them aside. Wipe out large crumbs, flakes, and loose burnt bits with a damp rag or sponge. If your oven has a removable bottom panel, gently lift it only as far as it will go without force.
Set the Pan and Water
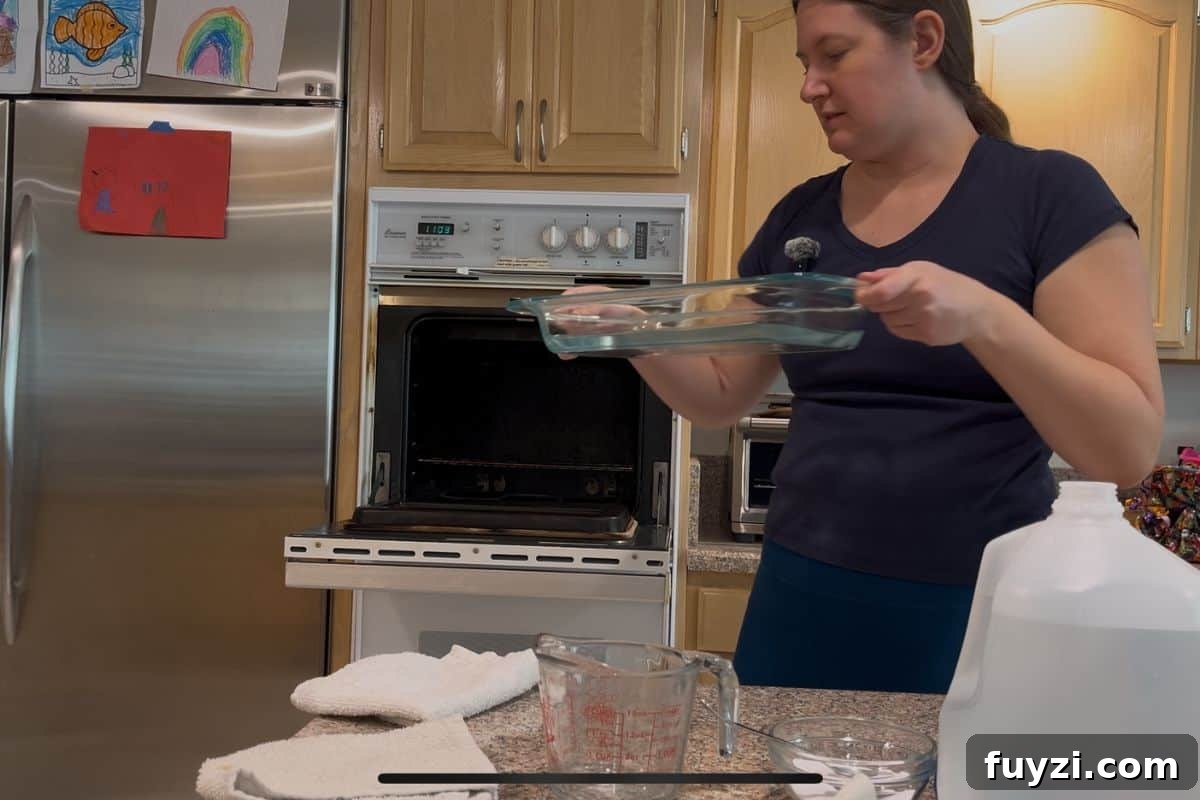
Return a single rack to the lowest position and place an oven-safe dish on it. Pour about 2 cups of distilled water into the dish, keeping the level well below halfway. Close the door and you’re ready to steam.
Run the Steam Cycle
Steam loosens burned-on food so it wipes away more easily. The active part is mostly waiting while the oven heats and the water produces steam.
Heat and Steam
Preheat the oven to 450°F. Once it reaches temperature, let it run for 15–20 minutes so the water boils and the interior fills with steam. Keep the door closed during this time.
Cool Down
Turn the oven off, but leave the door closed for about 1 hour. This lets the trapped heat and steam continue to soften residue while the oven cools to a safe working temperature. In total, expect roughly 1.5 hours from start to scrubbing time, depending on preheat length.
Carefully remove the pan with a towel or mitt to avoid spills. If the interior is still very grimy, you can repeat the steam cycle before scrubbing.
Scrubbing: Easier After Steam
Steam does the heavy lifting, but you’ll still need to scrub. After steaming, grime will be soft and much easier to remove.
Make a Baking Soda Paste
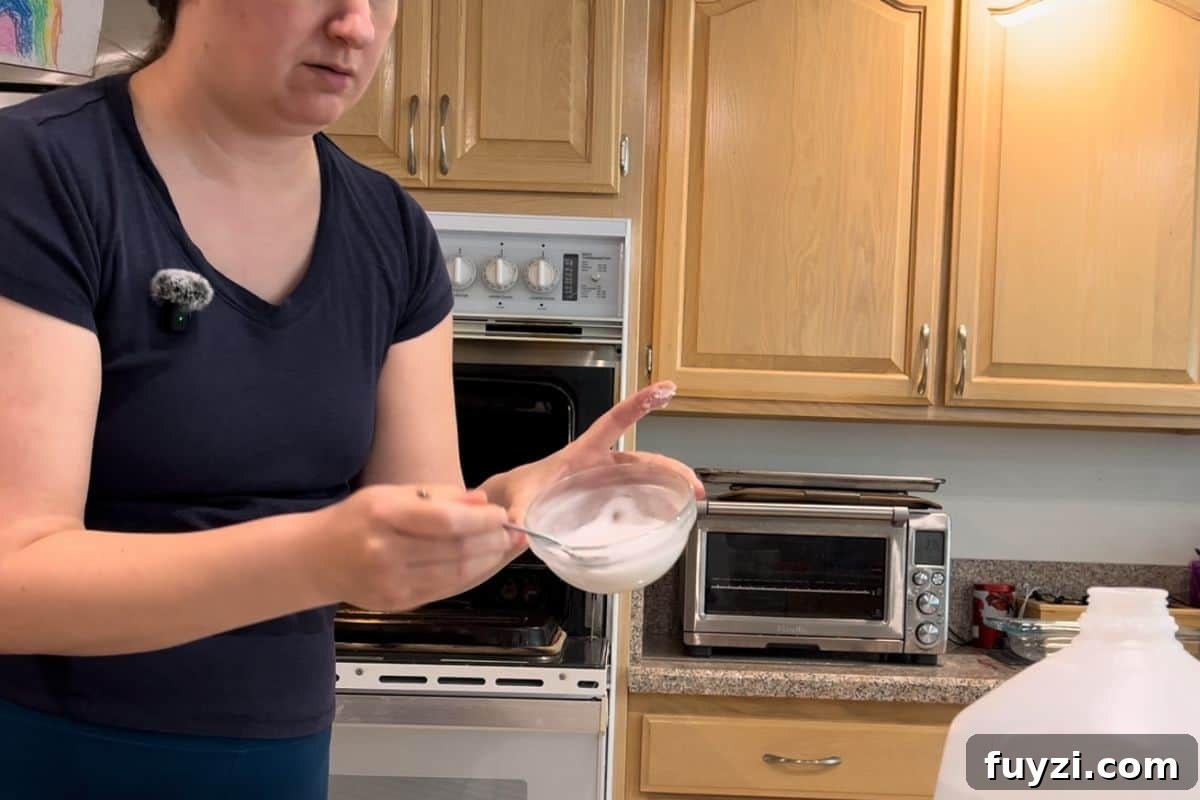
Mix baking soda with a little water until it forms a thick, spreadable paste—think dense glue rather than a runny solution. Apply the paste to stubborn areas like the door window, the oven floor, and any greasy spots. Let it sit a few minutes if needed, then scrub with a non-scratch sponge or cloth.
- Mix until the paste holds its shape.
- Spread on tough spots and allow a short dwell time.
- Rub gently; let the abrasive quality of the paste help lift residue.
Scrub with Care
Focus on the window, the bottom, and side walls. Be gentle on the door gasket, avoid getting paste into hinges or sensors, and don’t lean your weight on the open door. If burnt specks are sealed between panes of glass, they cannot be removed from the inside.
Finish with a Vinegar Wipe
Wipe away as much baking soda paste as possible with a damp cloth, rinsing and wringing frequently. If white streaks remain, dampen a microfiber cloth with a little vinegar and wipe surfaces to dissolve residue and prevent chalky spots. Vinegar is food-safe and helps leave a clean finish.
Sweep or vacuum any debris that fell onto the floor during cleaning.
Before and After: What to Expect
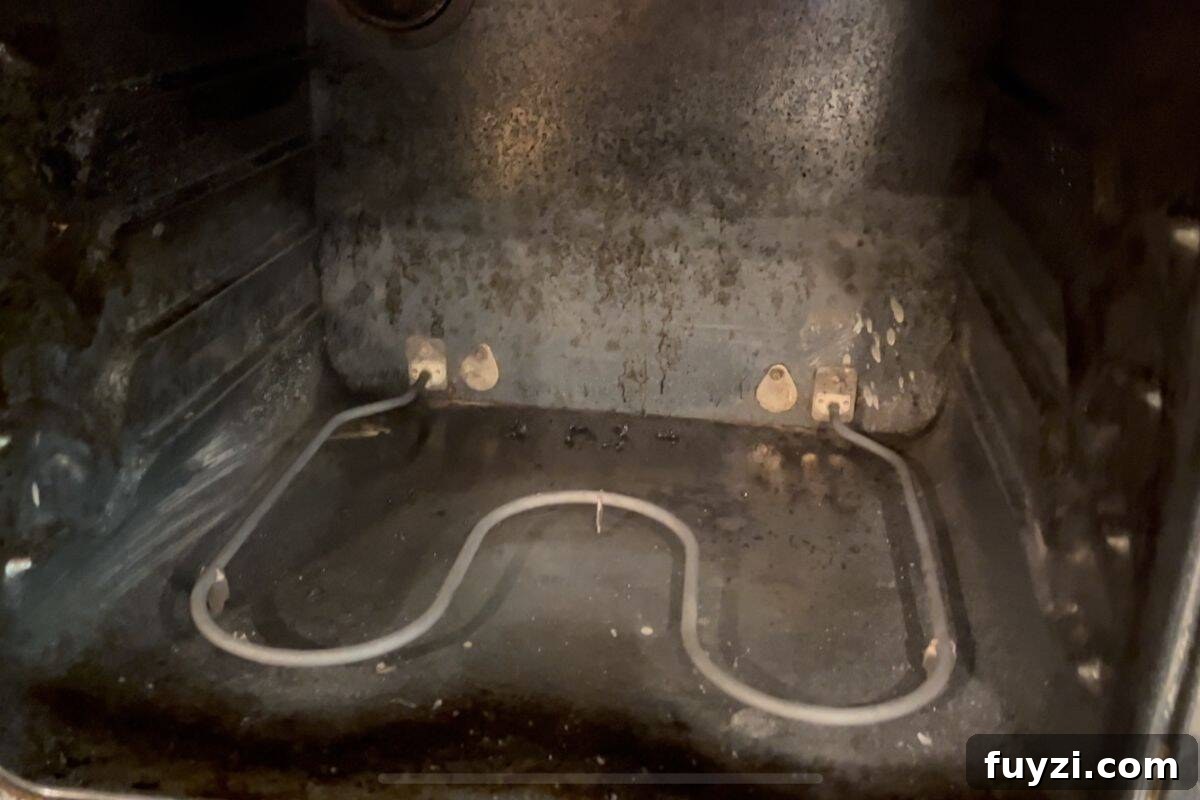
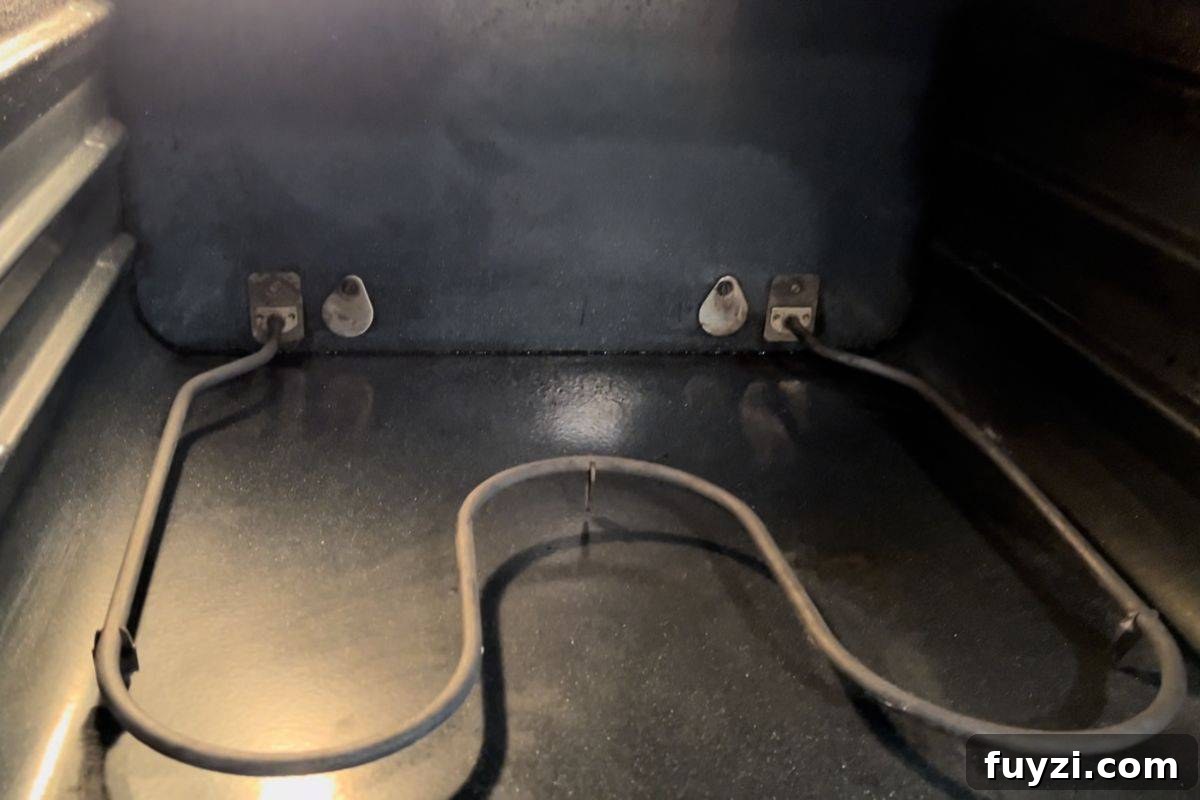
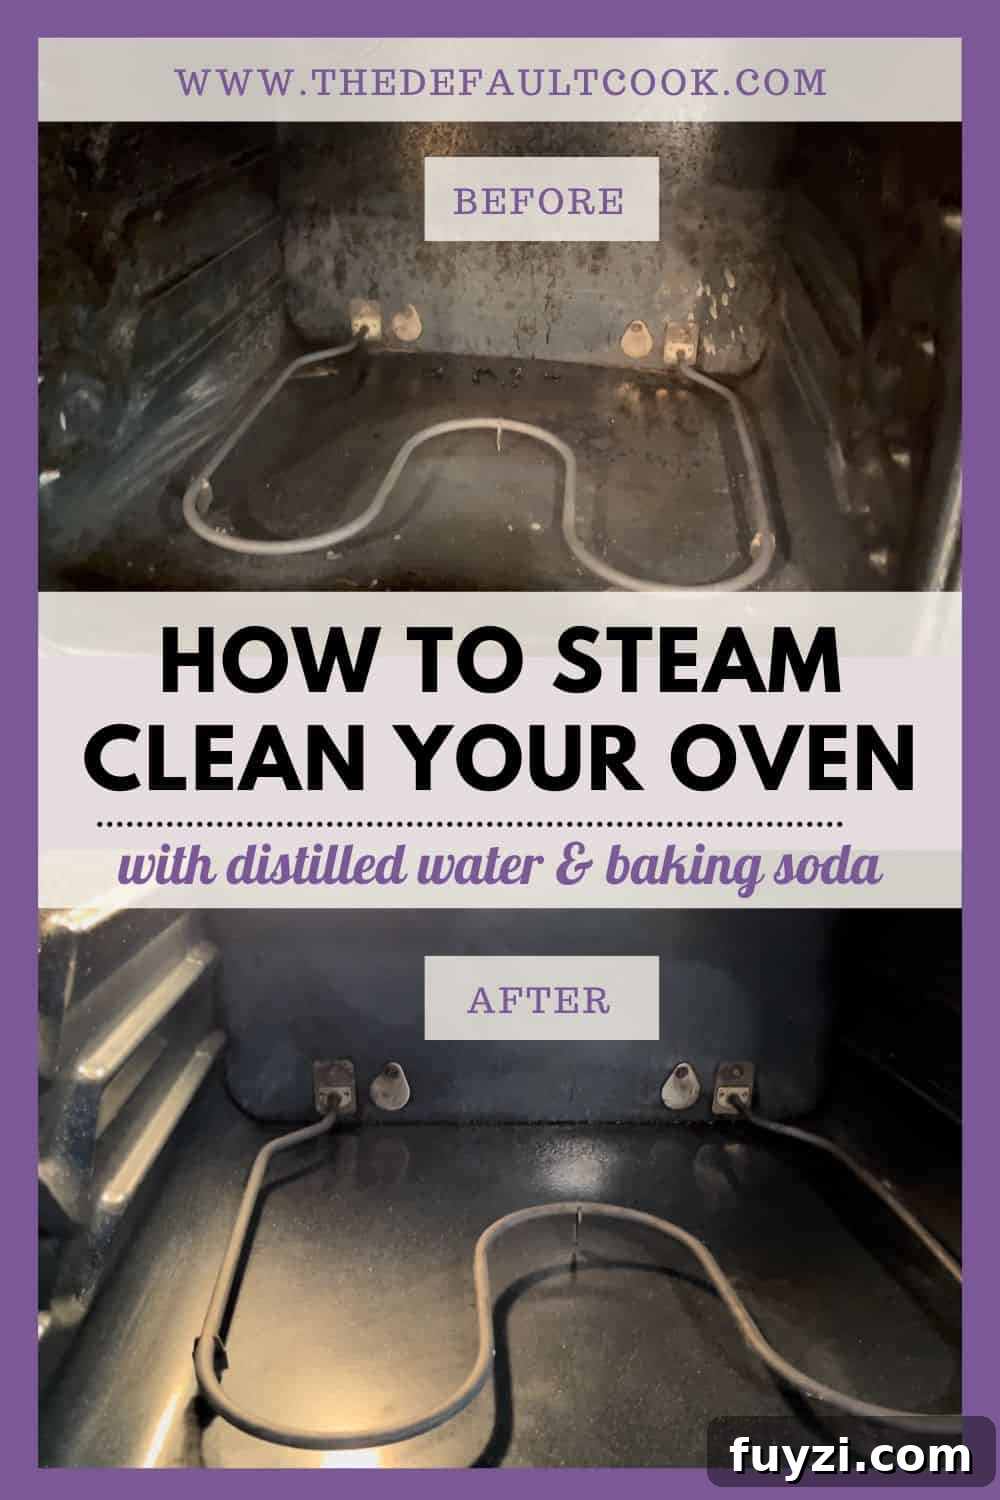
After one steam cycle and focused scrubbing, the oven will usually look much better—cleaner surfaces, a clearer window, and far less cooked-on grime. Stubborn patches may remain in corners or between glass panes, but you can target those with additional short cycles and paste work.
Maintenance Tips
Keep your oven in good shape by treating steam cleaning as routine maintenance rather than a decade-long chore. Consider:
- Once a year for light use
- Twice a year for regular bakers and cooks
- A quick session before big holiday cooking
Frequent light maintenance reduces the scrubbing needed each time. A single steam cycle, a quick baking soda touch-up on small spots, and a vinegar wipe can keep the oven pleasant and safe for cooking.
A Cleaner Oven Without the Stress
Steam cleaning with distilled water and a baking soda finish gives you a cleaner oven without the extreme heat and stress of a self-clean cycle. It’s simple, affordable, and effective: set a pan of distilled water on a low rack, heat to 450°F for 15–20 minutes, let it rest for about an hour, then scrub and finish with a vinegar wipe.
It won’t make the oven showroom-perfect in one go, but it will make cooking cleaner and more pleasant—and each repeat will leave it even better. You’ve got this.