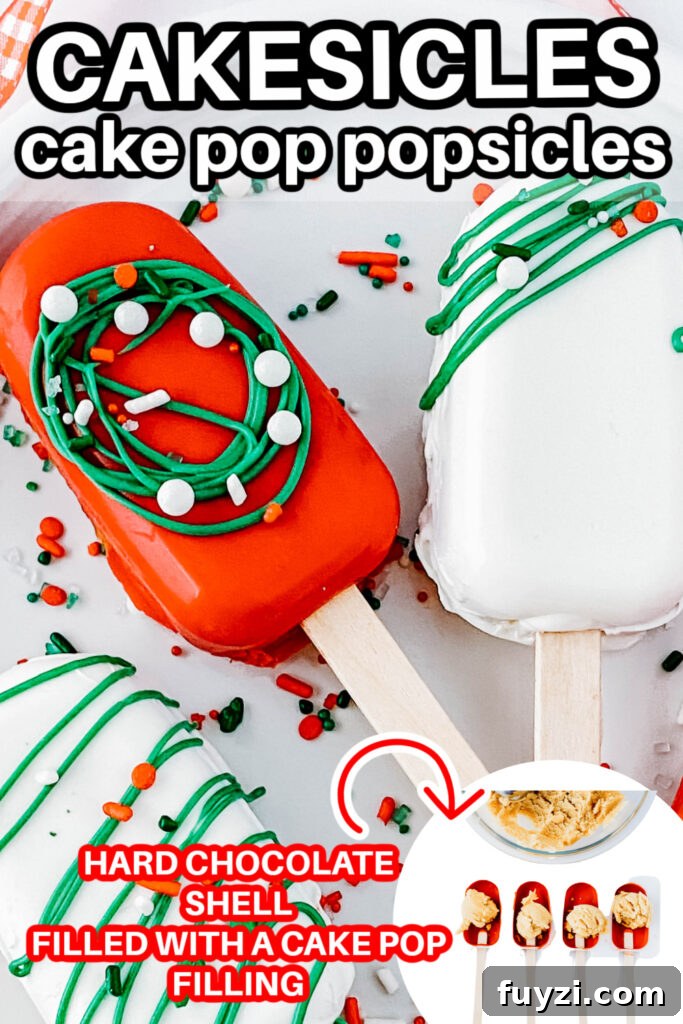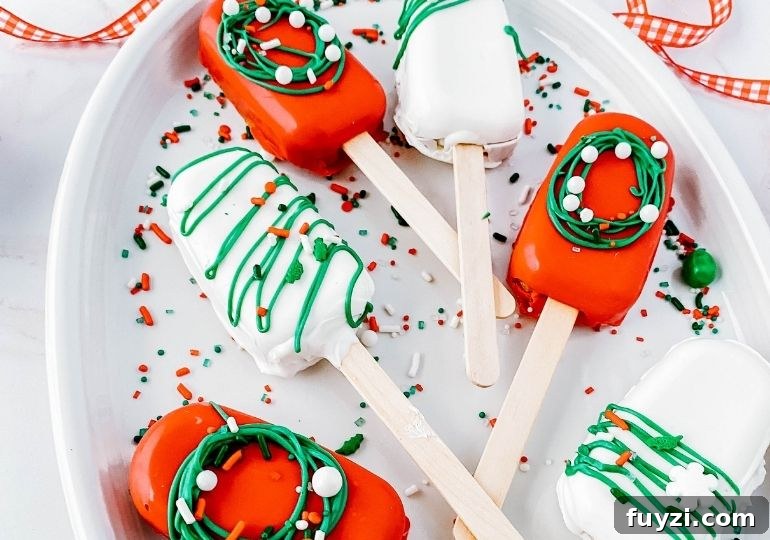
Try these festive and delicious Christmas cakesicles — a fun twist on cake pops. Cakesicles are basically a popsicle-shaped cake pop dipped in chocolate and decorated with sprinkles or drizzles. Think of them as jumbo cake pops that are perfect for holiday gatherings, gifts, or bake sales.
Cakesicles are simple to make and endlessly customizable. Use your favorite cake flavor and color the coating to match any theme — Christmas, birthdays, Halloween, or any celebration. Below you’ll find an easy-to-follow guide, ingredient list, tools needed, assembly steps, decorating ideas, storage tips, and a full recipe you can use today.
- Why Make Cakesicles
- Ingredients
- Supplies Needed
- How to Assemble Cakesicles
- Decorating Christmas Cake Popsicles
- Expert Tips
- Storing
- Variations
- FAQs
- Related Recipes
- Christmas Cakesicles Recipe
Why Make Cakesicles
Easy – Cakesicles are straightforward: bake or use boxed cake, crumble it, mix with frosting, shape, coat in chocolate, and decorate. They’re a great single-serve dessert that both kids and adults love.
Decorative – Candy melts come in so many colors, and sprinkles make quick festive finishes. Make them for Christmas, birthdays, or any themed event.
Great Gift or Treat – Individually wrap cakesicles in cellophane, tie with a ribbon, and they become charming gifts or party favors. They also work well for bake sales or adding to holiday dessert boxes.
Flexible Flavor – Use any cake flavor you like: vanilla, chocolate, red velvet, lemon, etc. Homemade or boxed cake mixes both work, and frosting flavors can be swapped to match.
Ingredients
Boxed cake mix (or homemade cake) — prepare per package directions and bake in a 9×13 pan.
Buttercream frosting — softened salted butter, powdered sugar, vanilla, heavy cream to reach spreadable consistency.
Coating — white candy melts for a base and additional colored candy melts (red and green for Christmas) for decorating; sprinkles as desired.
Use any cake and frosting flavors you prefer. If you’d rather save time, canned frosting works too.
Supplies Needed
- Popsicle-shaped silicone molds (cakesicle molds)
- Wooden popsicle sticks (food-grade)
- Mixing bowl and spatula or mixer
- Piping bag or small zip-top bag for drizzling
- Freezer-safe tray or sheet pan
- Sharp knife or kitchen shears for trimming
How to Assemble Cakesicles
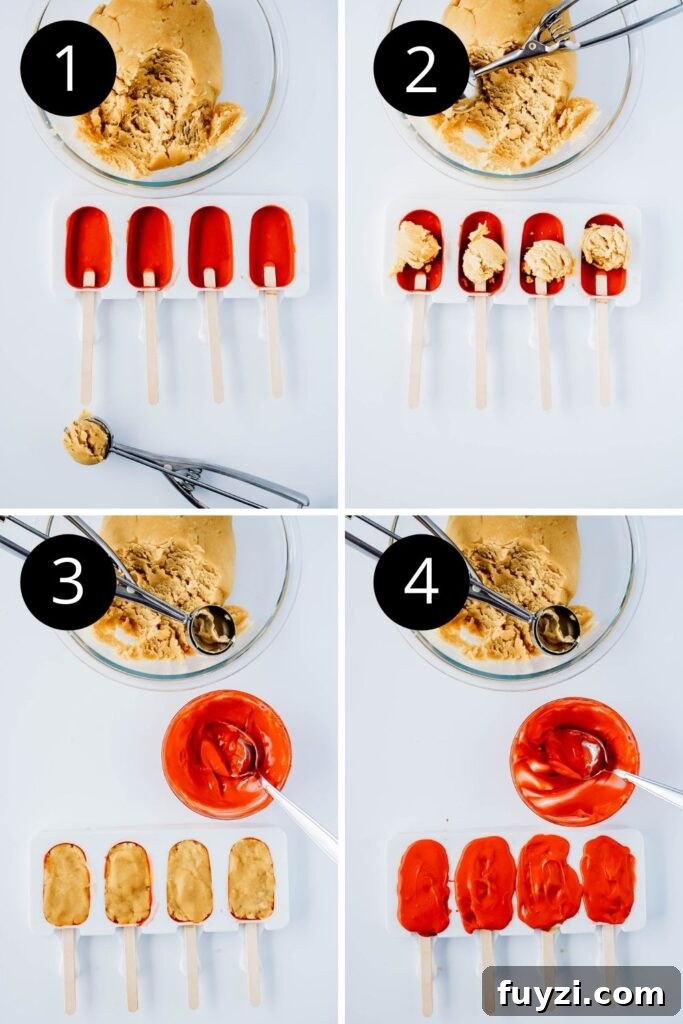
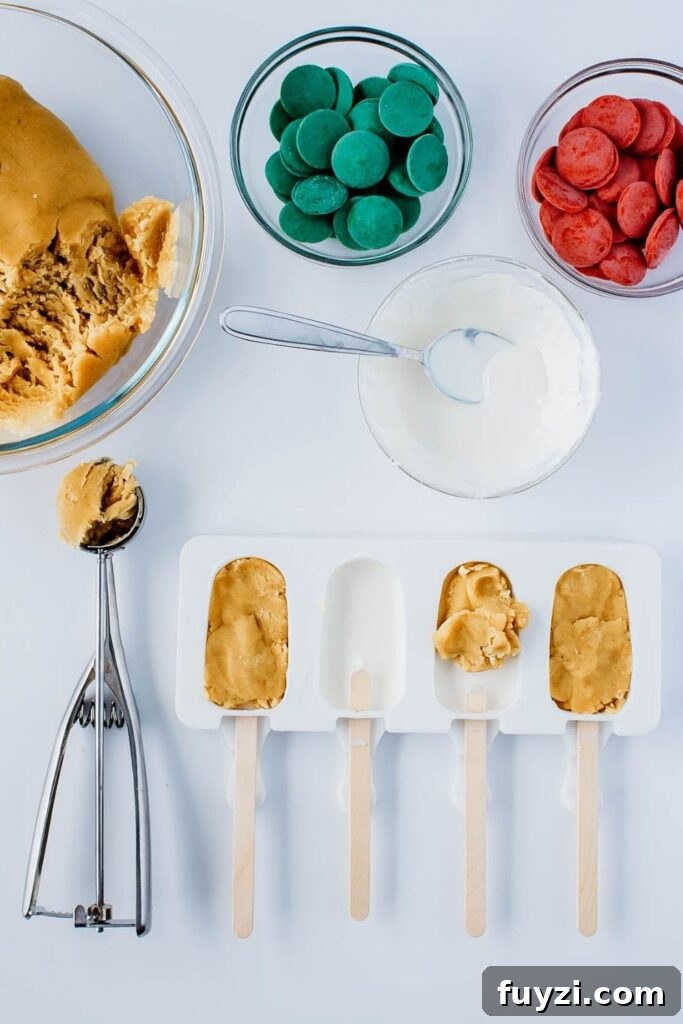
Step 1: Melt your candy melts in the microwave in short intervals or over a double boiler. Spoon a layer of melted coating into each mold and use the back of the spoon to spread it up the sides, creating a shell.
Step 2: Insert the popsicle sticks and make sure they are centered. Freeze the molds for about 15 minutes so the coating firms.
Step 3: Prepare the cake pop filling by crumbling cooled cake and mixing it with buttercream to form a moldable dough. Press a portion into each mold, filling to the shell but leaving room at the top.
Step 4: Pour more melted coating over the filled molds to seal and smooth the top. Remove excess coating and freeze 5–10 minutes until fully set.
Step 5: Carefully unmold each cakesicle. Work gently — forceful removal can crack the chocolate shell. Trim any excess coating from the edges using a sharp knife or kitchen shears for a clean finish.
Decorating Christmas Cake Popsicles
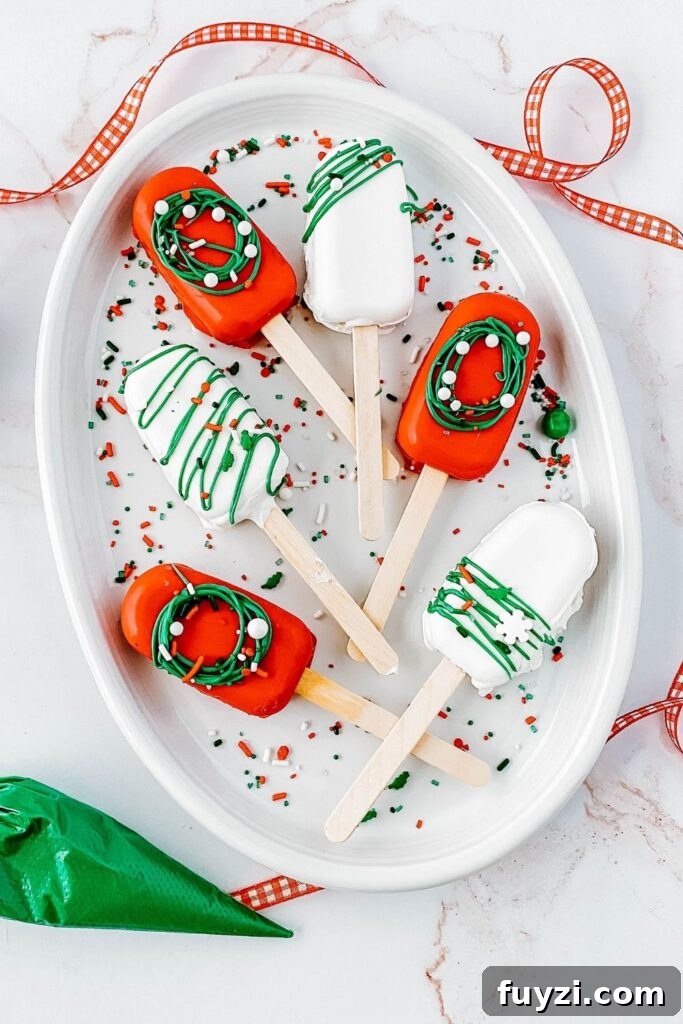
To decorate, place melted colored candy melts into a piping bag, snip the tip, and drizzle lines back and forth for a decorative effect. Add sprinkles immediately so they stick.
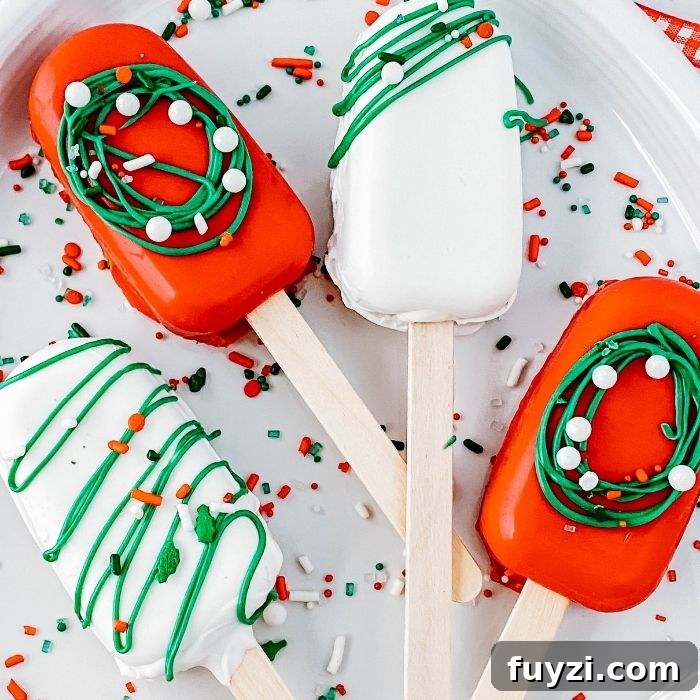
For a wreath design, pipe small concentric circles and top with green sprinkles or tiny candy dots to mimic holly. You can also add crushed candy canes, cookie crumbs, edible glitter, or small candy pieces — the options are endless.
Expert Tips
- If the popsicle sticks shift, dip the stick tip in melted coating first and then insert it into the shell to help lock it in place.
- Trim excess coating after the cakesicles are completely set for a neat look.
- If a spot didn’t get a good coating, pipe a little more melted candy over that area and let it set.
- Work gently when pressing cake filling into the shell to avoid cracking the chocolate.
Storing
Store cakesicles in an airtight container in the refrigerator for 5–7 days. For longer storage, freeze them for up to 3–4 months and thaw in the fridge overnight before serving. They can be made a day or two ahead for convenience, but taste freshest within the first few days.
Variations
- Use different cake flavors such as chocolate or red velvet for contrasting interiors.
- Mix in cookie crumbs or chopped candy into the cake-frosting mixture for texture and flavor.
- Change coating colors to match any holiday or party theme.
FAQs
Can I make cakesicles without a silicone mold?
Yes, but molds give a cleaner, more professional shape and a glossy finish to the coating. Without a mold, you can form the cake mixture by hand and dip, but the result will look more homemade.
Why use candy melts instead of regular chocolate?
Candy melts are formulated to harden quickly and provide a consistent shell without tempering. If you prefer real chocolate, temper it properly to achieve a hard, glossy finish, or mix in a small amount of coconut oil to help it set.
What if sticks won’t stay in the molds?
Coat the stick end in melted candy, insert it, and let it sit a minute to harden. You can also add a small ring of melted coating around the stick inside the shell to seal it in place.
What if the chocolate breaks when removing from the mold?
If a shell breaks, you can reheat a little candy melt and patch or remold the piece. Work carefully when unmolding to minimize breakage.
Related Recipes
- 78 Christmas Desserts (collection)
- Peanut Butter Balls
- No-Bake Peppermint Pie
- Christmas Pinwheels
- Peppermint Patty Cookies
Christmas Cakesicles Recipe
Christmas Cakesicles
Servings: 12–15 | Prep time: 15 mins | Cook time: 20 mins | Total time: 1 hr 35 mins
Ingredients
Cake
- 1 box white cake mix (15 oz) — prepare per package (use 9×13 pan)
Buttercream Vanilla Frosting
- 1 stick salted butter, room temperature
- 1 tablespoon heavy cream
- 2–2 1/2 cups powdered sugar
- 1 teaspoon vanilla
Coating
- 1/2 cup white candy melts (plus 1/2 cup each red and green for decorating)
- Sprinkles, optional
Tools
- Popsicle sticks (food grade)
- Silicone popsicle/cakesicle mold
Instructions
- Mix and bake the cake according to the box directions in a 9×13 pan. Cool completely, then crumble into a large bowl.
- Make the buttercream: beat softened butter with vanilla and 2 cups powdered sugar until creamy. Add heavy cream and more powdered sugar if needed to reach a spreadable texture.
- Combine crumbled cake with buttercream until you have a moldable cake-pop dough.
- Melt candy melts and spoon a layer into each mold cavity. Spread to coat the sides and form a shell.
- Insert sticks centered in each cavity and freeze molds for 15 minutes to set the shell.
- Fill each shell with cake mixture, pressing gently to avoid cracking the shell. Smooth the top.
- Pour more melted candy over the top to seal. Remove excess and freeze for 5–10 minutes until set.
- Carefully remove cakesicles from the molds. Trim any excess coating around the edges with a knife or kitchen shears for a clean finish.
- Melt colored candy melts and drizzle or pipe designs. Add sprinkles while the coating is still wet.
Notes
Removing from the mold: Work slowly and gently to avoid cracking the shell. Place finished cakesicles on parchment paper for decorating.
Decorating: Use a piping bag for drizzles or small circles, then add sprinkles right away so they stick.
Stick stability: If a stick won’t stay, coat the end in melted candy before inserting and allow it to harden.
Storage: Keep in a sealed container in the refrigerator for up to a week or freeze for several months.
Nutrition (approx.)
Calories per serving: 319 kcal (estimates vary by ingredients used).